
Essential Tools for Trim Carpentry and Tongue and Groove Installation
If you’re putting together a kit for trim and tongue-and-groove work, start with the jobs, not the tools. You need to lay out accurately, make repeatable cuts, handle corrections in the field, fasten without wrecking the work, and reach the job without fighting your setup all day.
Tool role first. Brand and model second. That’s the order I care about.
What tools actually carry a trim and T&G job?
A practical starter kit covers five jobs:
- layout and control
- primary cutting
- mobile and detail cutting
- drilling and fastening
- safe, stable access
Power source comes after that, and there’s no one right answer. Corded, cordless, pneumatic — they can all be right depending on the room, the work position, how long the tool runs, and how much setup is eating your day.
If a tool doesn’t improve one of those five jobs, it’s an upgrade, not a first buy.
Layout and control: keep the work honest
Start with a dependable tape, pencils, and a chalk line. On T&G work, snapped control lines give you something you can build from the same way twice. A laser helps on some jobs, but it doesn’t replace a tape and a chalk line.
The first course is everything, because every course after it follows. If you’re already shimming and nudging by the third board, stop and recheck your reference. Don’t carry a small layout mistake across a whole ceiling hoping the perimeter trim hides it.
That’s the cheapest rework you’ll ever buy — catch the drift before it becomes the room.
Primary cutting: build one dependable cut station
Most trim and T&G jobs need one main cut station that makes clean, repeatable crosscuts without turning every board into a wrestling match. For most of this work, that’s a properly set-up miter saw with real support for the stock. Capacity matters, but a sharp blade, true alignment, and solid work support matter just as much.
A table saw or track-saw setup earns its place when the job starts demanding controlled rips — starter-board adjustments, last-course reductions, repeated width changes. Until then, don’t buy one. Rent it, borrow it, or buy it when the same problem keeps showing up. The work tells you when.
Mobile and detail cutting: solve the cuts the station cannot
Your main saw won’t handle every notch, outlet, beam, vent, or crooked intersection — and it shouldn’t have to. That’s what a jigsaw or oscillating multi-tool is for. Detail tools. They solve the cuts that have no business going through the main station.
Fastening and assembly: match holding power to the work
For real-wood T&G where the holding power needs to be there, I generally work in the 15-gauge finish-nailer lane. Field preference — not a universal rule. Gauge, length, coating, placement, angle, board thickness, profile, backing, and what the manufacturer actually calls for: they all have to agree on the real assembly.
Access and support: the setup is part of the tool system
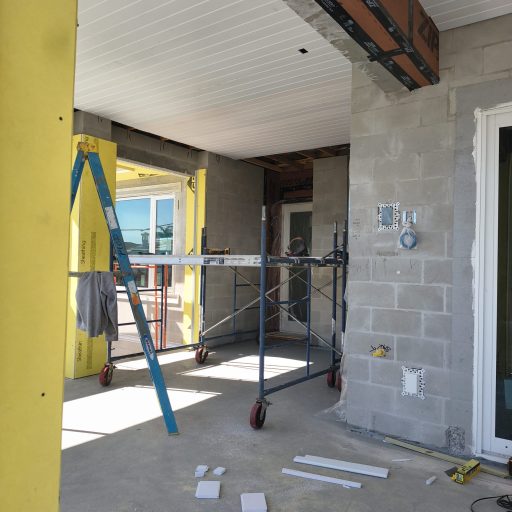
Ceiling work changes the tool decision because your body position becomes part of production. A platform, scaffold, plank, or the right ladder can matter more than another power tool. Stable access is what lets you hold the board, see the joint, control the nailer, and move without stretching past where you can work well.
Pick your access from the room, the reach, how long you’ll be up there, the landing space, and the manufacturer’s limits. A tool that feels fine at waist height turns into an anchor after a day of overhead work — that’s why access and tool weight belong in the same conversation. If the setup fights you all day, the tool choice looked better on paper than it works in the room.
Video credit: Finish Carpentry TV. WindsorONE boards are featured.
Want the full tongue-and-groove install order in one place?
I put the layout checks, prep work, tool judgment, fastening sequence, and common mistake fixes into one practical PDF handbook so you are not guessing your way through the job.
Power and logistics: choose what keeps production moving
I don’t treat corded or cordless as a religion. Cordless wins when a cord or hose keeps fighting your access — platforms, ladders, work that moves around the room. Corded is the cleaner production choice for sustained cutting or a fixed station — sometimes a lighter corded tool in your hand beats battery freedom. Pneumatic takes weight out of your hand, but now you’re managing a compressor and a hose.
No honest universal winner. Look at the actual job:
- How often will the tool run?
- Are you fixed at one station or moving constantly?
- Are you working overhead?
- Is a cord or hose going to create more trouble than it saves?
- Are batteries, chargers, cords, and hoses staged where you can reach them?
- Does the tool fit the storage and transport system you already use?
Production flow beats brand loyalty.
What to buy first — and what can wait
If I were building a starter kit from scratch, I’d buy capability in this order:
- layout and control
- primary cutting
- drilling and fastening
- mobile/detail cutting
- stable access
Everything after that — ripping capability, specialty holders, duplicate tools, extra battery platforms — gets added when a repeated problem proves the need.
Rule of Thumb: Buy by recurring frustration.
If the same problem keeps slowing the job, the upgrade has earned a serious look. If a specialty tool saves ten minutes once and then sits in the truck, it didn’t belong ahead of a reliable tape, a straight control line, or a stable place to stand.
That rule also keeps affiliate links from deciding what goes in the kit. The work decides first. The retailer comes later.
Free 10-Page Field Guide
Catch the Mistake While It Is Still a Decision
Get the free T&G Project Starter Guide for the planning, setup, installation, and hard-stop checks that are cheapest to fix before finished boards cover them up.
No purchase required. One practical T&G starting guide.
Avoid buying the same capability twice
This is where a lot of tool lists get silly. A second tool is worth it when it solves a different production problem — not because it’s on another battery platform or looks like an upgrade. A miter saw and a jigsaw do different jobs. A drill/driver and a finish nailer do different jobs. A table saw adds ripping your miter saw doesn’t have.
Verdict: build the leanest system that removes recurring friction
The best starter kit is the leanest one that lets you measure, cut, fit, fasten, and reach the work without improvising every step. Pick tool families by role first, then compare brands and models on what actually matters — capacity, control, portability, setup burden, work position, what you already own. Once you’re down to exact models, verify the specs before you buy.
For ceiling-specific choices, the deeper breakdown lives in comprehensive ceiling installation tools guide.
Build the system around the work. Upgrade when the work gives you a reason.