
Common Mistakes in Tongue-and-Groove Ceiling Installation
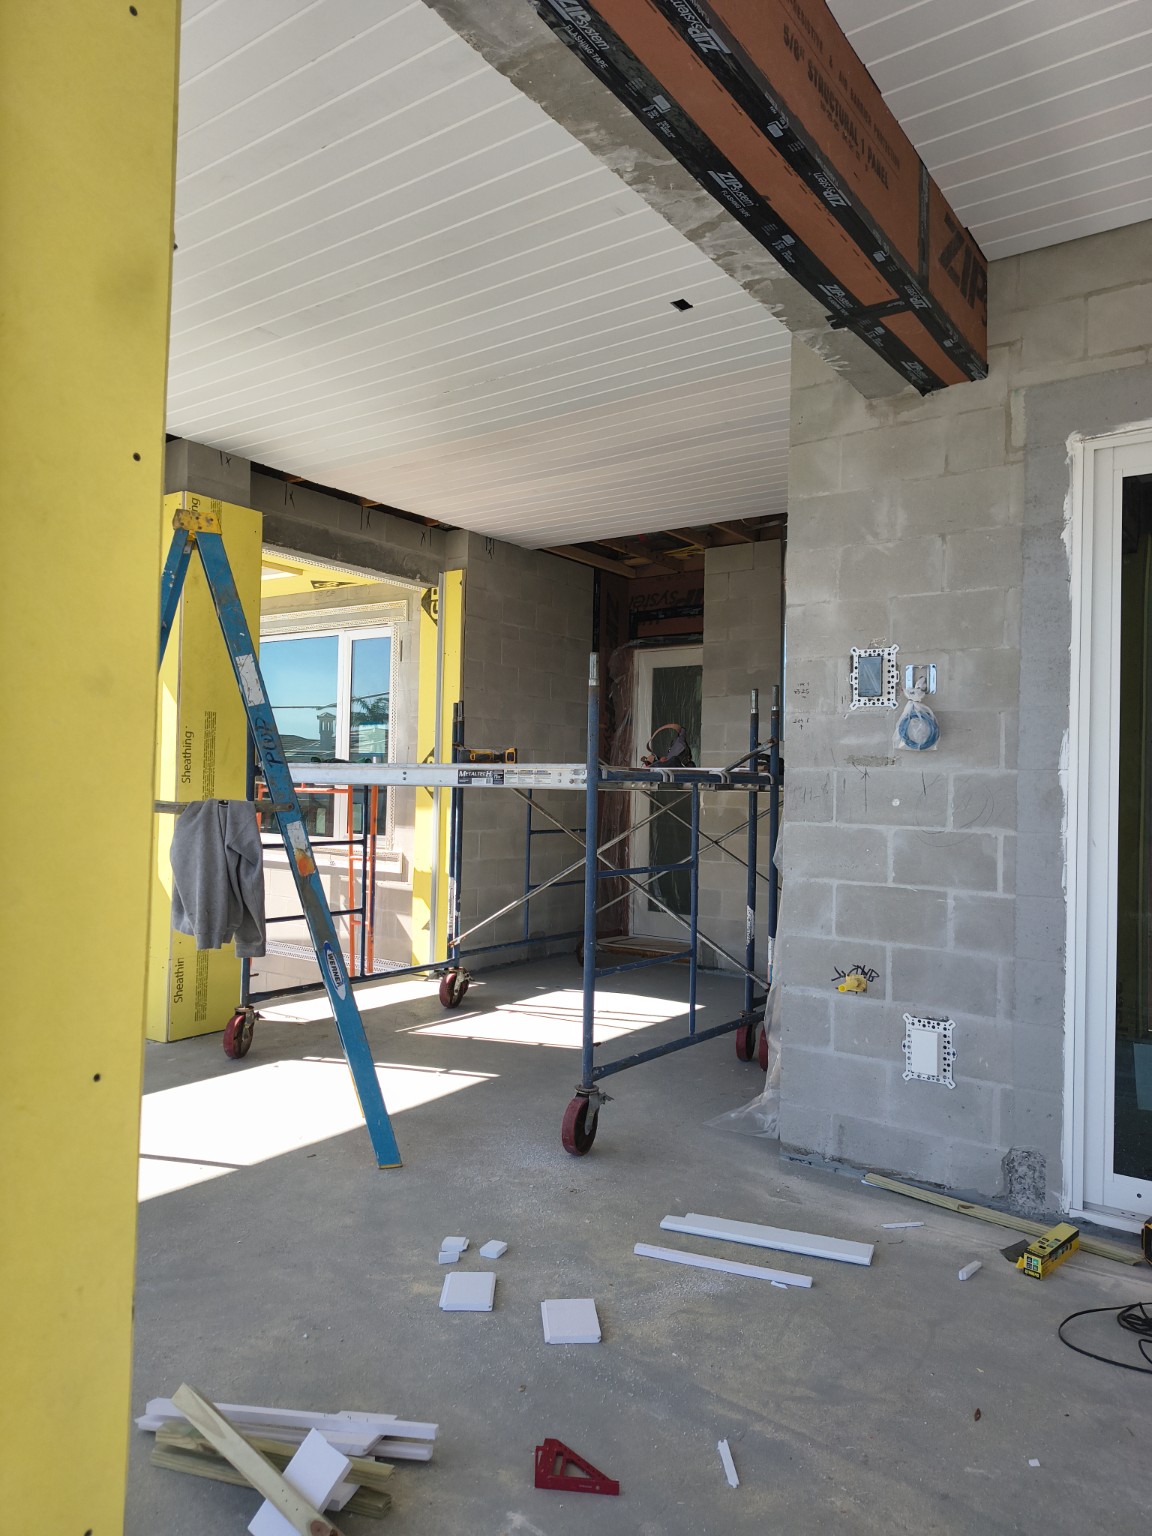
The common mistakes in tongue-and-groove ceiling installation that cause the most trouble usually start small. A starter line walks. A fastener misses solid support. A board gets forced because nobody stopped to find out why it was fighting. The visible problem gets your attention. The cause is what you have to fix.
Why the visible symptom is not always the cause
A gap, drifting reveal, loose board, or stubborn joint can come from more than one place. Before you add nails, pry harder, or plan to hide it with trim, work backward through the job: material condition, framing and backing, starter line, fastening plan, obstacle layout, and access. Pick the wrong cause and you can turn a small correction into a bigger repair.
When the starter line is already walking
The first row controls the ceiling. If it drifts, every row after it either follows the mistake or gets forced against it. That is where tapered reveals and ugly wall lines start. Check from more than one reference, snap a dependable control line, and correct the field early. If rows two and three already need little “adjustments,” quit calling them little. Recheck the line.
When your fasteners are missing real support
T&G still needs something solid behind it. More nails do not fix missed framing. Map the joists, rafters, or backing, and make sure joints land where they can actually be supported. If hidden utilities or unknown framing make that uncertain, do not keep shooting fasteners and hope. A drill/driver may help with prep or verification, but the real job is knowing what is behind the board.
When the boards were installed before the room or material was ready
“Acclimated” is not a magic number of days. Storage, transport, species, width, moisture, HVAC conditions, and manufacturer instructions all matter. The question is whether the material and the room are close enough to the conditions they will live in after the job is done. A moisture meter can help, but the reading still has to make sense for the material and the job.
If the material itself is the question, see How to Choose the Right Wood for Tongue-and-Groove Ceilings.
When the fastener choice is fighting the assembly
Fastener choice is more than brand. Gauge, length, placement, holding demand, board profile, substrate, and job conditions all matter. I lean toward a 15-gauge finish nailer when I want more bite overhead, but that is a field preference, not a law. The board manufacturer, substrate, and project still control the final choice. Cordless and pneumatic nailers can both work. Choose by the job and the setup, not by the logo.
When lights, vents, seams, and end joints were not planned early enough
A clean ceiling is laid out before it is cut. Know where lights and vents land, where seams need support, and whether the layout is pushing a skinny rip into the most visible part of the room. Plan the obstacles first. Then pick up the saw. The saw is not the plan.
When bad access starts hurting the work
Poor access shows up in the finish. Reach too far and you lose board control, sight line, and fastening accuracy. Use the access that fits the room: scaffold, platform, ladder, or a combination. Change the setup before you spend the next hour fighting the ceiling from a bad position. If the room will not safely take the access you need, the setup has to change.
When forcing the board makes the problem worse
A board that will not seat is telling you something. Check the groove for debris, a damaged tongue, board distortion, layout drift, or a support problem before you hit it harder. A tapping block, mallet, or pry bar can help when the cause is understood. Force without diagnosis is how a correction turns into damage.
How to recover if the first rows are already crooked
Find the last point where the layout was still honest. If you can correct from there without creating another visible problem, do it. If not, pull back far enough to re-establish the control line and reset the field. Trim should finish the ceiling. It should not be asked to hide a layout mistake that is still growing behind it.
When to stop and verify more
Stop when the next move depends on something you have not confirmed: unknown framing, hidden utilities, questionable material, unsupported fastener instructions, unsafe access, or a product-specific requirement that is not verified. Continuing because the board is already in your hands is not progress. Confirm the missing fact, then move.
Watch: a tongue-and-groove mistake worth avoiding
For another field perspective on preventing a costly T&G mistake, this Insider Carpentry video from Spencer Lewis is directly relevant to the kind of preventable problem this guide is built around.
Video credit: Spencer Lewis / Insider Carpentry.
Want the full tongue-and-groove install order in one place?
I put the layout checks, prep work, tool judgment, fastening sequence, and common mistake fixes into one practical PDF handbook so you are not guessing your way through the job.
A prevention checklist before the next board goes up
- Check the room and material conditions.
- Map framing, backing, and joint support.
- Establish and verify the starter/control line.
- Match the fastening plan to the board, substrate, and project requirements.
- Lay out lights, vents, seams, and likely narrow cuts before closing the field.
- Set up access that lets you work with control instead of reach.
- If something starts drifting or fighting you, correct the cause before adding more boards.
The final inspection before trim hides the evidence
Step back and look from more than one sight line. Check for reveal drift, weak or unsupported joints, chipped material, and places where trim is being asked to disguise the work. Fix the small problems while they are still small.
Free 10-Page Field Guide
Catch the Mistake While It Is Still a Decision
Get the free T&G Project Starter Guide for the planning, setup, installation, and hard-stop checks that are cheapest to fix before finished boards cover them up.
No purchase required. One practical T&G starting guide.