
Best Practice Tools for Tongue and Groove Ceilings
A tongue and groove ceiling will tell you pretty quick where the setup is weak.
The line starts drifting. A board will not seat. The cut around a box gets ugly. You are standing in a bad position trying to make a good tool do good work.
That is when I quit worrying about which tool somebody called “best” and look at what is actually going wrong.
Best practice tools for tongue and groove ceilings are the tools that fit the job, get used at the right time, and keep the next problem from starting.
Get the room right before you start feeding the saw
Before production starts, prove the room.
Check the dimensions. Check the starting condition. Look at the openings, beams, boxes, vents, and whatever else the boards have to work around.
Then decide what reference you are trusting.
A tape, square, and chalk line are basic tools. Fine. They are also the tools making some of the most expensive decisions on the job.
I would rather burn another minute checking the start than burn an hour trying to hide drift later.
Herb’s Rule of Thumb
If the reference is wrong, working faster only gets you farther from where you wanted to be.
Give yourself a reference you can come back to
One measurement at the beginning does not buy you the whole ceiling.
Set the control lines. Check the starter course. Check the reveal where it matters. Then come back and verify it as the work moves.
Chalk and control lines are primary repeatable ceiling references when they fit the job. A laser can be useful too. I just would not treat it like an automatic replacement for deciding what actually controls the work.
The point is not the gadget.
The point is having a reference you can check again.
If the line starts walking, catch it while the correction is still small.
Make the repeat cuts boring
Once the layout is behaving, the normal cuts should get boring.
That is exactly what you want.
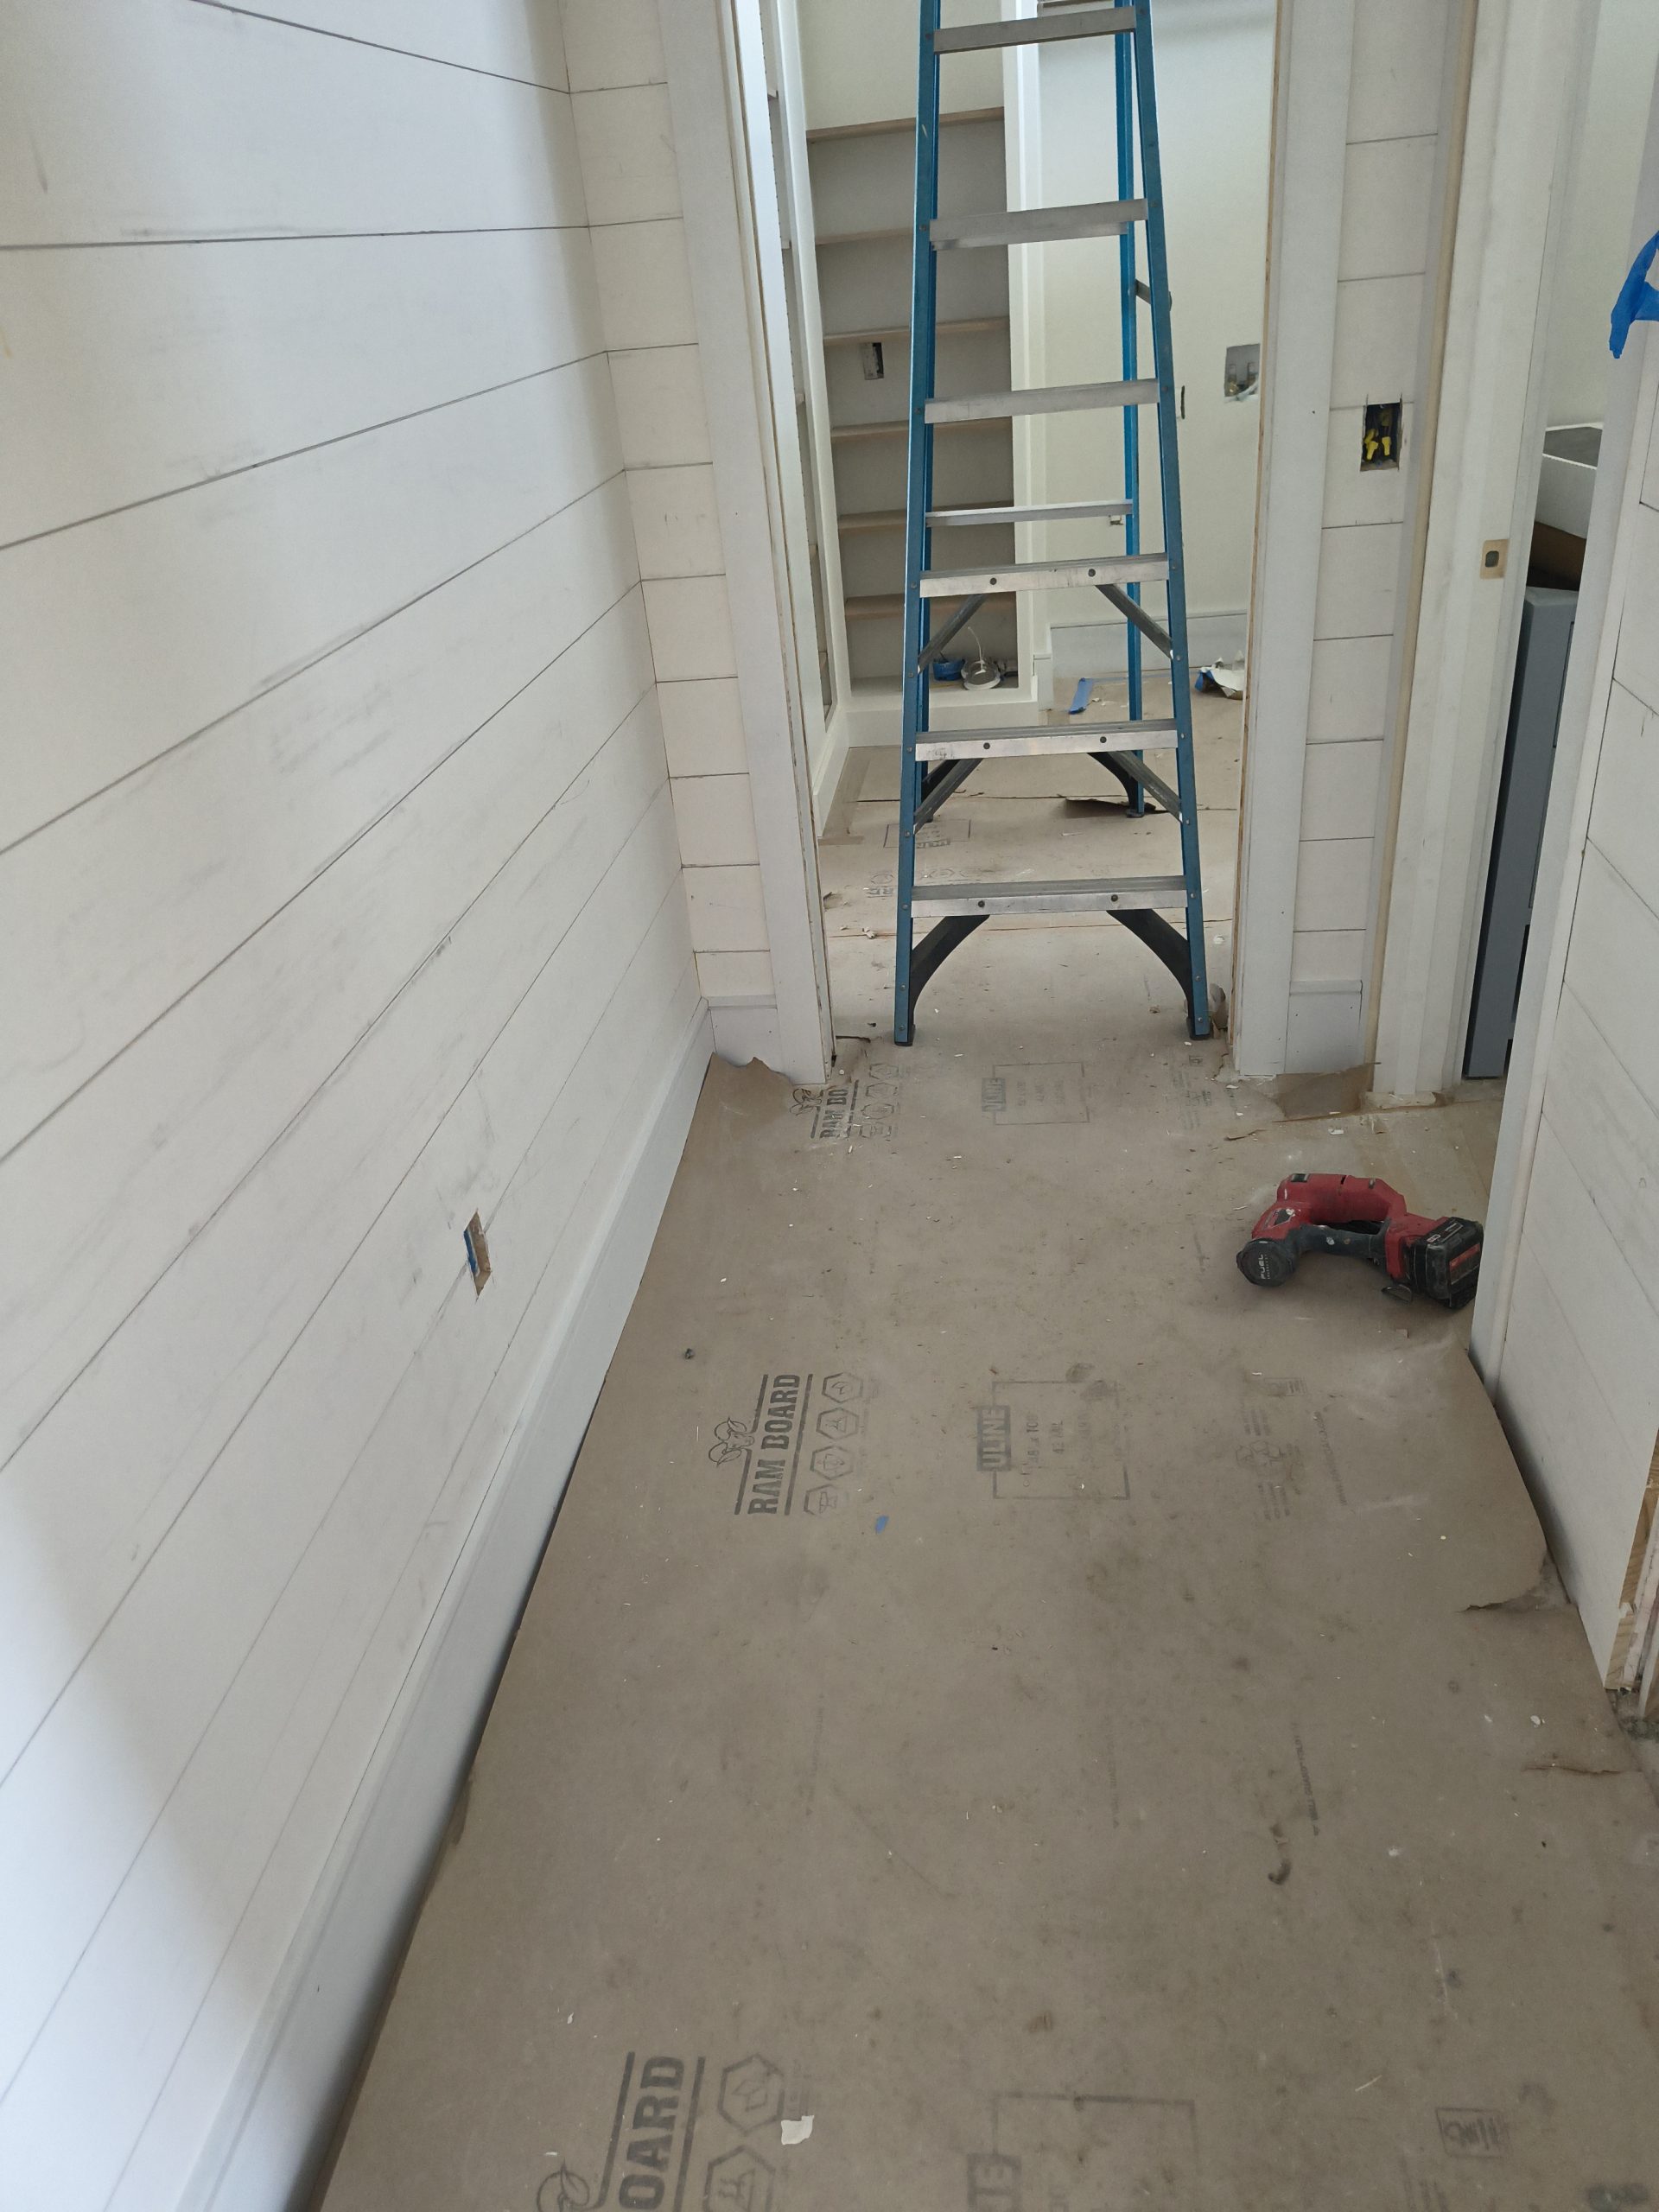
Support the material. Keep the marks where you can read them. Set the main cut station up so the same kind of crosscut can happen over and over without fighting the setup.
The exact saw is secondary here.
Repeatability is the job.
Ceiling cuts stay visible. Rough repeat cuts turn into sanding, recutting, wasted material, or trim work that never should have been necessary.
If you are making the same cut all day, a stable crosscut setup earns its space by taking friction out of the repetition.
When the room gets weird, switch jobs
Then you hit the vent.
Or the box. Beam. Notch. Crooked condition.
Now you are not doing repeat cutting anymore.
Support the board, keep the line visible, slow down, and use a detail-cutting tool you can control around the obstruction.
A jigsaw fits that job well. The exact model matters less than choosing one you can control cleanly around the obstruction.
What matters here is simpler: do not make the repeat-cutting tool pretend it is a detail tool.
The room changed the job. Change tools with it.
If the board is fighting you, stop making it worse
A board that does not want to seat is telling you something.
Listen before you nail it.
Dry-fit the joint. Look at the tongue and groove. Check the cut, debris, obstruction, and alignment. Those are places to look, not a promise that every stubborn board has the same problem.
Find the cause first.
Then make the correction that fits what you found.
Maybe a trim pry tool helps with a controlled adjustment. Maybe an edge needs sanding or a cut needs reworking.
What I do not want is a fit problem turning into a damaged edge, split, scratch, or crooked course because I decided more force was faster.
It usually is not.
Planning a tongue-and-groove ceiling?
Get the free 10-page T&G Project Starter Guide before you spend money on tools. It helps you sort planning, materials, tools, installation decisions, and common mistakes before they get expensive.
Keep the drill, impact and nailer in their own lanes
Once the board fits, the fastening side gets simpler if each tool keeps its own job.
Drill for controlled drilling, pilot work, and prep.
Impact driver for screw-driving when that tool and fastener fit the task.
Finish nailer for finish fastening.
Backing or screw correction belongs on the drilling and screw-driving side. Finish fastening belongs in the nailer lane.
Obvious? Sure.
Still worth saying, because jobs get sloppy when the tool already in your hand starts getting asked to solve everything.
Pick the fastening setup for the ceiling in front of you
This is where I stop listening to universal nailer advice.
For recurring real-wood T&G work, I generally lean toward the 15-gauge finish-nailer lane when the assembly calls for it.
That does not make 15 gauge the answer for every ceiling.
Board profile matters. Thickness matters. The fastener matters. Backing or substrate matters. Finish risk and job conditions matter. Product and project instructions still control when they differ from general field practice.
And if the capable 16-gauge setup you already own genuinely fits the material and assembly, use it.
Do not buy another nailer because a list told you to.
Buy one when the tool you have does not fit the work.
If the nailer itself is the decision, use the current 15-gauge tongue-and-groove ceiling nailer comparison instead of turning this process guide into a product ranking.
Sometimes the access setup is the tool problem
Now look at how you are getting to the ceiling.
A ladder can be fine for short work.
Climbing all day, moving it every few minutes, reaching, and trying to control long boards overhead is another deal.
Bad access starts changing your decisions.
You stretch because moving again is a pain. You try to hold too much. You rush something you would normally stop and check.
That is production friction.
Check the room, footing, work area, utilities, board movement, reach, and how often you need to reposition. Use access that fits the job and the requirements that apply to it.
A good saw or nailer does not make a bad working position good.
See the ceiling sequence in motion
Video credit: Perkins Builder Brothers on YouTube.
Want the full tongue-and-groove install order in one place?
I put the layout checks, prep work, tool judgment, fastening sequence, and common mistake fixes into one practical PDF handbook so you are not guessing your way through the job.
Fix the carpentry before you reach for the finish products
Correction tools belong on the job because corrections happen.
Use a pry tool carefully when something needs to move. Sand or rework an edge when that is what the fit needs. Correct the real problem before the next course carries it farther.
Caulk and filler come later.
They are not there to make bad fit, bad alignment, or a bad cut become good carpentry.
If you know the cause, fix the cause.
Do not turn finish products into camouflage.
Know when the smart move is to stop
Correction is one thing.
Reset is the moment you realize you are not sure the process is still under control.
That is when I stop.
The control line moved.
Boards keep fighting and I do not know why.
The cutout is getting sketchy.
The fastening plan no longer fits what I am looking at.
The access position is getting bad enough to change my judgment.
Stop. Recheck.
A clean cutoff or test piece can be cheap insurance when you need to prove a fit or setup before risking another full board.
That is not wasted motion.
The wasted motion is fixing five boards because you refused to check one.
Don’t buy your way around a technique problem
Buying order should follow the bottleneck.
Layout is bad? Fix the reference system.
Repeat cuts are bad? Fix the cut station.
Vents and boxes are chewing up boards? Fix the detail-cutting setup.
Drill, impact, and nailer already fit their jobs? Keep them.
Access is running the whole day? Another power tool may not help you at all.
Do not buy the same capability twice just to complete somebody else’s tool list.
Spend the money when something is actually missing or when the setup you have keeps costing you accuracy, finish quality, control, or production.
Reader need comes first.
The retailer link comes after that decision.
Where to go next
Use the broader T&G tool guide when you need the complete tool system by job role.
Use the installation guide when the bigger question is the full ceiling sequence.
Use a deeper tool guide when one category becomes the actual decision.
The handbook is there when you want the complete installation sequence together in one place.
Bottom line
Good tools help.
Good process is what makes them useful.
Prove the room. Keep a reference you can recheck. Make repeat cuts repeatable. Slow down for the weird cuts. Fit before force. Keep drilling, screw-driving, and finish fastening in their own lanes. Match the fastening setup to the assembly. Treat access like part of production. Fix known problems, and stop when you are no longer sure.
Then buy another tool when a real capability is missing or the setup you have is holding the job back.
Not before.