
Best Tongue-and-Groove Nail Guns for DIY
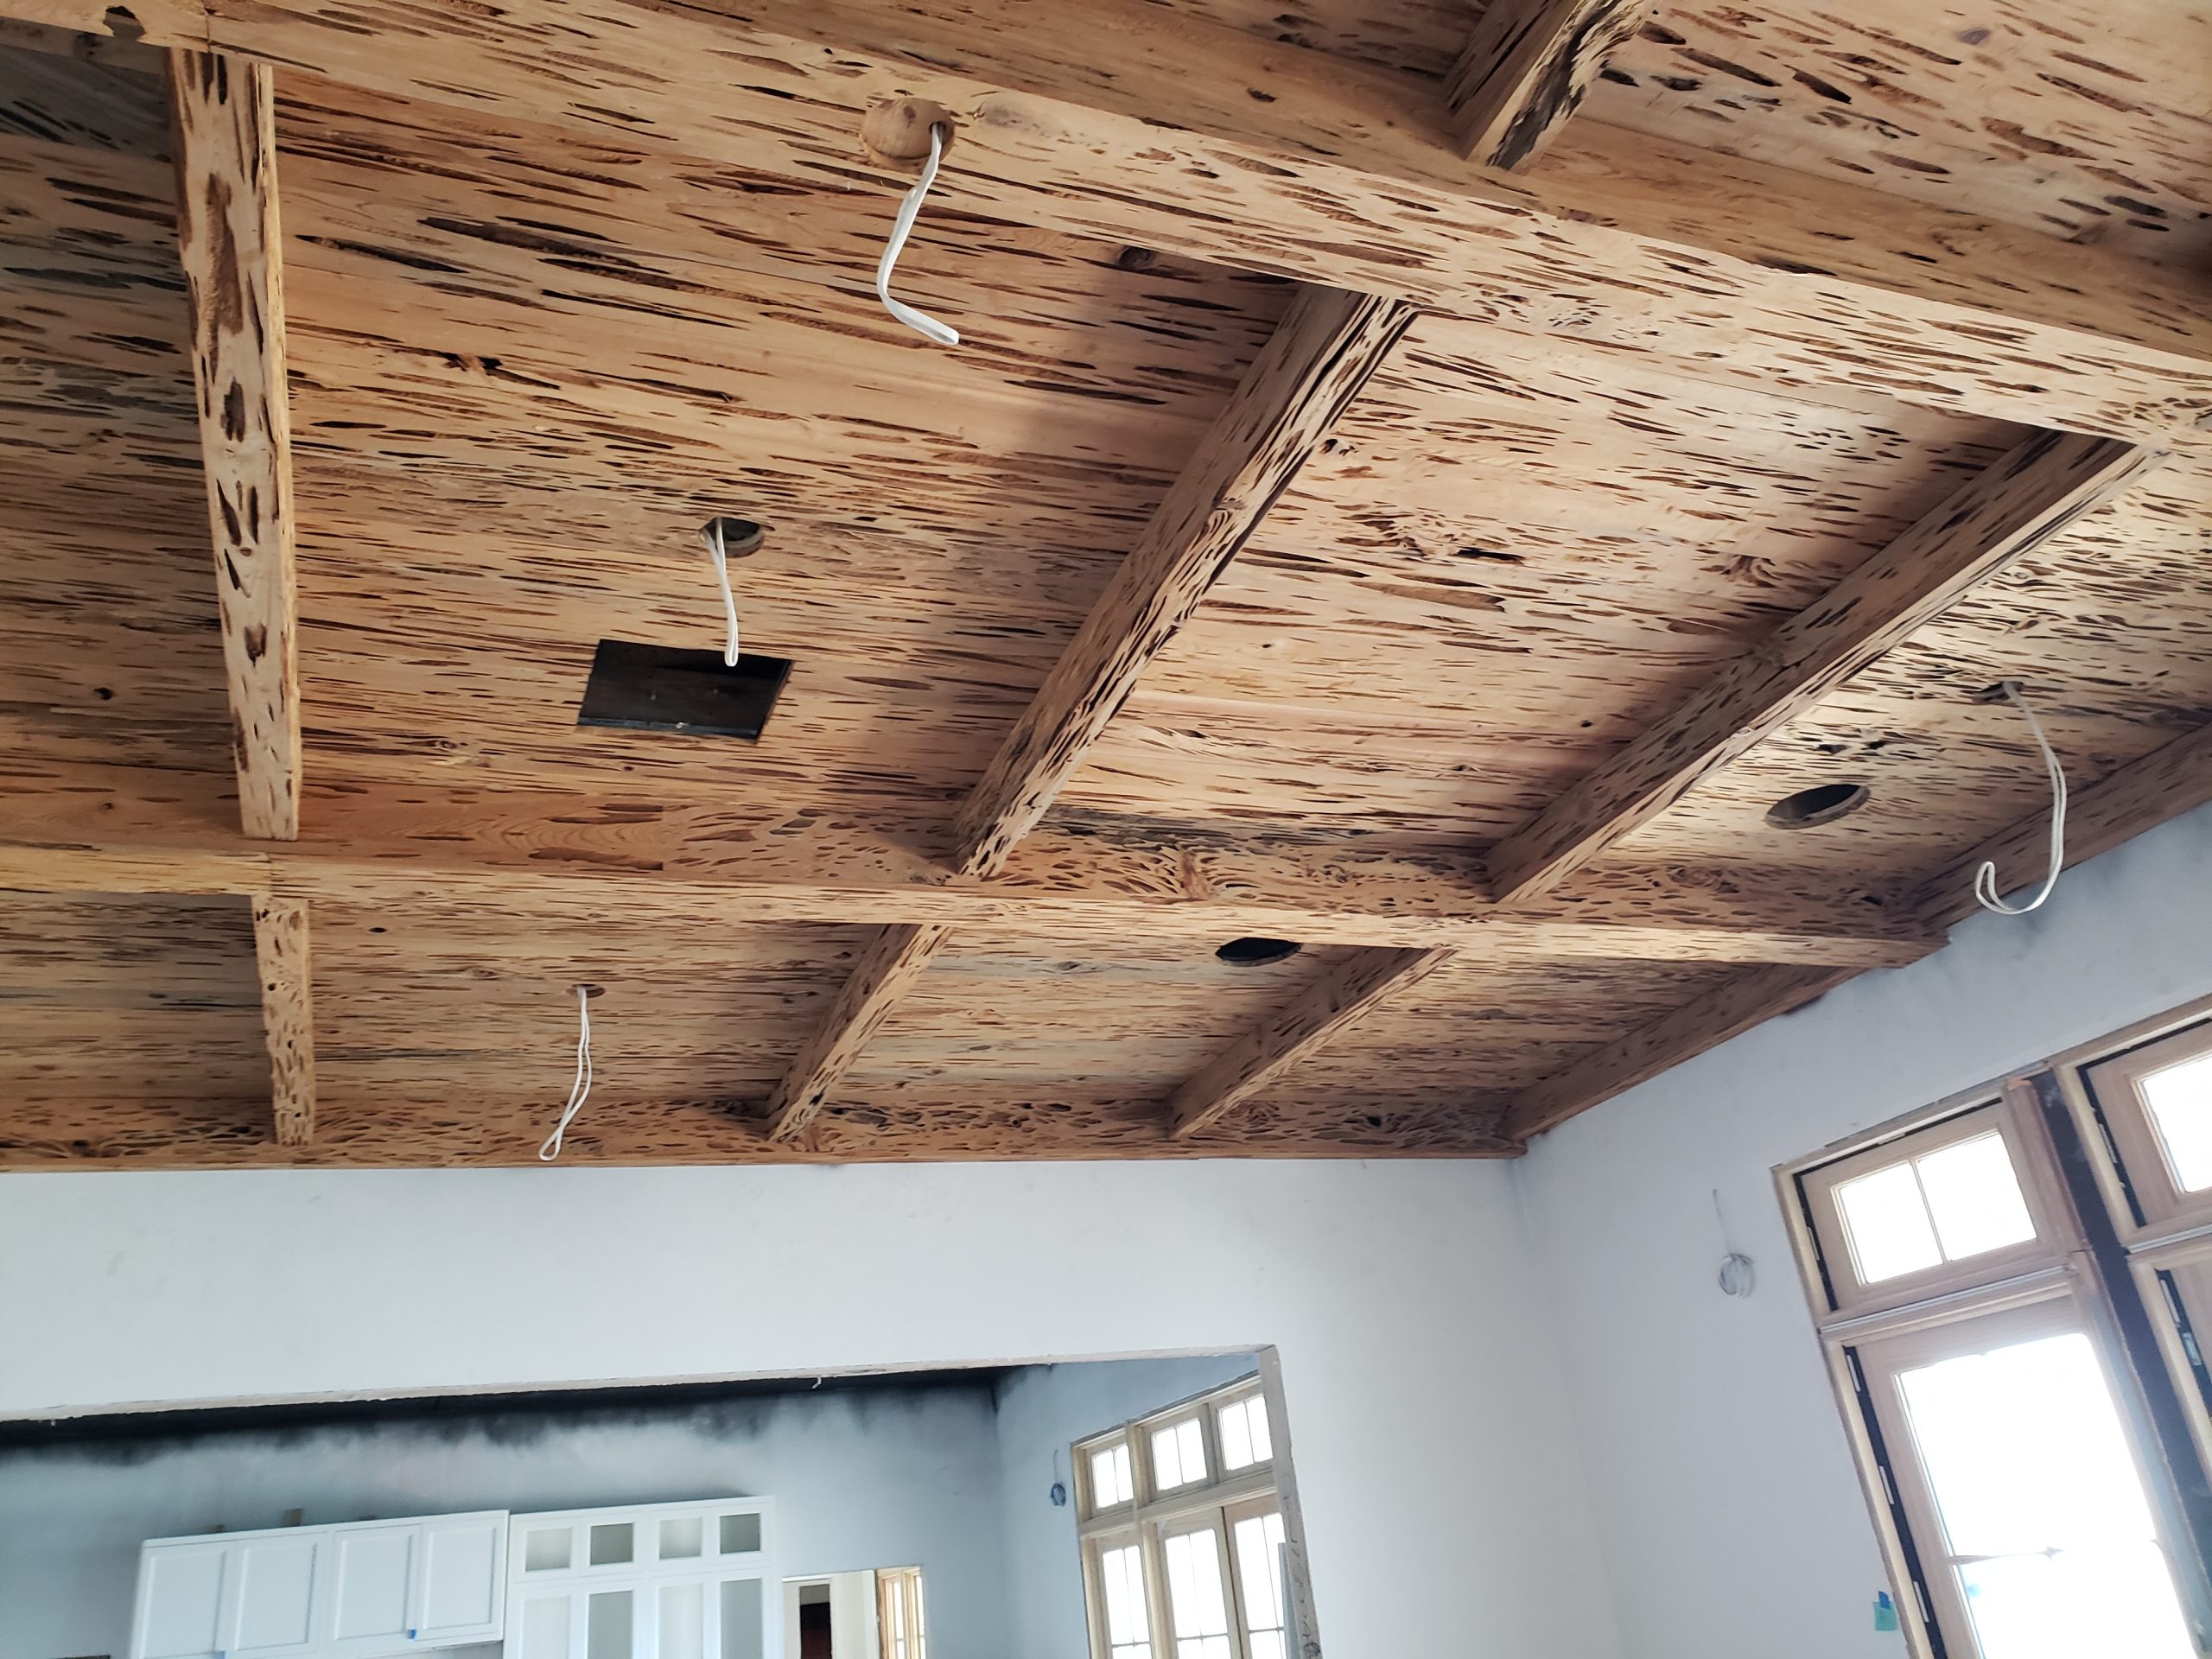
If you are doing one tongue-and-groove project, do not start by assuming you need another nail gun. Most of the tools in this conversation are ordinary trim and finish nailers being used on T&G. Start with the setup you already own, then prove whether it fits the board, backing, fastener, and work position.
Start With What You Already Own
Before shopping, inventory the actual fastening setup in the garage or truck. If you already have a compressor and a capable finish nailer, that may cover a one-project DIY ceiling. If you are already invested in a battery platform with a suitable nailer, staying on that platform can matter more than chasing a different color tool.
The screen is simple: can it drive an appropriate fastener without splitting the tongue, bruising the face, or leaving the board under-fastened? If yes, there is no prize for buying another gun.
What Actually Controls the Fastener Choice
Gauge is only one part of the decision. Board profile, species, thickness, tongue condition, backing or substrate, fastener length, coating, placement, environment, and the tool and material instructions all matter.
Herb generally prefers the 15-gauge finish-nailer lane when stronger holding power is appropriate for real-wood T&G. That is a field preference, not a universal rule. A capable 16-gauge finish nailer can be a practical one-project DIY choice when the assembly supports it. An 18-gauge brad nailer belongs in lighter trim, thin material, repair work, or support tasks when the holding demand allows it.
When product-specific instructions, an engineered requirement, code, or the authority having jurisdiction differ from general field practice, the specific requirement controls.
Capable Is Not the Same as Preferred
This is where DIY buying advice gets wasteful.
If you already own a capable 16-gauge finish nailer and compressor, evaluate that setup before buying a 15-gauge gun for one ceiling. For recurring trim and T&G work, Herb generally prefers the 15-gauge finish-nailer lane. Repeated paid work can justify a preferred setup because little differences in handling and workflow repeat all year.
For one project, capable may be the smarter answer. For recurring work, preferred can earn its cost.
Pneumatic or Cordless?
Pneumatic makes sense when the compressor, hose, fittings, and suitable nailer are already part of your setup. The hand tool can be easier to carry through a long session, and you are not managing battery charge. The tradeoff is everything attached to the gun: compressor setup, hose routing, moving around ladders or platforms, and keeping the hose from dragging across finished work.
Cordless removes the compressor and hose from the room. Overhead, that can simplify movement and reduce the amount of gear following you from one side of the ceiling to the other. The tradeoff shifts to battery weight, charging, platform cost, and whether another battery ecosystem makes sense.
Neither system wins everywhere. Pick the one that meets the fastening requirement with the least unnecessary setup.
Quick Decision Table
- USE EXISTING — Your current finish nailer and fastener setup fit the board, backing, and applicable instructions. Test it on scrap and put it to work.
- BORROW OR RENT — The job needs a capability you are unlikely to use again, and a safe borrowed or rental setup solves it without turning into another permanent tool purchase.
- BUY FOR THE PROJECT — Your current tools cannot do the required job cleanly, and the new capability will be useful beyond one afternoon.
- UPGRADE FOR PRODUCTION — You do recurring paid trim or T&G work, and mobility, durability, battery ecosystem, handling, serviceability, or setup time repeatedly affects production.
When Buying Another Nailer Makes Sense
A new nailer should solve something you can name.
Maybe your current gun does not accept the fastener the assembly calls for. Maybe a hose is creating enough overhead friction that cordless mobility matters. Maybe you already own the batteries and the tool fills a genuine hole in the platform. Maybe you are moving from occasional DIY work into recurring trim work.
A longer comparison chart is not a reason to buy. Eight models are not more useful than three if five solve the same problem.
Exact model recommendations belong in the package only after current manufacturer specifications and product fit are verified. The recommendation should still be useful if there is no affiliate link attached.
What Changes for Recurring Paid Work
A contractor pays the same little setup penalty over and over, so small workflow differences matter more.
When the gun comes out every week, hose management, battery compatibility, transport, handling, serviceability, and repeated setup matter more. Paying more can make sense when the upgrade removes a recurring production problem.
That is also where Herb’s 15-gauge preference belongs. It is a recurring-work preference grounded in the kind of trim and T&G work he does, not a reason to tell a homeowner to replace a capable tool that already fits one project.
What Not to Buy
Do not use a framing nailer just because stronger sounds better. Finish work needs a fastening setup that fits the board and assembly.
Do not buy a second nailer that duplicates a capability you already have unless it solves a clear workflow problem.
Do not choose a lighter-duty gun only because the hole is smaller if the assembly needs more holding capacity.
And do not let battery-platform loyalty or affiliate availability pick the tool role before the work does.
Test the Setup Before the Finished Board
Use scrap from the actual material when you can.
Set up the tool and fastener according to the applicable instructions, then test the drive. Look for tongue splitting, crushed edges, face damage, proud fasteners, overdriven fasteners, or inconsistent seating. Check that you actually have the backing or substrate you think you have.
Do not stop at the face. Check the tongue, the fastener set, and the backing. The scrap test is where you want to find the problem—not five boards into the ceiling.
Want the full tongue-and-groove install order in one place?
I put the layout checks, prep work, tool judgment, fastening sequence, and common mistake fixes into one practical PDF handbook so you are not guessing your way through the job.
Herb’s Rule of Thumb
Herb’s Rule of Thumb: Use the capable tool you already own when it truly fits the job. Buy another nailer only when the project exposes a capability or workflow problem you can name. For recurring T&G and trim work, Herb generally prefers the 15-gauge finish-nailer lane when stronger holding power is appropriate, but the board, backing, fastener, and instructions still control the final choice.
Free 10-Page Field Guide
Catch the Mistake While It Is Still a Decision
Get the free T&G Project Starter Guide for the planning, setup, installation, and hard-stop checks that are cheapest to fix before finished boards cover them up.
No purchase required. One practical T&G starting guide.
Related Nail-Gun and Tool Guides
For the broader low-friction ceiling setup, use Top Tongue and Groove Ceiling Tools for Successful DIY Projects.
For a ceiling-specific nailer comparison, use Best Tongue and Groove Ceiling Nail Gun: 5 Current 15-Gauge Options.
If fastening choices are showing up later as visible finish problems, use How to Achieve a Professional Finish on Tongue-and-Groove Ceilings.
Bottom Line
Buy the fastening lane first and the logo second. Start with what you own, prove it on the actual assembly, and spend money only when another nailer removes a limitation you can name. The handbook carries that decision into the full layout, fastening, fit, and finish sequence.