
Tongue-and-Groove Prep & Planning: Layout, Materials, Access, Finish, and Waste
A tongue-and-groove job can go sideways before the first board ever reaches the ceiling.
The material can be right and the tools can be right, and you can still create a mess by starting with a bad reference, ordering from rough square footage, ignoring where seams will land, or figuring out the finish and access plan after the boards are already overhead.
Good tongue-and-groove prep and planning is not paperwork before the real work. It is part of the installation. Get the decisions settled while they are still cheap to change.
Settle These Decisions Before You Start Cutting
Before I call a T&G job ready, I want the basic questions answered:
- What am I fastening to?
- What exact product or board profile am I installing?
- Which direction should the boards run, and what will the room look like from the places people actually use it?
- Where are the starter course, finish course, visible seams, beams, fixtures, windows, and transitions going to land?
- How much usable material do I need after coverage, stock lengths, cuts, and waste are considered?
- When will the material be finished?
- How will boards move through the room, where will the cut station sit, and how will I reach the work safely?
- What fastening method and tool roles does the actual product and assembly call for?
- Is there anything still being guessed at?
That last question catches a lot. If the answer is yes, the job is not ready just because the material showed up.
Start With the Room, Not the Boards
Walk the room before you build a plan around it.
Find the framing or other approved fastening support. Note existing drywall or other substrate. Locate beams, fans, recessed lights, vents, windows, doors, transitions, and anything else that will interrupt the field. Check the surfaces you are tempted to use as references. A wall can look straight and still be a lousy control for a whole ceiling.
You do not need to turn this into a structural inspection. You do need to know whether the conditions behind the finished surface change the way the job has to be laid out or fastened.
I would rather find that problem with a tape and a pencil than after a stack of finished boards is overhead.
Let the Actual Product Set the Rules
“T&G” is not one material.
Species, profile, board width, usable coverage, grade, finish, moisture history, and manufacturer instructions can all change the plan. Prefinished boards create different handling and touch-up concerns than unfinished material. One profile may have different installed coverage or fastening instructions than another.
The same goes for acclimation. I do not use one website-wide number and pretend it fits every board. The actual material, where it came from, the jobsite conditions, the meter method when one is appropriate, and the manufacturer’s guidance all matter.
That is why I want the real product identified before the estimating, layout, finish, and fastening plan gets treated as final.
Lay Out What People Will Actually See
Board direction is not just a “which way makes the room look bigger?” decision.
It has to work with the fastening support, the product, the room geometry, the starter and finish conditions, obstacles, and the finished sightlines. Before I commit material, I want a repeatable reference I can come back to. That may be a snapped control line, reference measurements, or another physical check that fits the room. A laser can help on some jobs. It is not a substitute for knowing what reference is controlling the field.
Then stand where the room will actually be used and look at the ceiling from there.
This matters when field seams are unavoidable. I generally like working left to right, but I will reverse the run if the finished room gives me a reason. On a recent ceiling I worked right to left because it turned the visible lap of the field seams away from the main seated sightline. The direction was serving the finished room, not my habit.
Beams change the decision again. If a future decorative beam will definitely cover a board break, that beam footprint can become a planned concealment zone—provided the board ends still have the support, fastening, movement allowance, and final coverage the assembly requires.
Herb’s Rule of Thumb
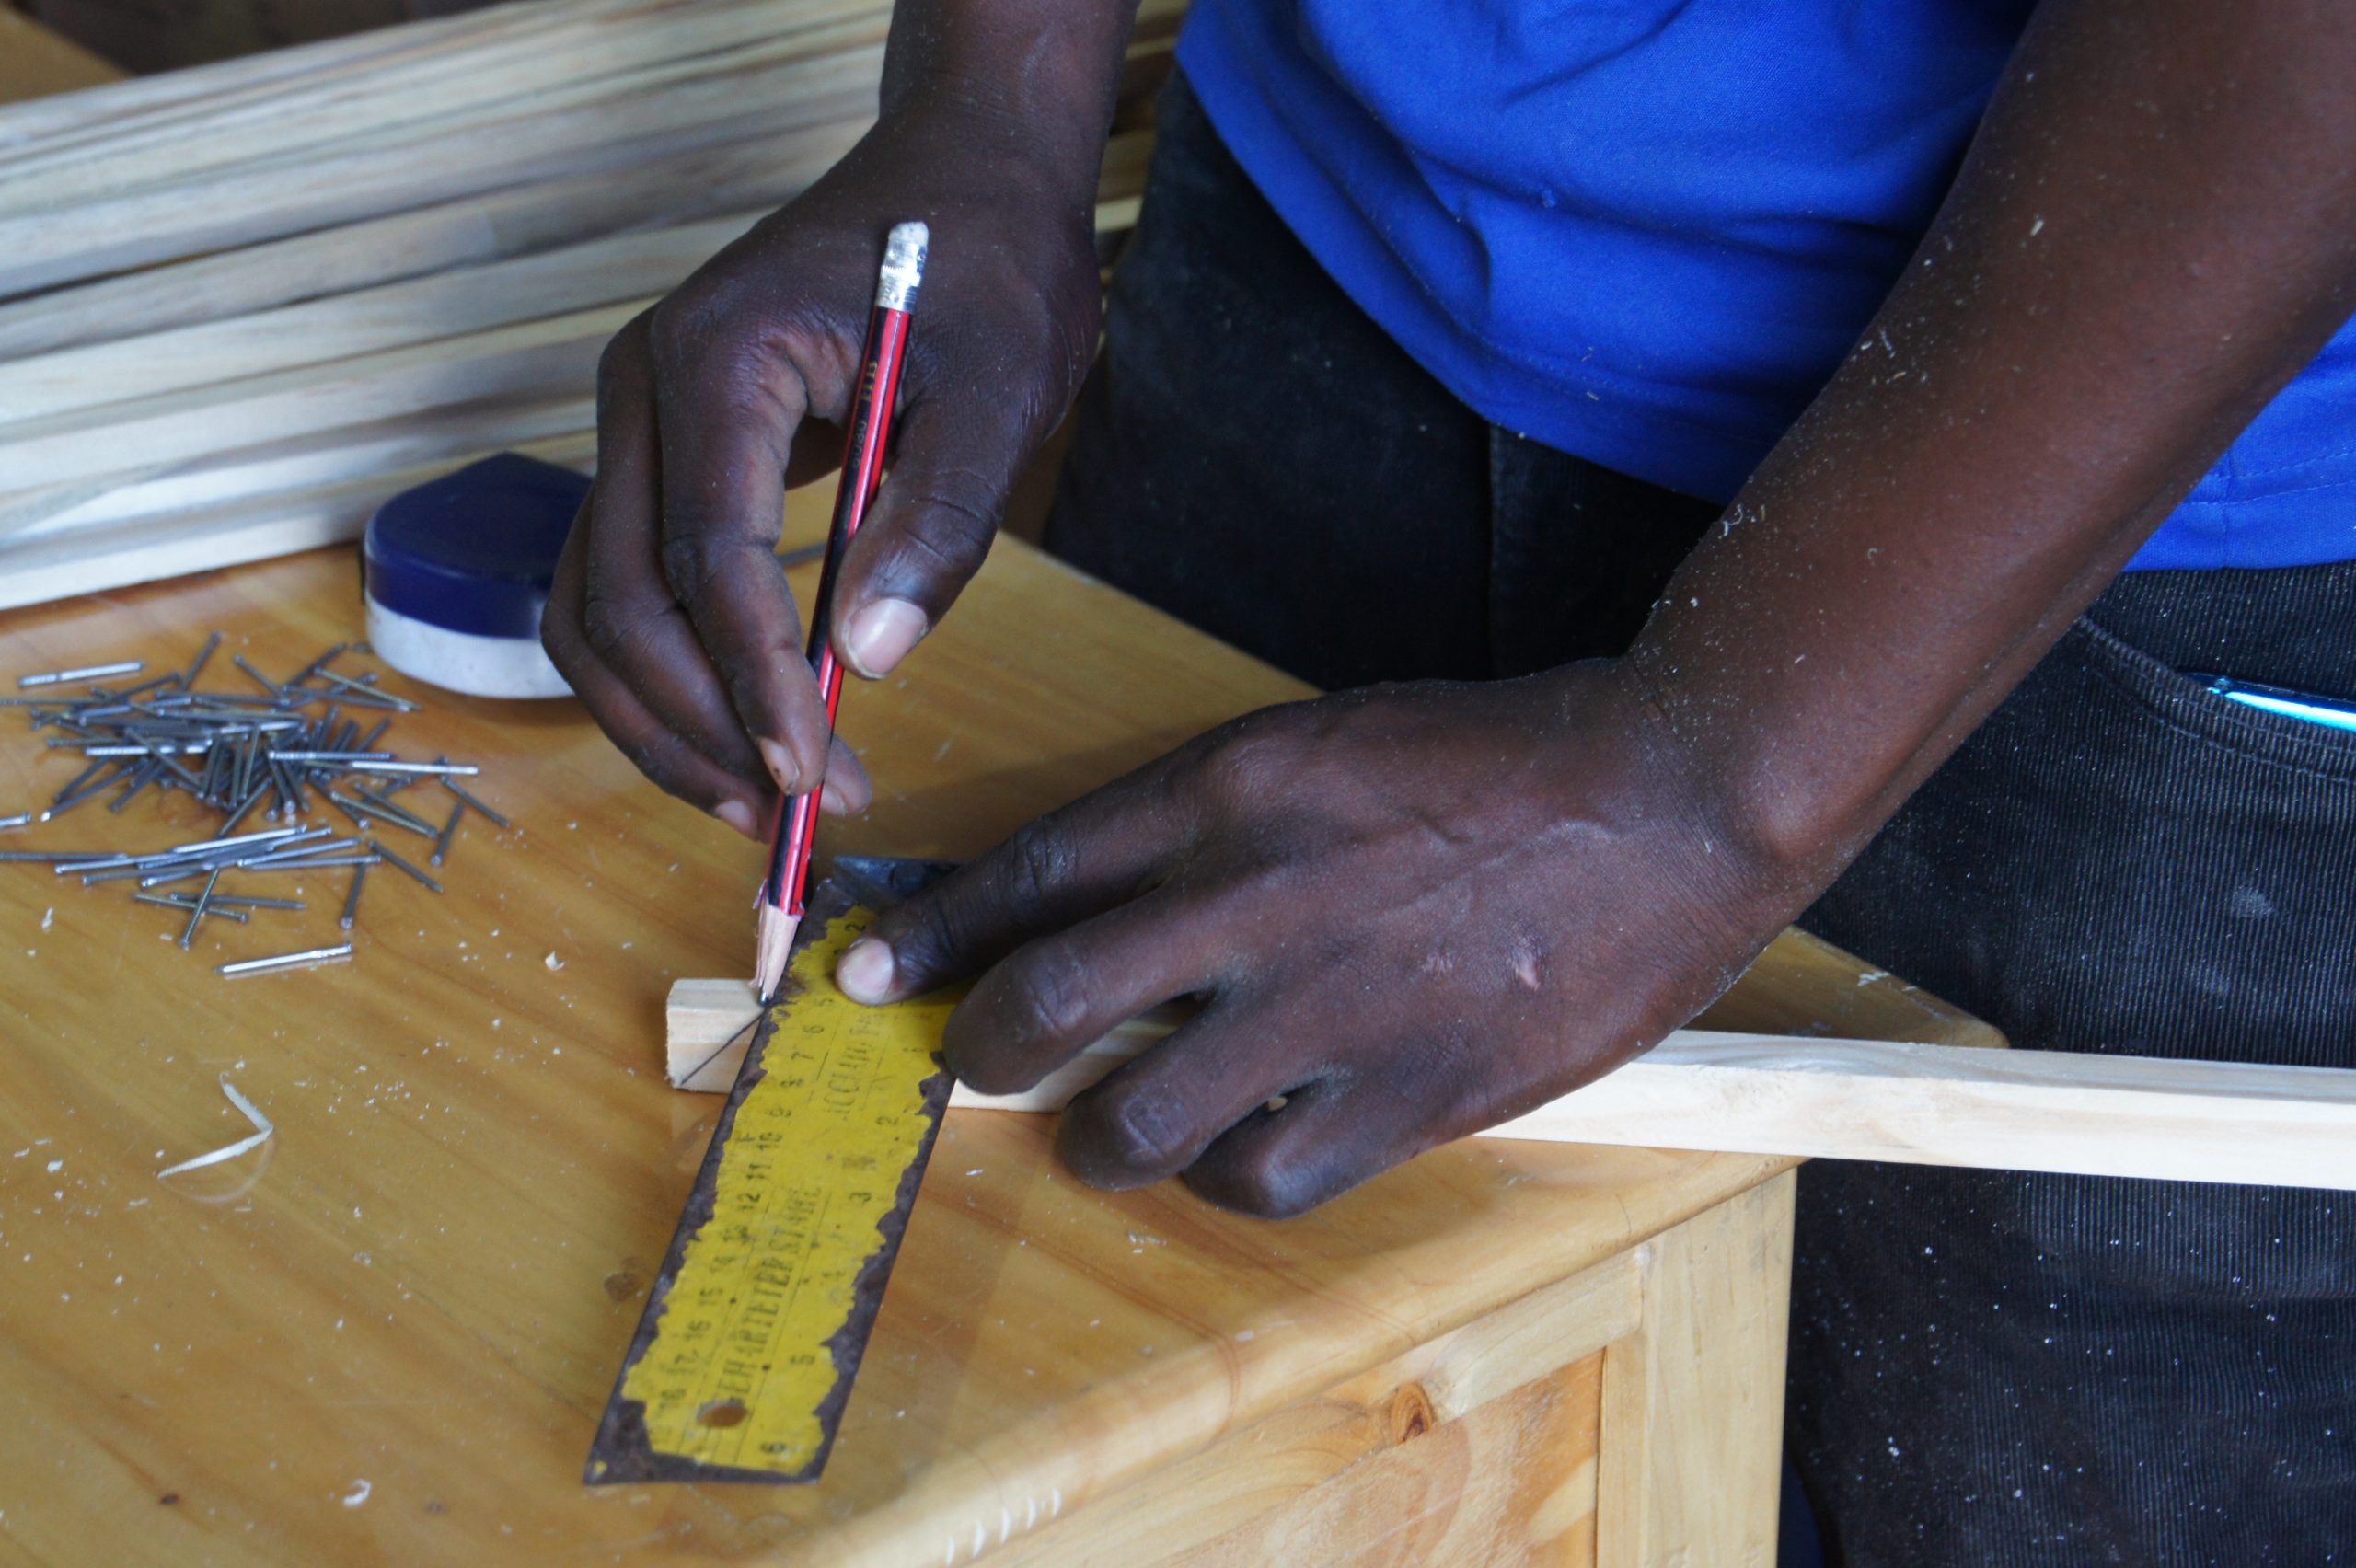
If you do not have a repeatable reference you can measure from and check again, you are not ready to start fastening.
Make the Layout and the Stock Lengths Work Together
Material planning gets better when you stop treating every board as if it has to span the same distance.
On a coffered ceiling, known beam locations can divide the run into useful planning zones. If a beam will completely cover a planned break and the assembly is properly supported, shorter stock may be useful instead of scrap. I have used that approach to save full-length boards for the places where full length actually matters.
That is not permission to hide unsupported joints under trim. It is a reason to lay out the beams, backing, board breaks, and stock lengths together before you start cutting.
The same thinking applies without beams: look at the actual stock lengths, the room dimensions, the direction of the run, where cutoffs can realistically be reused, and where visible joints would hurt the finished look.
Room square footage is only the start of an order. The material takeoff guide handles the detailed quantity math, installed coverage, course count, stock-length fit, openings, and project-specific waste.
Planning the whole T&G job? The free 10-page T&G Project Starter Guide helps you check layout, materials, tools, access, finish, and common-mistake decisions before the first board goes up.
Decide the Finish Before the Boards Are Overhead
Paint, stain, clear finish, factory-finished material, and field finishing do not create the same workflow.
Decide what the finished surface is supposed to be before installation starts. Think through exposed cut ends, touch-up, color consistency, masking, ventilation, drying or curing, and how much work you are willing to do overhead.
This is also where handling becomes part of quality. A prefinished face that gets dragged across a rough stack or chipped at the cut station is no longer “finished” just because it arrived that way.
If you are still deciding between paint and stain, settle that before the installation plan hardens. The paint-versus-stain guide owns that decision in more depth.
Plan Access, Staging, and the Cut Station
A ceiling job can have a good layout and still waste hours because the work area was never planned.
Where are the boards stored? Can long pieces get into the room without being bent around furniture or doorways? Where is the saw going? Is there enough support for the material at the cut station? Is the lighting good enough to see layout marks, joints, and finished faces? Are cords, hoses, offcuts, and stacked boards going to stay out of the travel path?
Then look up.
If you are moving a ladder every few minutes, stretching to control long material, or carrying boards through a cluttered room, access starts controlling the job. Fix that before production begins.
The best saw or nailer on the site cannot make a bad work position efficient.
Be Fastening-Ready, Not Just Tool-Ready
Before the first course goes up, I want four things settled:
- the approved support or substrate receiving the fasteners;
- the product-specific fastening requirements;
- the reference or backing locations I need to hit;
- the actual jobs the tools need to perform.
That last one is deliberately last. Buying another tool is not a planning method.
A tape and control line establish references. Cutting tools make the cuts the layout calls for. The fastening tool has to fit the board, fastener, substrate, and product requirements. Access equipment gets you into a position where you can do the work without fighting it.
If the tool question is becoming the project, use the T&G installation tools guide. If you are ready to move from planning into the actual ceiling sequence, use the full installation guide.
Video: See Product-Specific T&G Installation Guidance
Video credit: Woodtone — “Install Tongue & Groove Paneling.” Woodtone presents this for its FineLine and Traditional wall-and-ceiling products; use it as an example of product-specific guidance, not as a universal fastening or acclimation rule.
Video: Planning Walkthrough — Before You Install
Video credit: Ultimate DIYer (Ron King) — “Before You Install a Tongue and Groove Ceiling Watch This.” A practical planning walkthrough covering layout, measuring and cutting board lengths, and working around can lights.
Want the full tongue-and-groove install order in one place?
I put the layout checks, prep work, tool judgment, fastening sequence, and common mistake fixes into one practical PDF handbook so you are not guessing your way through the job.
Run a Real Go/No-Go Check
Before I fasten the first board, I want to be able to say yes to these:
- The room and fastening support have been checked.
- The actual T&G product is known.
- Product-specific installation guidance has been reviewed.
- Material condition and acclimation requirements have been handled for that product and job.
- Board direction and the working reference are established.
- Starter and finish conditions have been considered.
- Visible seam and beam locations have been planned where they matter.
- Usable coverage, stock lengths, cuts, and waste have been accounted for.
- The finish sequence is decided.
- Access, staging, lighting, material handling, and the cut station are ready.
- Fastening requirements and tool roles are known.
- There is no unresolved condition being carried into installation as a guess.
If one of those is no, that is the next task. Not the first board.
Prep Mistakes That Get Expensive Later
Ordering from room area alone. Square footage does not tell you installed coverage, stock-length fit, cutoff reuse, defects, layout loss, or the waste the actual job creates.
Choosing run direction by habit. The preferred direction can lose to the room, the support, the sightline, or a beam/seam plan. Let the finished job decide.
Trusting the wall as the reference. Small errors travel. Establish something repeatable that lets you check the field instead of following whatever the last board did.
Borrowing somebody else’s acclimation rule. The number that fits one product or climate may be wrong for another. Use the material and manufacturer information for the job in front of you.
Planning the finish after installation. That can turn simple handling and touch-up decisions into overhead sanding, masking, color matching, and access work.
Buying tools before defining the work. A new tool does not fix an unresolved layout, unsupported joint, or bad fastening plan.
Starting because the material arrived. Delivery is not a readiness test.
Bottom Line
A good T&G installation starts before the nailer comes out.
Know the room. Know the product. Establish the reference. Decide what people will see. Make the beam, seam, and stock-length plan work together. Settle the finish, access, and fastening requirements before production begins.
Then start installing.
That sequence is not slower. It is what keeps a small planning mistake from becoming a ceiling full of rework.