
Transform Your Space: A Comprehensive Guide to Tongue and Groove Ceiling Installation
The first board is not the start of a tongue and groove ceiling installation.
The job starts before that.
You need to know what the finished ceiling is supposed to look like, what the room and support conditions will allow, and how you’re going to keep the layout under control.
Skip that part and the trouble shows up later. A starter row drifts. The last row turns ugly. A light or vent lands where you don’t want it. Or the access setup makes every board harder than it should be.
This is the planning side of the installation. Get the room, layout, material, access, and work setup straight before visible boards start getting fastened.
If you’re still deciding whether a tongue-and-groove ceiling makes sense for the room at all, start with the broader homeowner tongue-and-groove ceiling guide first.
Herb’s Rule of Thumb
I trust the layout and access setup before I trust a fast fix. If the starting reference is honest and the work position is stable, the rest of the ceiling is easier to control.
Decide what you want the ceiling to look like
Before you pick a starting line, decide what you want the finished field to do.
Which direction makes sense for the room and the actual support or project requirements? What line does your eye follow when you walk in? Where will perimeter trim land? Are beams, openings, and transitions going to look deliberate, or like you found them halfway through the job?
And what has to stay serviceable?
A clean ceiling isn’t much of a win if the trim plan blocks access somebody needs later.
The look matters. It just doesn’t get to overrule the assembly.
Set the visual goal, verify the room and support conditions, then establish control references that let you repeat the plan.
Read the room before material starts flying
Start with the room you’ve actually got.
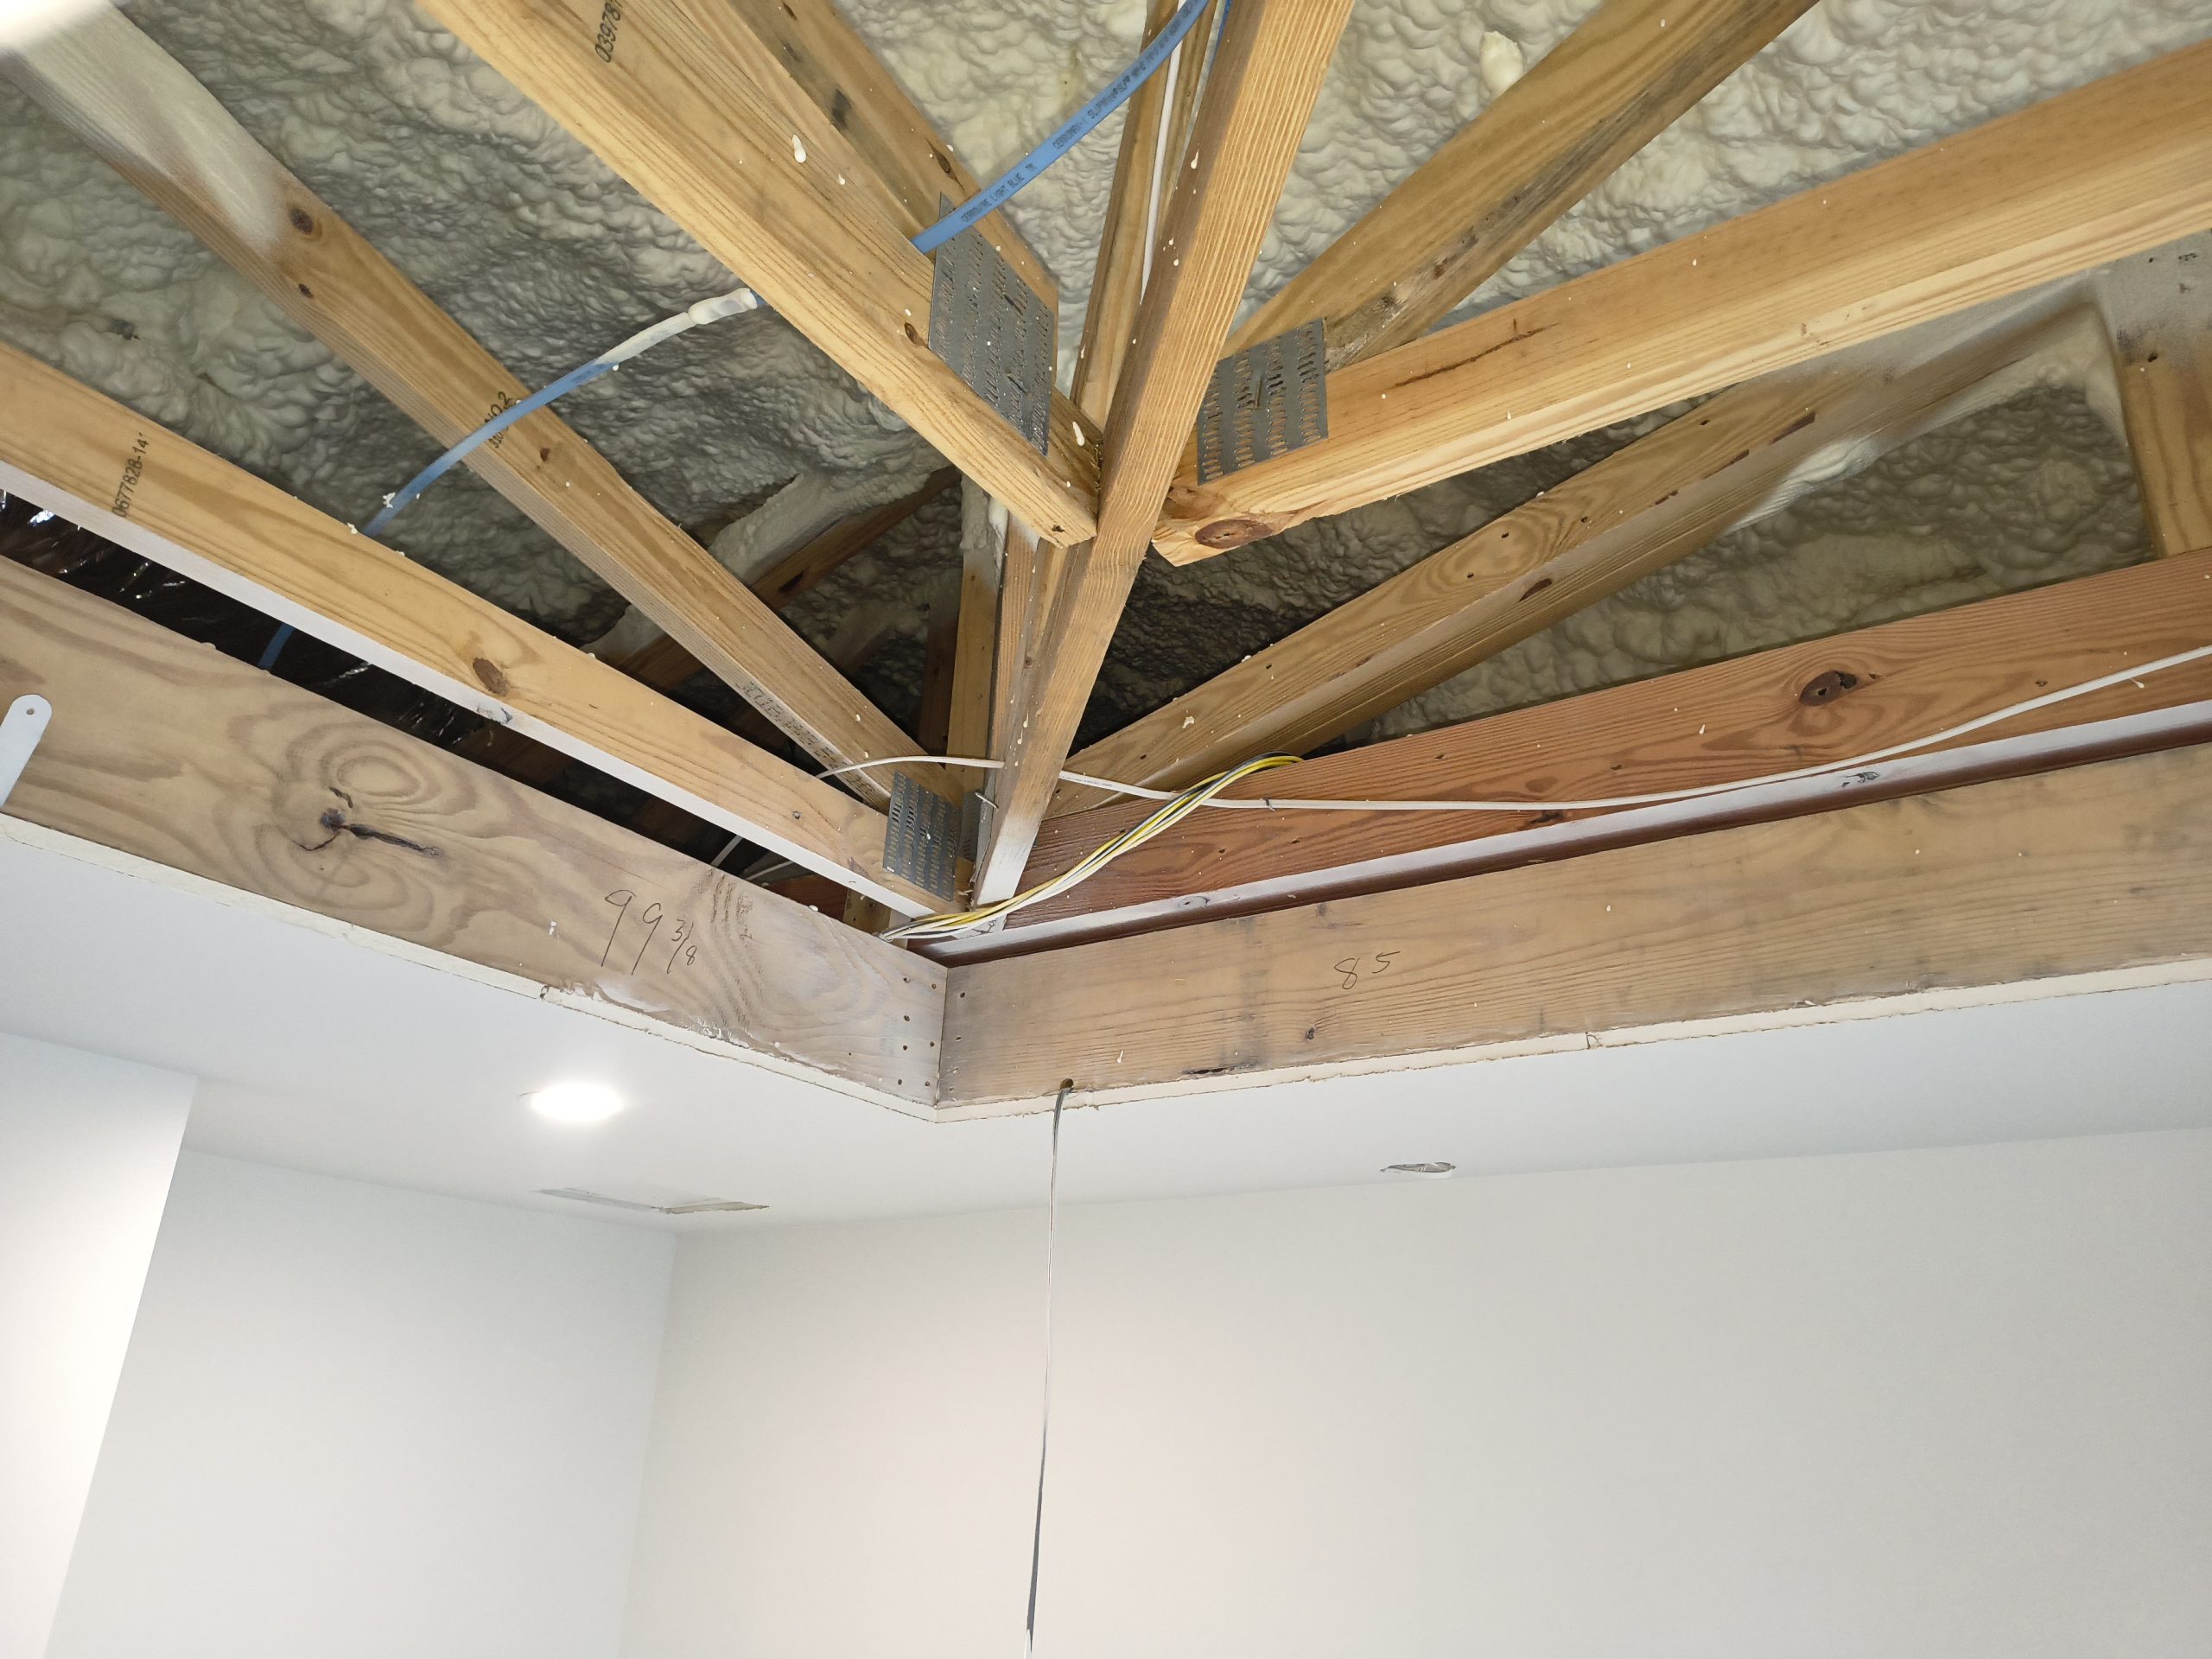
Check the ceiling shape, framing or other support conditions, height changes, beams, lights, vents, openings, utilities, and anywhere another trade may need access later.
Then look at the work itself. How are the boards getting into the room? Where can they rest without getting beat up? Where can the cutting station sit without making you walk the room all day?
Find the places that can change the plan.
A vent in the middle of the field is one thing. A beam, stair opening, sloped section, or transition into another ceiling can change how the whole layout reads.
You don’t need every odd cut solved yet.
You do need to know where the room stops being simple.
Make the material fit the room
The boards affect the plan too.
Profile, width, species or product type, finish condition, board length, and manufacturer requirements can change handling, layout, cuts, joint behavior, and finish sequencing.
Don’t grab one acclimation number or moisture target and apply it to every tongue and groove product.
Check the actual material, how it was stored and shipped, the jobsite conditions, the meter method if you’re using one, and the manufacturer’s instructions.
Same thing with wood movement. Softwood versus hardwood isn’t enough information by itself. Species, grain, cut, board width, moisture change, environment, and the actual product all matter.
General field practice helps. But product-specific manufacturer instructions, engineered requirements, applicable code, and the authority having jurisdiction control when they differ.
Planning a tongue-and-groove ceiling?
Get the free 10-page T&G Project Starter Guide before the first board goes up. It covers planning, materials, tools, installation decisions, and the mistakes that are cheapest to catch early.
Set board direction before you lay out rows
Board direction and layout go together.
Once the direction is settled, establish repeatable references. A tape, square, and snapped chalk or control line can tell you more than a pile of gadgetry if you use them right. A reel such as the Stanley 47-140 FatMax is the kind of simple layout tool that earns its keep here because the line can be checked again as the field grows.
A laser can help on some jobs. Something like the DeWalt DW088LG or Bosch GCL 2-160 can be useful when a long reference check saves time, but a laser still isn’t automatically the default answer.
You need a reference you can check again as the field grows.
If the first line is wrong, the mistake doesn’t stay in the first row. It travels. By the time you notice it, you may be pulling boards instead of moving a pencil mark.
Catch it while the ceiling is still empty.
Deal with obstacles before the field reaches them
Lights, vents, beams, openings, trim transitions, and access panels shouldn’t become surprises halfway across the ceiling.
Mark them. Measure them. Think through how the boards approach them and how the finished detail gets away from them.
You don’t need to cut everything in advance. That can cause its own problems.
But you should know what happens when the field reaches each interruption.
Think about future access too. Where the project allows it, the finished detail should handle normal movement without unnecessarily pinning the T&G field or trapping something that needs service later.
If the product or project requires something different, follow that requirement.
Work backward from the first row and the last row
A starter row can look perfect and still create a lousy ending.
So don’t only look at the first row.
Where is it landing? What does the likely last row look like? Will the perimeter trim cover what you expect? Are you setting yourself up for a skinny, awkward strip where a small layout adjustment now would give you a cleaner finish later?
A little dry thinking pays for itself here.
Measure from the control reference. Check the room width in more than one place when the geometry calls for it. Dry-fit or mock up a small condition when that tells you something the tape alone can’t.
The cheap correction is the one you make before the first board is fastened.
See the ceiling-prep side before installation
Video credit: The Kelley’s Country Life on YouTube.
Want the full tongue-and-groove install order in one place?
I put the layout checks, prep work, tool judgment, fastening sequence, and common mistake fixes into one practical PDF handbook so you are not guessing your way through the job.
Cover the cutting and fastening jobs before you start
Don’t build the tool plan around brands.
Build it around jobs.
You need a repeatable way to make the normal crosscuts. You need another way to handle detail cuts and corrections. You need drilling and screw capability where the project calls for it. And you need a finish-fastening setup that fits the actual assembly.
The assembly controls the nailer decision.
For recurring real-wood T&G work, I generally prefer the 15-gauge finish-nailer lane when the assembly calls for it. A cordless DeWalt DCN650B is one current example of that lane. If you’re already set up for air, a pneumatic Metabo HPT NT65MA4 is another. Those are examples of the tool role, not a rule that every homeowner needs to buy one.
If you already own a capable 16-gauge setup and it fits the board profile and thickness, fastener, substrate, environment, and product instructions, it can be a practical answer for one project.
Fastener gauge, length, coating, placement, angle, and penetration still have to fit the actual assembly. Don’t turn a general preference into a universal fastening recipe.
Same idea with saws.
Repeated cuts and odd cuts are different jobs. A stable sliding miter-saw setup covers the repeat-crosscut lane, while a cordless jigsaw such as the DeWalt DCS334B fits the detail-cut lane. Cover both roles before the room forces you to improvise.
If you want the exact tool choices separated from the planning job, use the tongue-and-groove ceiling installation tools guide.
Make access part of the plan
Ceiling work gets hard fast when access is an afterthought.
Look at ceiling height, footing, changes in elevation, board length, obstacles, how often the setup has to move, and how much control you’ll have over the board while you’re repositioning.
A ladder may be enough for one room. Another room may call for a platform, scaffold, helper, or another access solution.
The room decides.
You need to support and control the board, make the fastening move without stretching, and repeat that setup across the room without turning every course into a wrestling match.
Then look at the rest of the movement.
Where do the boards rest? Where do cutoffs go? Where are the fasteners? Can you reach batteries, chargers, cords, hoses, or a compressor without interrupting every board? Is the work lit well enough to see pencil marks, joints, damaged edges, and small corrections?
Use job-appropriate eye, hearing, respiratory, and other protection for the conditions you’ve actually got.
And keep usable cutoffs until the project is finished.
My grandfather’s rule was that the last six inches cost just as much as the first six.
That doesn’t mean every cutoff becomes finish material. A good piece may still work as a test piece, setup check, protector, spacer, support piece, or something else useful on the job.
Don’t throw it away just because it’s too short for the cut that created it.
Prove the plan before you fasten visible boards
One last check before the field starts going up.
Can you repeat the control references?
Do you understand what the starter row does to the likely last row?
Have the lights, vents, beams, openings, transitions, and service-access areas been accounted for?
Have you checked the actual material and product instructions?
Are normal cuts, detail cuts, drilling, screw work, and finish fastening covered by capable tools?
Is the access setup stable and repeatable enough to control the boards through the room?
Can material move from storage to cutting to installation without turning the place into a mess?
Can you see the work?
If a critical answer is missing, stop.
It is cheaper to answer the question now than to hide it behind three installed rows.
Fix the cheap problems while they’re still cheap
Most planning mistakes don’t look dramatic at first.
A reference is a little off. The last row looks thinner than expected. A fixture lands close enough to a joint to make the cut awkward. The access setup works in the open field but not around a beam.
Maybe the cut station is too far away and measurements start getting rushed. Maybe the boards are stacked where they have to be moved three times.
Small stuff.
Until the field is committed.
Don’t ask trim or caulk to rescue geometry that should have been corrected earlier. Don’t add fasteners to cure a board that isn’t seated correctly. And don’t keep pushing just because stopping feels slow.
A good stop is usually faster than a bad correction.
For the failure patterns that show up when those early decisions go wrong, see the guide to common tongue-and-groove ceiling mistakes and fixes.
Pre-install tongue-and-groove ceiling checklist
Before the first board goes up, I want these questions answered:
- finished visual target is decided
- board direction fits the actual room, support, and project requirements
- room geometry and obstacles are mapped
- material/profile/finish and product instructions are checked
- starter-row and likely last-row consequences are understood
- repeatable layout/control references are ready
- normal cuts and detail cuts are covered
- drilling, screw work, and finish fastening are covered
- fastener details will be matched to the actual assembly
- access, support, lighting, and job-appropriate PPE are handled
- material staging and movement make sense
- trim, transitions, and future access have been considered
- unresolved conditions have a clear stop-and-verify action
If you can answer that list without guessing, the planning side is ready to hand off.
Then move into the installation sequence
Once the room plan is proven, move into the actual tongue and groove ceiling installation sequence and follow the full roadmap from setup through fastening, obstacles, checks, and finish.
If the problem gets narrower—a first-time DIY question, a fastening decision, a tool category, or a detailed technical procedure—use the guide that owns that question instead of making one article do every job.
The handbook is there when you want the complete T&G sequence together in one place.
Bottom line
A tongue and groove ceiling gets easier when the important decisions happen before the first nail.
Read the room. Decide what the finished field should look like. Prove the layout. Plan the ugly areas.
Make sure the cutting, fastening, access, and staging jobs are covered.
Then start installing.
Finding a bad plan on an empty ceiling is cheap.
Finding it halfway across the field isn’t.