
Top Tongue and Groove Ceiling Tools for Successful DIY Projects
If you’re doing one tongue and groove ceiling, don’t start by buying tools.
Start with the room.
What has to happen for that ceiling to go up clean?
You’ve got to control the layout. Make the cuts you’re going to repeat. Handle the ugly cuts around fixtures and corners. Drill and drive what needs it. Fasten the boards. Get yourself up to the work. See what you’re doing. Fix something when it needs fixing.
Then look at what you already own.
That’s the real way I’d sort out the top tongue and groove ceiling tools for a DIY job.
Start with the job, not the shopping list
Before the first board goes up, I want answers.
How are you controlling layout?
What handles the cuts you’ll make over and over?
What handles a vent, fixture, odd corner, beam, or some other interruption?
What handles drilling and screw work?
What handles finish fastening?
What are you standing on?
Can you actually see the marks and joints?
What protection does the work call for?
What do you have when a board needs a little correction?
And what junk comes with the setup—cords, hoses, batteries, chargers, stands, cases, storage?
Get those jobs covered first.
The shopping list gets a lot shorter after that.
Herb’s Rule of Thumb
If a tool you already own can do the job cleanly, safely, and without turning the work into a fight, use it. Buy another tool when the job exposes a real gap.
The DIY tool decision in one pass
I look at the tools five ways:
Own it. Reliable basics you’ll use all the time.
Use what you have. If it’s capable and fits the job, quit looking for a reason to replace it.
Borrow it. Good answer for something you need briefly.
Rent it. Worth considering when the capability is big, bulky, or short-lived.
Buy it. Do that when there’s a real gap and ownership makes sense.
Those aren’t commandments.
They’re just a way to keep one ceiling from turning into an excuse to buy half a truck full of tools.
The ceiling doesn’t care if the tool is new.
It cares if the work is under control.
Planning a tongue-and-groove ceiling?
Get the free 10-page T&G Project Starter Guide before you spend money on tools. It helps you sort planning, materials, tools, installation decisions, and common mistakes before they get expensive.
Own the layout tools
Tape. Square. Chalk line or another repeatable control-line setup.
Nothing fancy there.
Good.
Reliable basic layout tools are usually worth owning because they get used constantly, and they keep earning their keep on other projects.
You need to check the room, establish the start, watch reveals and transitions, and still have a reference you can come back to after several courses are up.
For ceiling layout, measured references and repeatable control lines matter.
A laser can be useful on some jobs. I don’t make it the automatic answer.
If what you already have can establish and repeat the references you need, use it.
If it can’t, that’s a real gap.
Fix it early.
Bad layout travels.
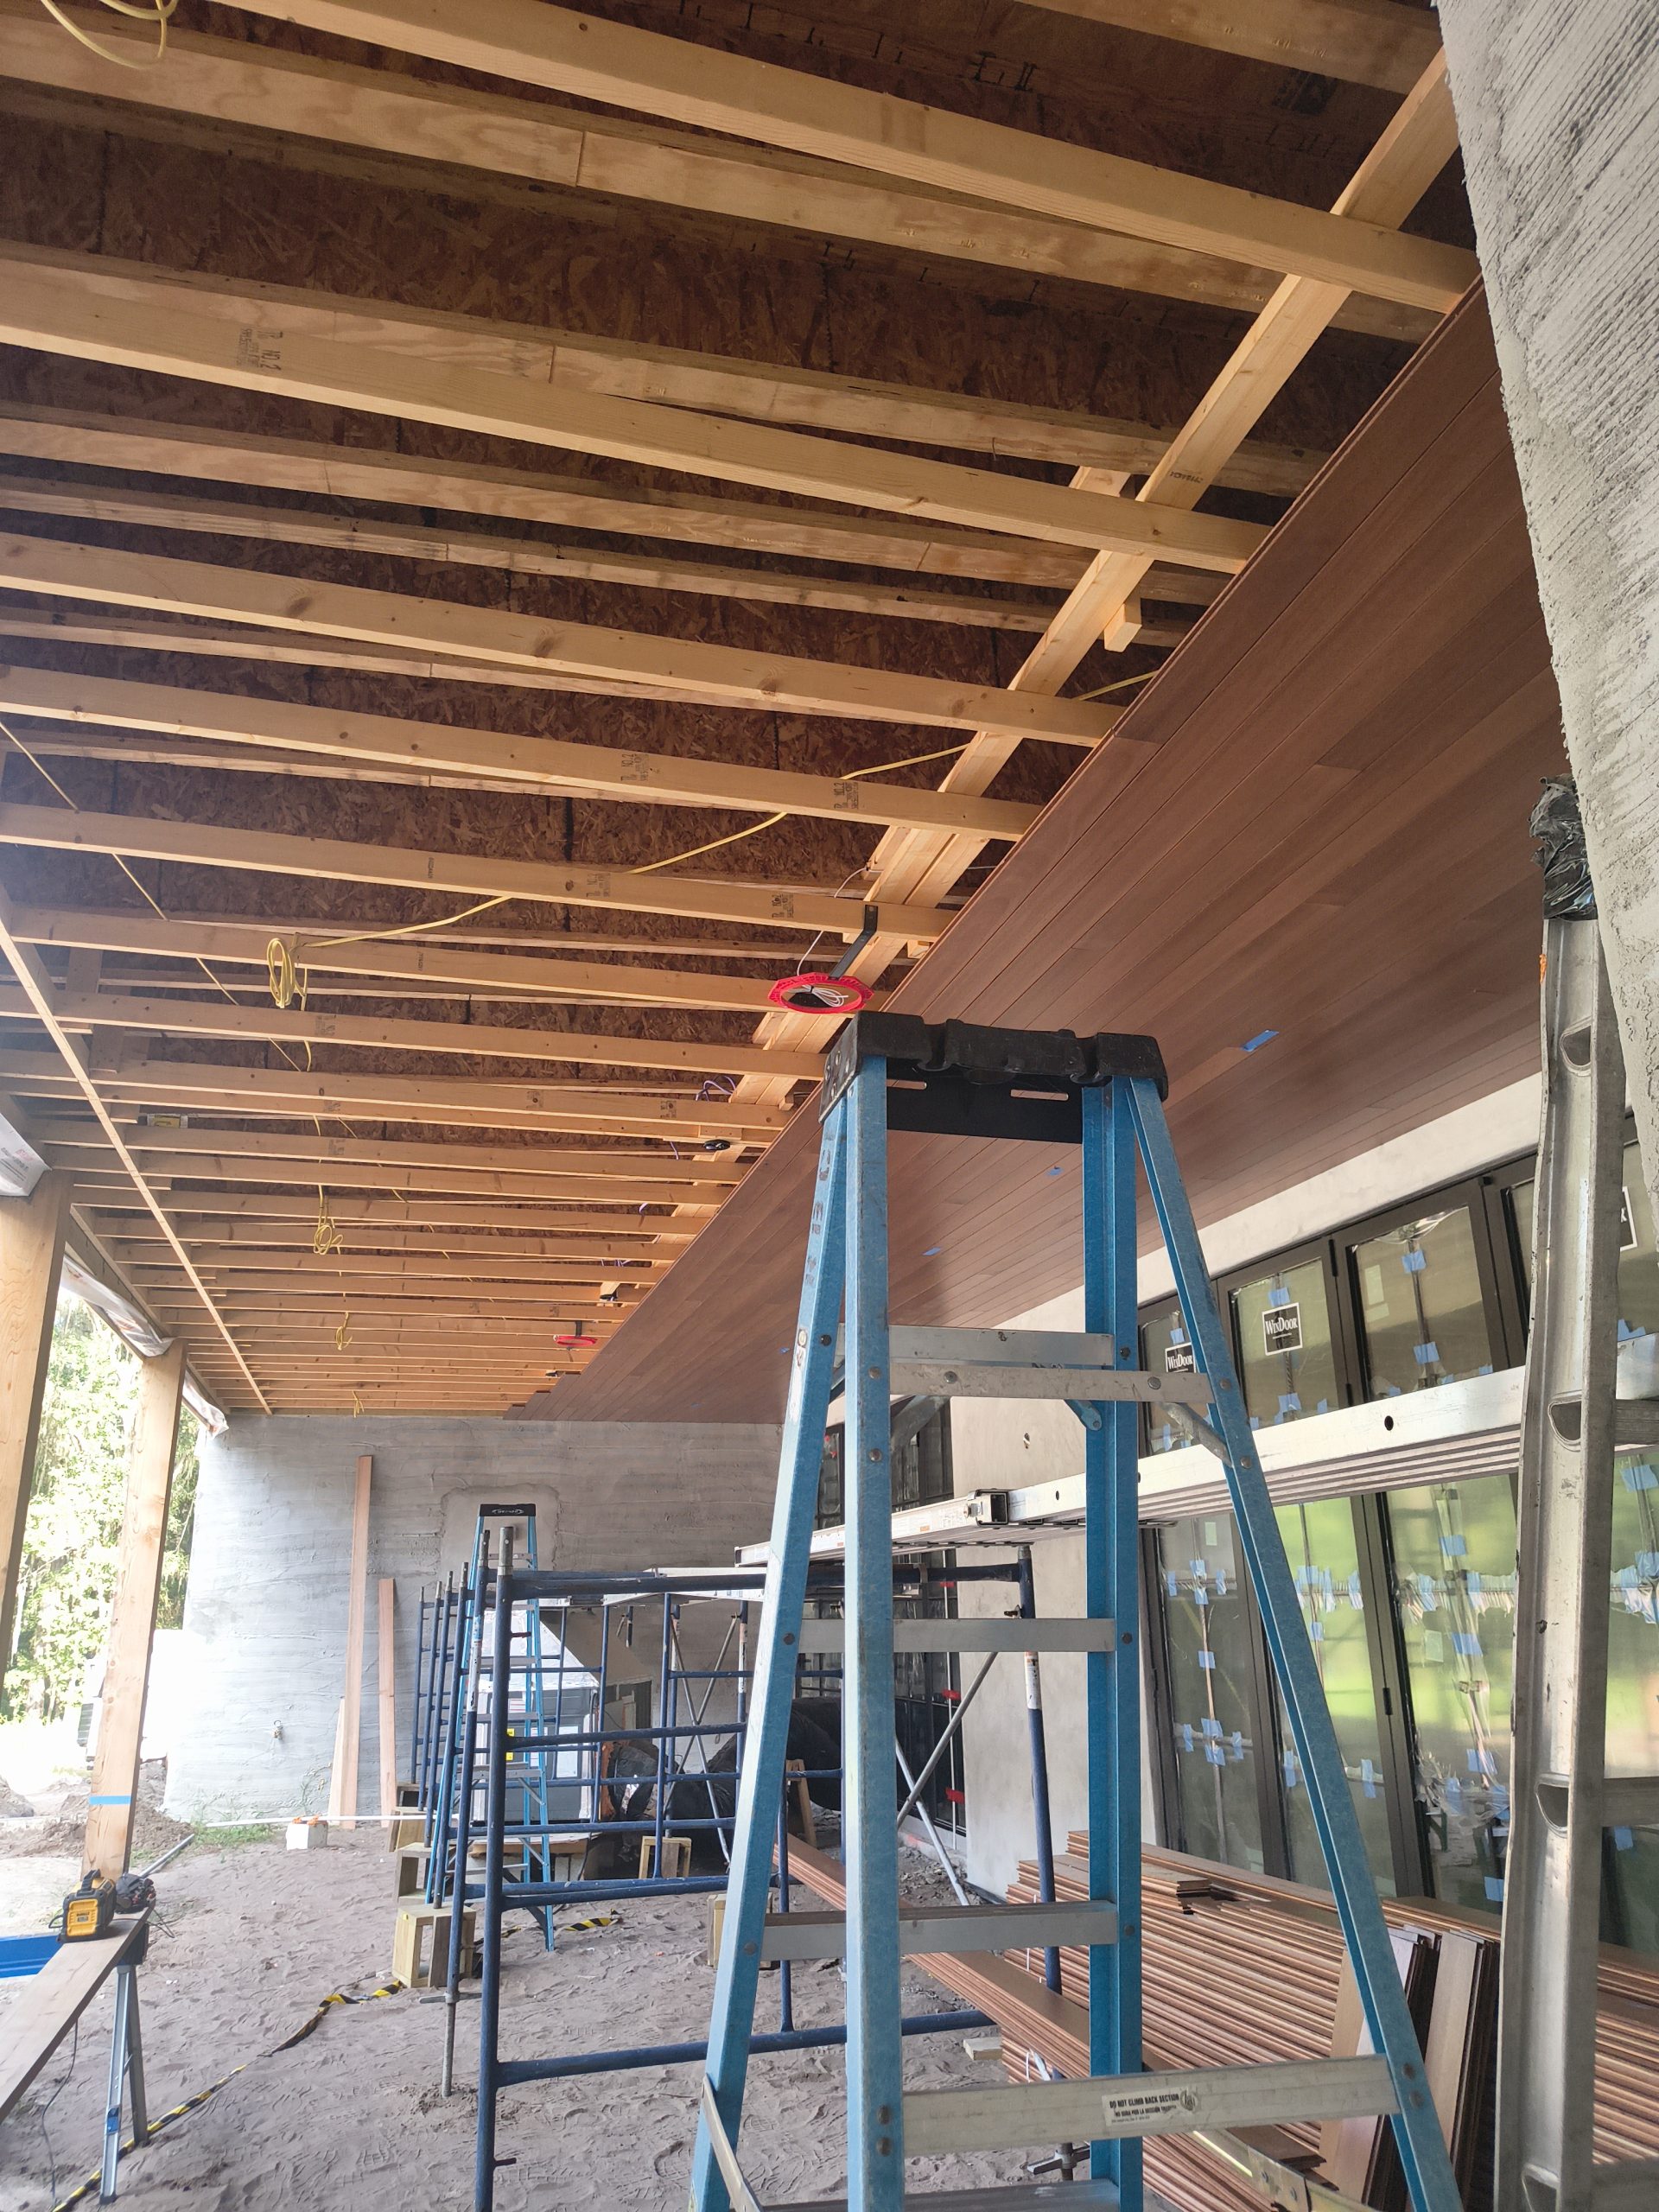
Use the saw you already have if it can do the work
Don’t buy another saw because somebody’s tool roundup says you need one.
First ask whether your current setup can make the repeated cuts this ceiling needs accurately, safely, and consistently.
If it can, that job is covered.
Support the material. Keep your marks readable. Set the station up so the same basic cut doesn’t become a new adventure every board.
And don’t pretend every saw does every job the same way. Material, cut type, support, room, and tool instructions still matter.
If your current setup is fighting you all day, now you’ve found a real decision.
Doing one ceiling?
Borrowing or renting a cutting capability may make sense.
Planning to keep doing trim and T&G work?
Owning it may make more sense.
You need the capability.
You don’t automatically need another machine in the garage.
Keep a separate answer for odd cuts and correction
Normal cuts are one thing.
Then the room gets ugly.
Vent. Speaker. Fixture. Beam. Weird corner. Some intersection that wasn’t nearly as neat in real life as it was in your head.
That’s detail work.
Have a controllable way to handle it.
Maybe a smaller tool you already own does it. Maybe you borrow something for that one problem. Fine.
Same with correction tools.
I want a way to adjust, clean up, sand, pry carefully, tap, or support the work when something needs attention.
The correction kit is there to fix the cause.
A bad fit doesn’t need more nails.
If a board needs rework, rework it before the next course carries the problem farther.
And keep useful cutoffs until the job is finished.
My grandfather’s rule was simple: the last six inches cost just as much as the first six.
That doesn’t mean every cutoff becomes finish material.
It means don’t throw away a clean useful piece just because it’s too short for the cut that made it. It may still work as a test piece, setup check, support piece, or another jobsite aid.
Drill, driver and nailer: don’t buy duplicates
Drilling, screw work, and finish fastening are different jobs.
A drill handles controlled drilling, pilot work, prep, and backing-related work when the job calls for it.
A driver or impact handles screw work when that tool and fastener fit the task.
Finish fastening is separate.
For recurring real-wood T&G work, I generally prefer the 15-gauge finish-nailer lane when the assembly calls for it.
That’s my working preference.
It is not a rule that says a homeowner with a capable 16-gauge setup has to go buy another nailer.
If the 16-gauge setup you already own genuinely fits the assembly, use it.
The actual decision still depends on the board profile and thickness, fastener gauge and length, coating where the environment calls for it, placement and angle, what you’re fastening into, the substrate, and the applicable product or project instructions.
Specific manufacturer instructions, engineered requirements, applicable code, and the authority having jurisdiction control when they differ from general field practice.
The checklist is supposed to find a missing tool capability.
It’s not supposed to create one.
See a real T&G ceiling installation
Video credit: Will Mosbey on YouTube.
Want the full tongue-and-groove install order in one place?
I put the layout checks, prep work, tool judgment, fastening sequence, and common mistake fixes into one practical PDF handbook so you are not guessing your way through the job.
Access may be smarter to rent than own
A ceiling tool list that ignores access is missing a big piece of the job.
A ladder may be fine.
Or it may be the thing that makes the whole day miserable.
Look at the room. Ceiling height. Height changes. Board length. Footing. Obstructions. How often you’re moving. How long you’re staying overhead.
Some jobs make a platform, scaffold, or another staging setup the better answer.
If that access gear is bulky and only solves one project, borrowing or renting may be worth considering.
May be.
The room decides.
What matters is having a stable working position where you can control the board and the fastening work instead of stretching and fighting everything.
Safety, visibility and support tools still count
If you can’t see the mark, fix the lighting.
Simple as that.
A task light or headlamp may handle it.
Protection is job-dependent too.
Dust, sanding, insulation, noise, chips, and the actual work decide what eye, hearing, or respiratory protection belongs there.
Use what the work and conditions require.
No need to turn this into a safety sermon.
Just don’t act like those things aren’t part of the setup.
Support and cleanup tools belong for the same reason.
A small correction tool can save a finished board.
Already own it?
Good. Lane covered.
Count the setup burden before you buy
A tool is never just a tool.
Battery and charger.
Or cord.
Or hose and compressor.
Maybe a stand.
Then you’ve got the case, storage, transport, floor space, and however many times you’re moving the whole mess.
Count that.
A cordless tool can get rid of a hose and still leave you chasing batteries.
A pneumatic setup can be perfectly sensible if the compressor and hose are already there.
A stand can make cutting easier and still be a pain if there’s nowhere to put it.
Look at the whole setup.
Not the logo on the tool.
What I would buy first
Spend money where the job has a real hole in it.
No dependable layout and control setup?
Fix that.
No accurate repeat-cut capability?
Fix that.
No fastening setup that fits the assembly?
Fix that.
Access is the bottleneck?
Fix access.
Already own capable gear for a job?
Move on.
Buying order follows missing capability and bottlenecks.
Not excitement.
Not brand loyalty.
Not the retailer link.
What I would borrow, rent, or skip
For one ceiling, I’d think twice before buying something bulky, expensive, specialized, or unlikely to get used again.
Access equipment can land there.
So can a specialty tool needed for one ugly interruption.
Borrowing or renting may be the better call when the need is short and that option is actually available to you.
I’d skip gimmick tools that claim to be T&G-specific when normal layout, cutting, fastening, or correction tools already solve the problem.
I’d skip duplicates too.
One capable tool already covers the job?
Good.
That lane is done.
Final DIY ceiling checklist
Before the first board goes up:
- layout and control covered
- repeated cutting covered
- odd cuts and correction covered
- drilling and screw work covered
- finish fastening matched to the actual assembly
- access and support matched to the room
- visibility handled
- job-appropriate PPE on site
- cleanup and correction tools available
- cords, hoses, batteries, chargers, stands, and storage accounted for
- every remaining gap assigned to use, borrow, rent, or buy
If those answers are settled, you’re in decent shape.
Where to go next
Use the main Tools & Gear guide when you need the broader explanation of the complete T&G ceiling tool system.
Use the full ceiling-installation guidance when the bigger question is sequence instead of equipment.
If one tool category becomes the real decision—especially finish nailers—go deeper there instead of trying to settle it inside a general DIY guide.
The handbook is there when you want the full installation sequence together in one place.
Bottom line
Cover the job before you shop.
Use what already works.
Borrow or rent the short-use gap when it makes sense.
Buy the missing capability when you actually need it.
Then put the ceiling up.