
Advanced Tongue-and-Groove Cutting Techniques
Most people hear “advanced cutting” and picture some fancy saw trick. On a tongue-and-groove job, that usually is not the problem. The hard part starts when the room quits cooperating with a normal square cut.
A wall runs out. The last row starts tapering. A vent lands right where you do not want it. A trim transition has to close cleanly from the side everybody is going to look at. None of those problems are solved by cutting faster. They are solved by slowing the decision down before the blade ever touches the board.
That is the part I want to focus on here. Keep one honest reference, mark the board so you cannot talk yourself into cutting the wrong face, prove the risky fit on scrap, and let the right tool do the right job. That sounds basic, but those habits are what keep an awkward room from eating finished stock.
Name the cut before you choose the tool
Before I walk to the saw, I want to be able to say what problem I am solving.
Is it a compound transition into crown or trim? Is the last row tapering because the room is running out of square? Am I cutting around a vent, light, or another obstacle? Or am I trying to repeat a measurement without letting the layout drift as I move across the room?
That matters because the tool should follow the problem. A miter saw is great at finished crosscuts and compound work. It is not the tool I want to force into a long taper. A jigsaw earns its keep around an obstacle, but I am not going to use it for a cut that belongs on a saw with a fence.
When the problem is clear, the rest of the setup gets a lot less mysterious.
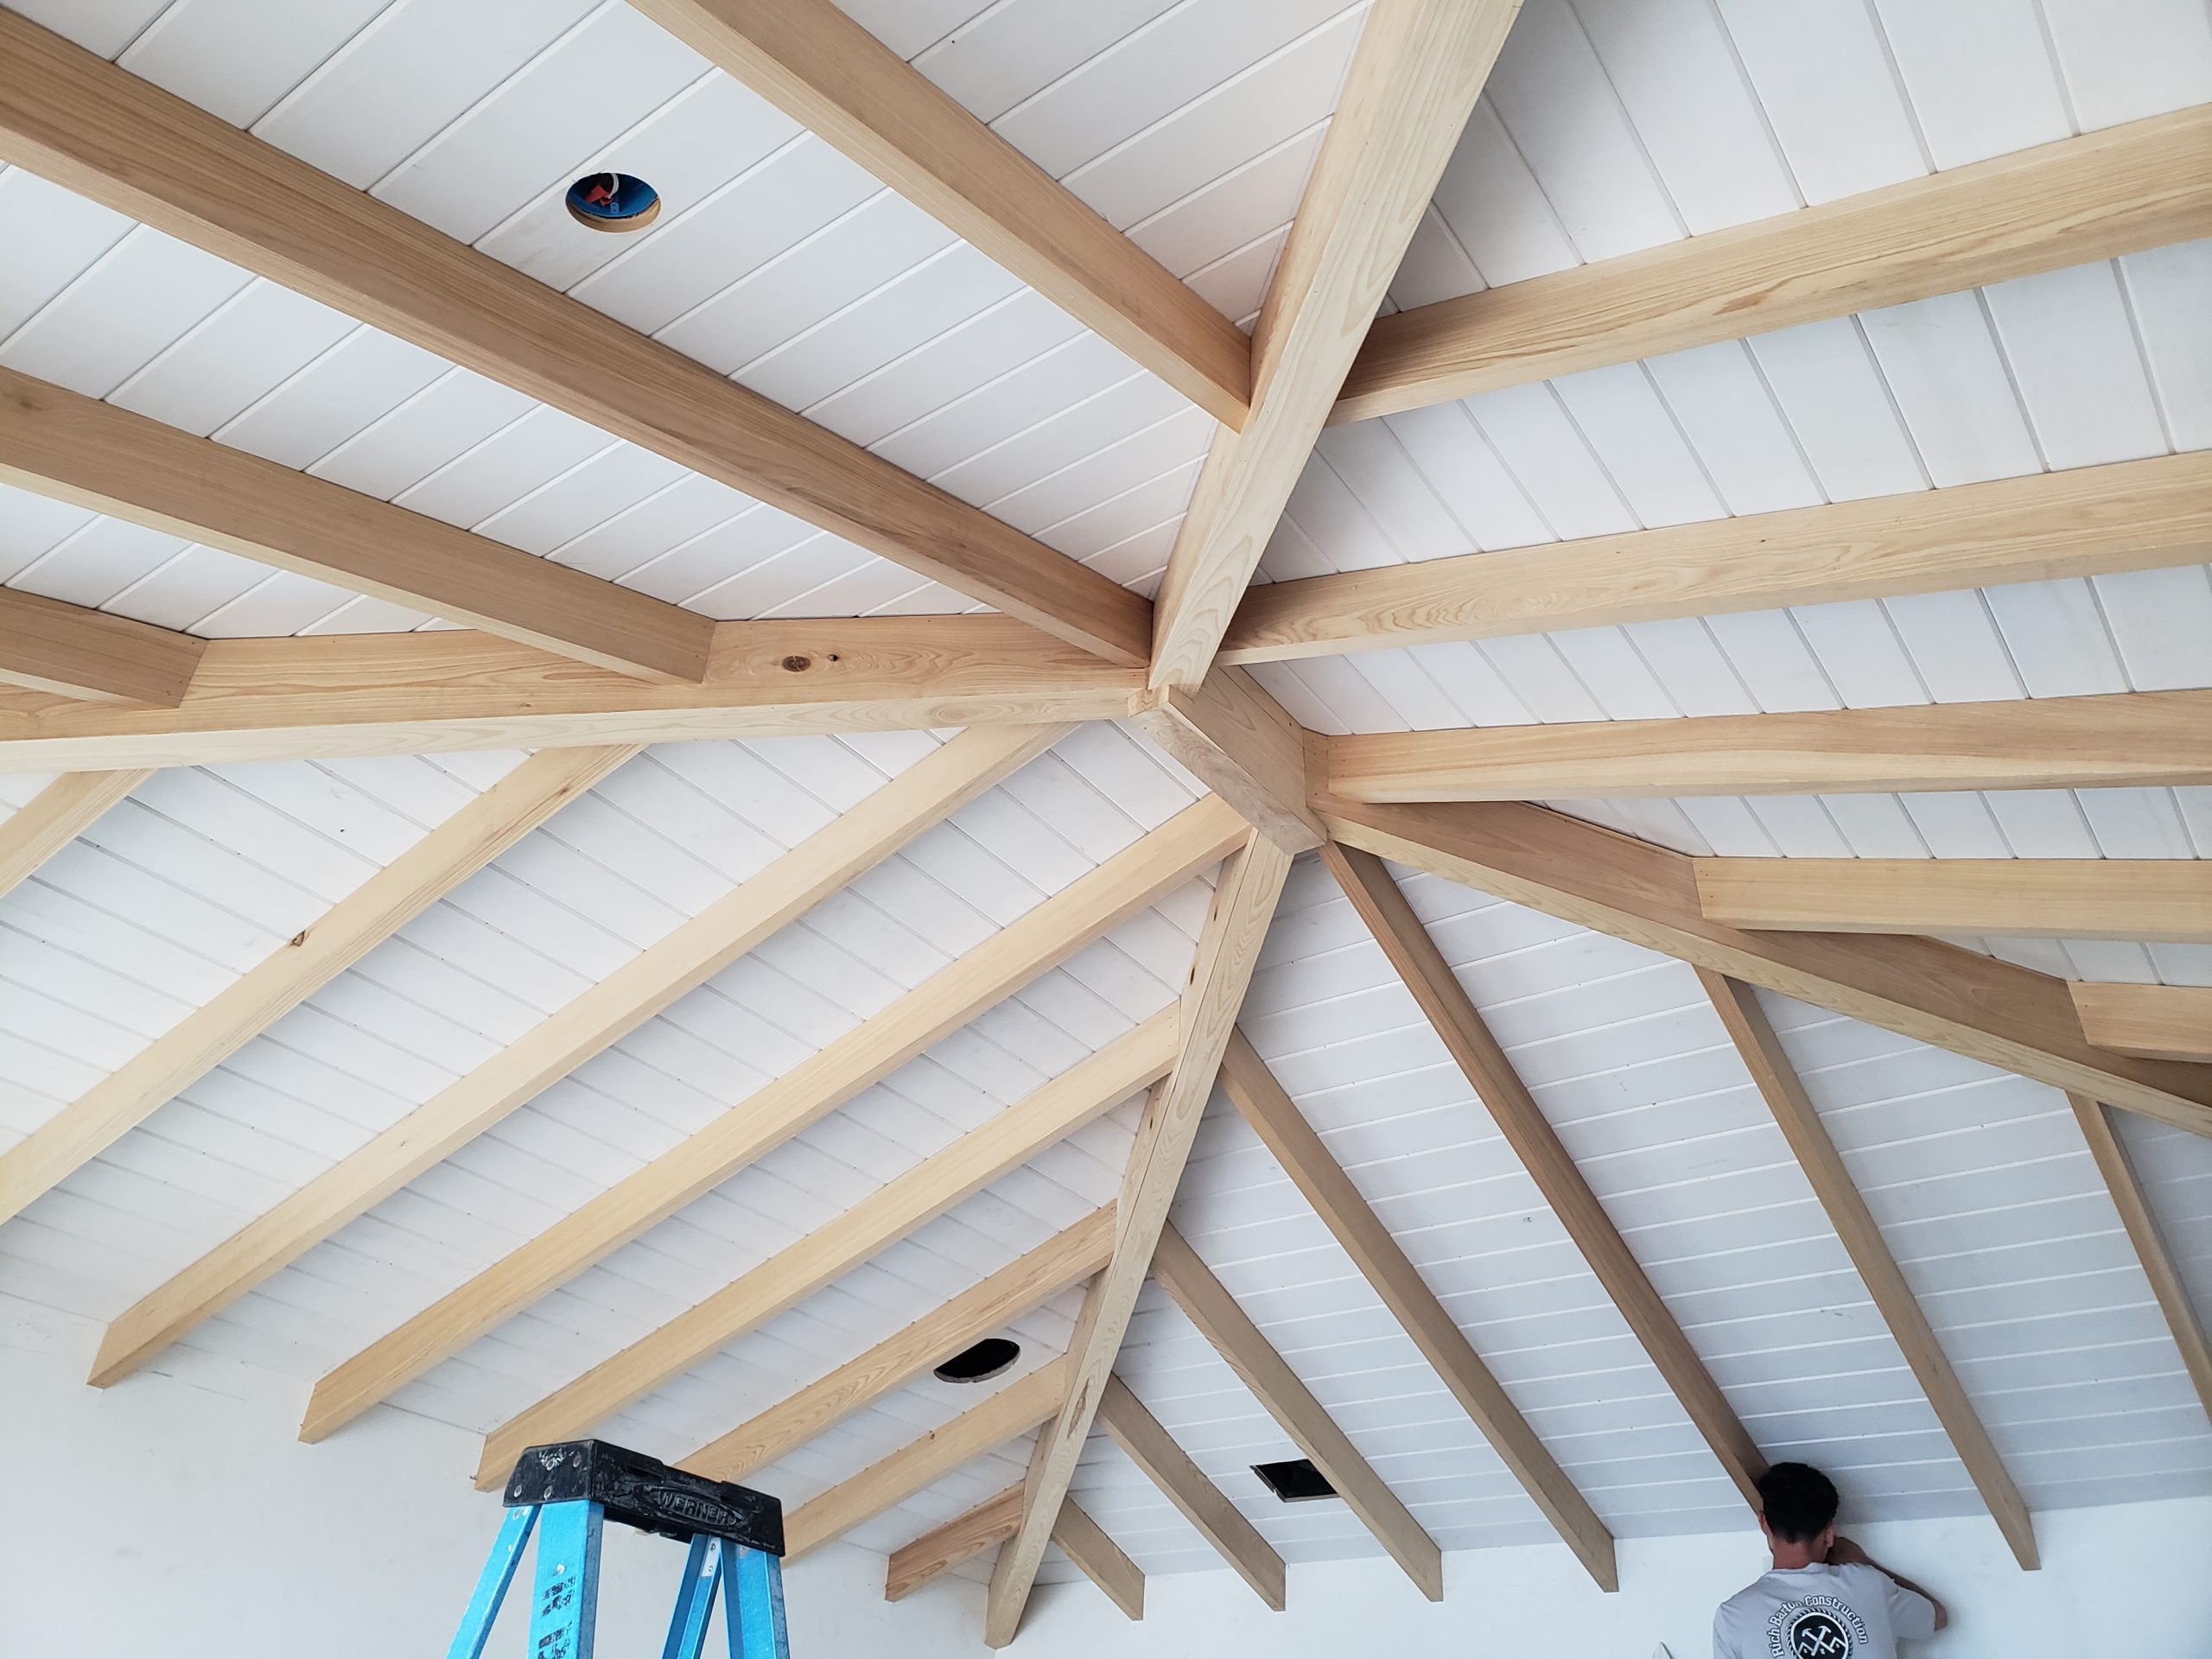
Mark the face, orientation, and one fixed reference
This is one of those little habits that feels unnecessary right up until you cut a good board backward.
Before I leave the room, I mark the show face, the installed orientation, and the cut direction. A perfectly cut angle on the wrong face is still a ruined board. So is a correct measurement transferred from the wrong side of the opening.
The same thing goes for the room. Crooked walls and out-of-square corners do not get to become your reference. Pick one honest control and keep checking back to it. That might be a snapped chalk line, a measurement from a verified finished edge, or a story/reference measurement you can repeat as the job moves.
I use levels and repeated measurements when that is what the condition calls for. A laser can be useful for some checks too. I just do not treat a laser as automatically being the answer to every T&G layout problem. The point is not the gadget. The point is having a reference that does not move every time the room changes.
Want the full tongue-and-groove install order in one place?
I put the layout checks, prep work, tool judgment, fastening sequence, and common mistake fixes into one practical PDF handbook so you are not guessing your way through the job.
Prove difficult cuts on scrap first
If the angle, reveal, fence setup, or fit makes me stop and think, I would rather spend an offcut than a finished board.
Make the test piece. Put it in the actual opening. Look at the joint from the side that is going to matter when the room is finished. If something is off, fix the setup while the mistake still costs you a scrap instead of a full-length board.
My grandfather used to say, “The last six inches cost just as much as the first six.” That stuck with me. I do not estimate a job pretending every cutoff is going to turn into finished material, but I also do not throw useful T&G pieces away while the project is still going. A short piece may become a test cut, spacer, protector, tapping/helper block, or setup piece later.
There is a difference between counting on perfect scrap reuse and being smart enough not to throw usable material away too early.
Rule of Thumb
Most bad advanced cuts are not too hard. They are too vague. If you cannot name the problem before you walk to the saw, you usually do not have an advanced technique issue. You have a planning issue.
Free 10-Page Field Guide
Catch the Mistake While It Is Still a Decision
Get the free T&G Project Starter Guide for the planning, setup, installation, and hard-stop checks that are cheapest to fix before finished boards cover them up.
No purchase required. One practical T&G starting guide.
Compound miter work belongs in finished transitions
Compound cuts make sense when the T&G field meets crown, a beam, or another finished trim condition where the joint stays visible.
This is where I do not want to be guessing at the saw. Set the angle, prove it on a short piece, and check the reveal from the viewing side that matters. A joint can look fine from one direction and still open up where the homeowner is actually going to see it.
Once the test piece closes the way it should and the show edge is clean, then I cut the finished stock.
That extra test takes a few minutes. Repairing a bad transition after the ceiling or wall is already together takes a lot longer, and the repair usually happens in the most visible part of the work.
Rip final rows to the room—not the other way around
A lot of what gets called advanced cutting is really final-row problem solving.
Rooms are not always square. If the last course needs to lose width from one end to the other, forcing a full-width board into that space is not going to make the room straighten itself out. That is when a table saw or another suitable rip-capable setup earns its place.
I want the rip tied to the actual finish line. Then I test the course before fastening it. If the taper is right, the field stays visually calm and the last row looks like it belongs there instead of looking squeezed into whatever space was left.
The same principle applies to a first row when the job requires it: fit the board to the controlled layout, not to every little wave in the wall.
Do not turn that into one universal rip width or expansion rule. Board profile, material, manufacturer instructions, room conditions, and the finish detail still control the actual assembly.
Use a jigsaw when the obstacle controls the cut
Vents, lights, odd shapes, and interrupted edges are different from long rips and clean crosscuts. When the obstacle controls the shape, a jigsaw makes sense.
I still want the same discipline before I cut. Mark the opening clearly. Keep the face and orientation marks on the board. Decide how you are entering the cut. Give yourself enough room to stay on the waste side instead of chasing the finished line after you have already wandered across it.
This is not a speed cut. A clean obstacle cut is mostly layout and control.
And before cutting around an existing fixture, box, or utility, inspect the actual work area. Make sure you know what is behind the cut and that the access and setup are appropriate for the job. There is no upside to turning a simple cutout into a repair.
Sneak up on fit in crooked rooms
Old rooms lie.
Walls flare. Corners drift. Openings run out of level. Beams can look straight until you put a real reference against them. The mistake is trying to fix all of that with one heroic cut.
Keep the correction tied to the fixed reference and sneak up on the fit. Take a controlled amount, test it, and see what the change does to the next piece of the assembly.
I have had jobs where the cleaner answer was to spread a correction across the work instead of dumping the whole problem into one obvious course. That is the kind of judgment that matters here. You are not trying to prove you can make the wildest cut. You are trying to make the finished field look intentional.
Sometimes the taper is worth the time. Sometimes chasing every crooked surface with the field board makes the whole installation look worse. Prove the correction before you spend the board.
Let trim absorb errors the field should not carry
Not every ugly condition belongs in the tongue-and-groove board.
Sometimes perimeter trim, crown, a beam detail, or another transition is the cleaner place to absorb an irregularity. If I can keep the T&G field straight and quiet and let the trim handle a rough edge cleanly, I would rather do that than make every board chase the defect.
That is not hiding bad work. It is choosing which part of the assembly is best suited to carry the condition.
The judgment is especially important around irregular surfaces. If the edge is so inconsistent that scribing every bump makes the trim or field look wavy, creating or using a cleaner transition can produce a better finished line.
The detail still has to fit the real assembly. Product instructions, engineered requirements, applicable code, and the authority having jurisdiction control when they differ from normal field practice.
Choose the tool role before you buy more tool
Do not try to buy your way out of a layout problem.
For this kind of work, the tool roles are pretty straightforward:
- miter saw for finished crosscuts and compound work;
- table saw or another suitable rip setup for long rips and final rows;
- jigsaw for detail cutouts;
- tape, chalk, levels, and other reference tools for repeatable layout.
If the tools you already own can do those jobs accurately and safely, use them. I would rather see somebody make a clean cut with a capable tool they understand than buy another tool because a shopping list told them it was “better.”
Upgrade when the job exposes a real limitation—capacity, accuracy, dust control, mobility, repeatability, or the amount of future trim work you expect to do.
A higher price tag does not straighten the room, mark the correct face, or fix a bad reference. The expensive tool still needs a good decision behind it.
Advanced-cut field checklist
Before you commit the finished board, run through the basics:
- name the actual fit problem;
- mark the show face and installed orientation;
- establish one fixed reference;
- prove a risky setup on scrap;
- confirm cut direction and tool role;
- test the fit before fastening;
- look at what the correction will do to the trim and finish line.
If one of those answers is fuzzy, that is usually the place to stop—not after the board is already cut.
For the complete ceiling sequence, use the tongue-and-groove ceiling installation guide.
For the broader cutting and installation tool system, use the tongue-and-groove ceiling installation tools guide.
If the question is whether 12-inch miter-saw capacity is worth carrying for T&G and trim work, compare that decision in the 12-inch miter saw guide.
Better judgment is the advanced technique
The more years you spend doing this work, the less “advanced” cutting looks like a trick.
It looks like knowing what problem you are solving before you cut. It looks like keeping one reference you can trust, marking the board so you do not reverse the work, proving the risky setup on scrap, and knowing whether the correction belongs in the field board or in the trim.
The saw still matters. The cut still has to be clean. But the decision before the cut is what keeps an awkward room from becoming expensive rework.
That is the advanced part I would rather have every time: better judgment before the blade hits the wood.