
Unique Patterns for Tongue-and-Groove Ceilings
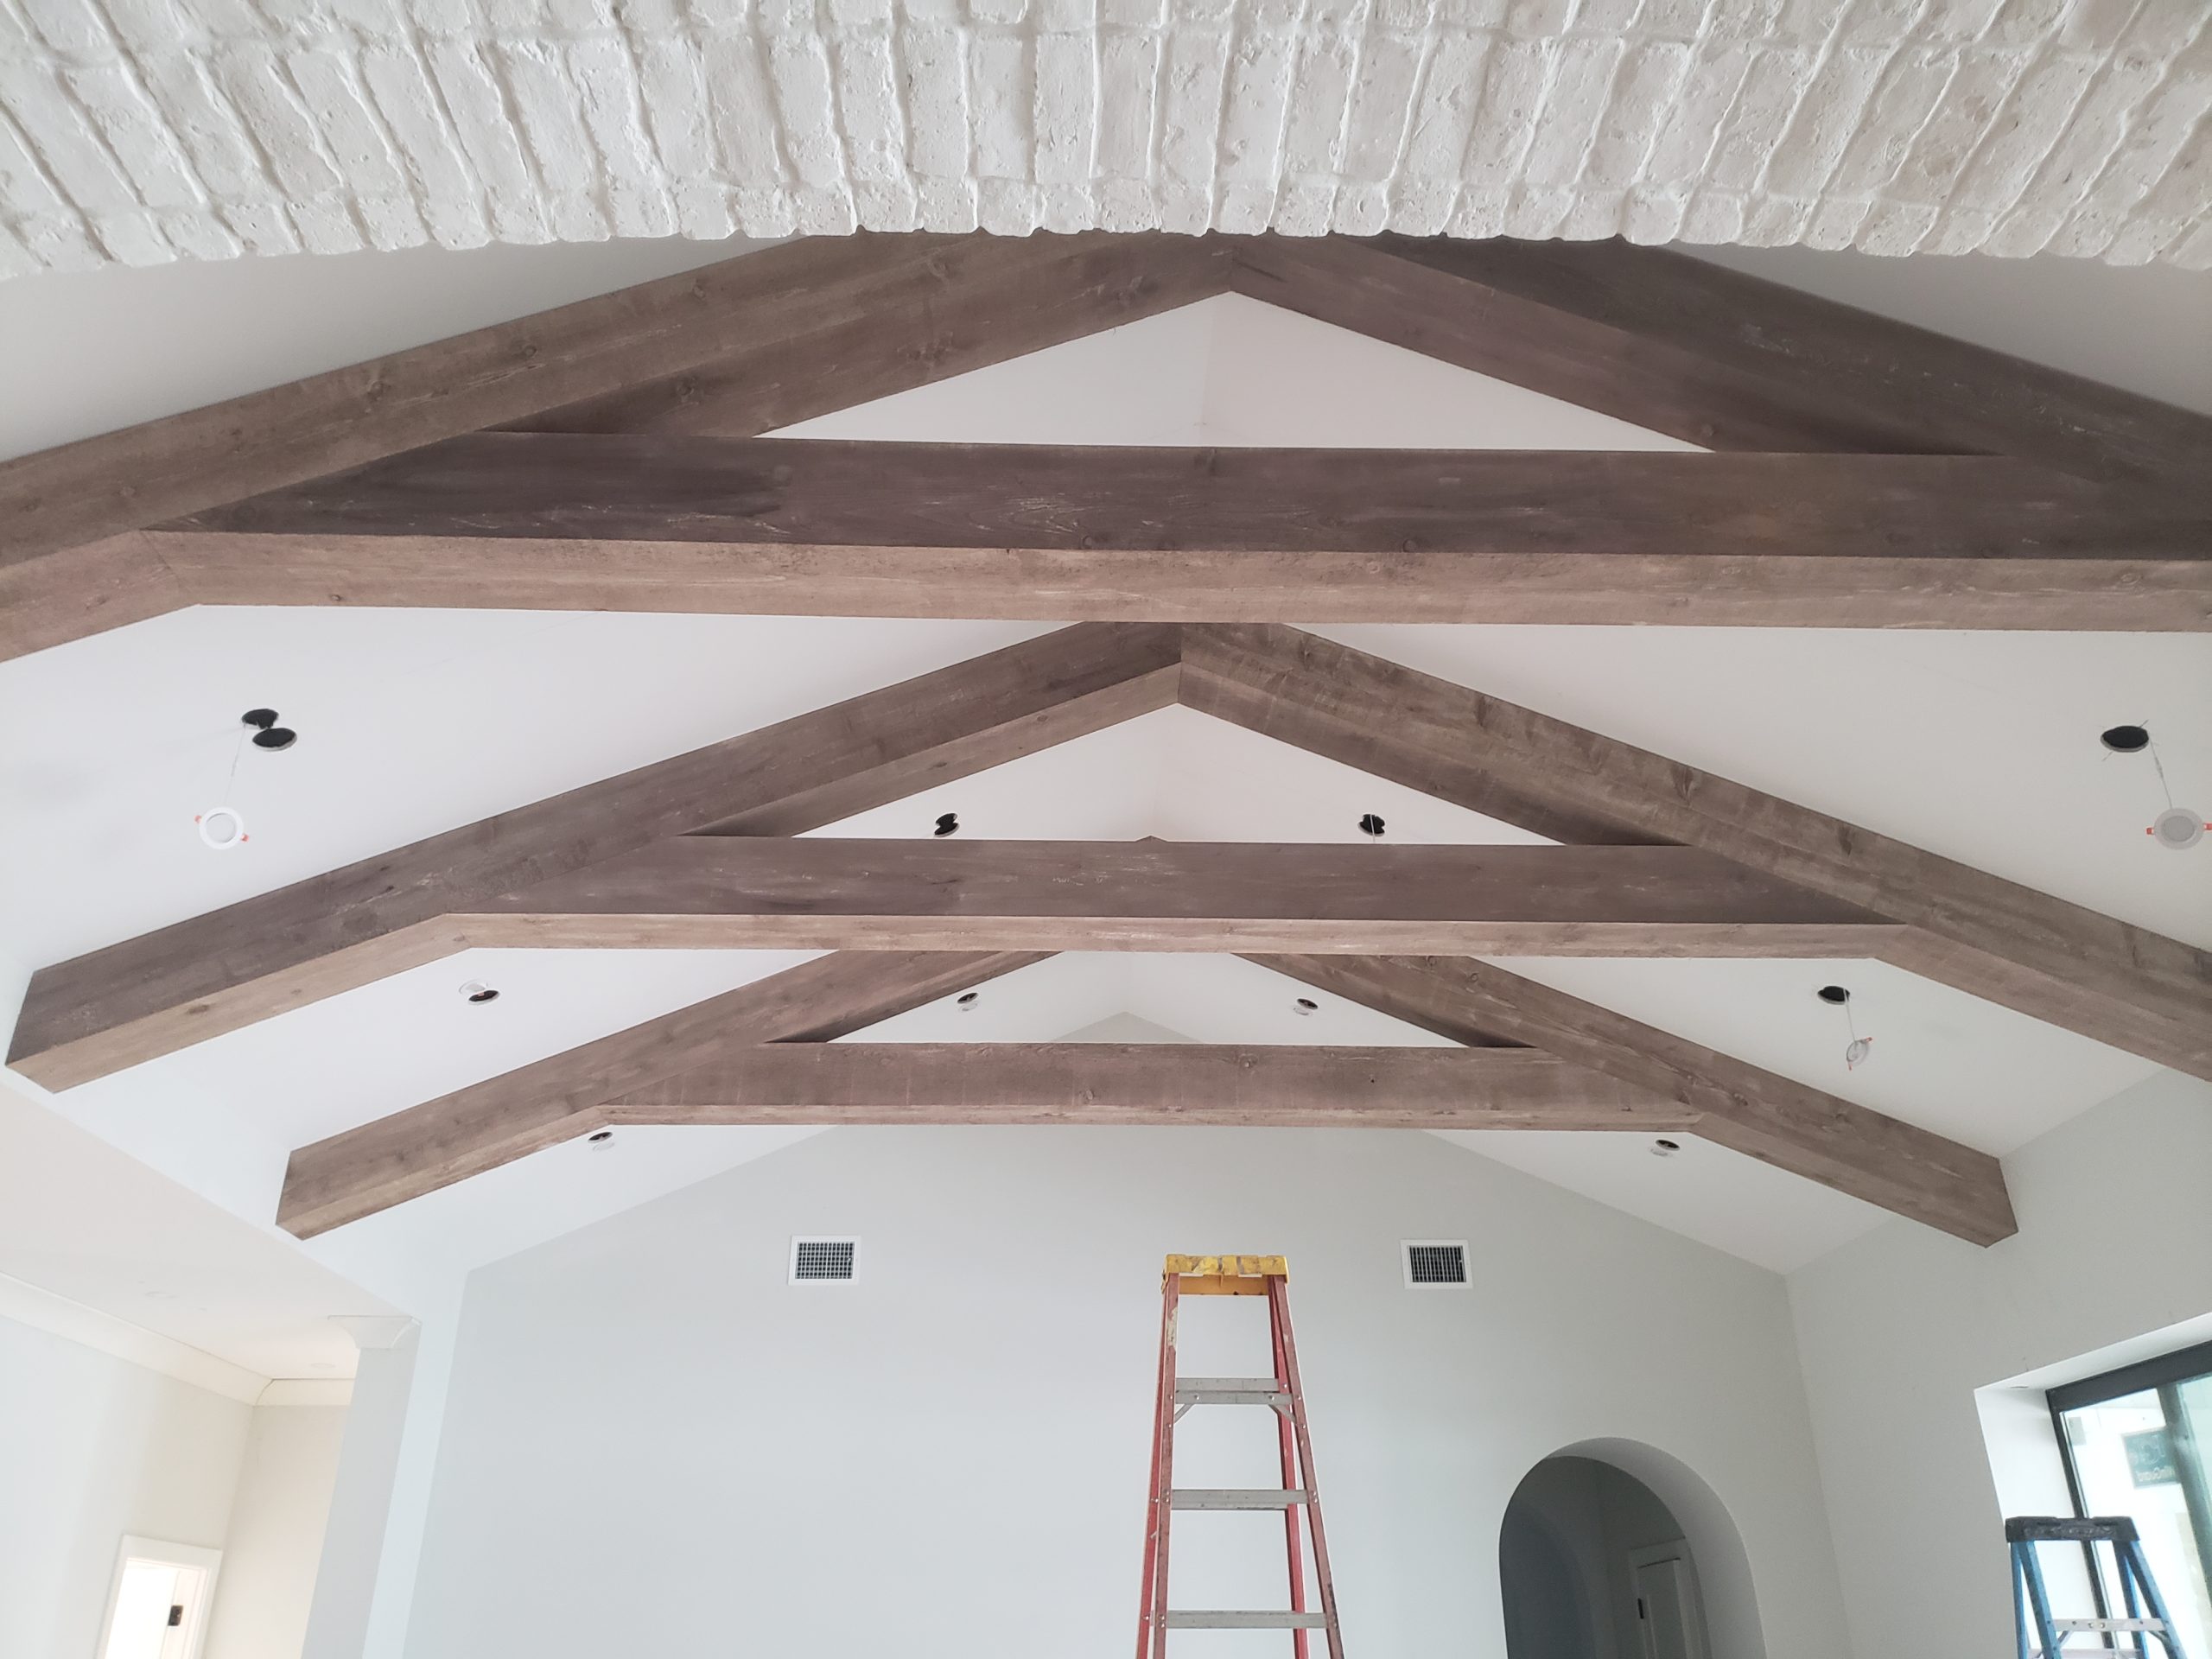
A unique tongue-and-groove ceiling pattern can make a room feel intentional instead of generic, but the pattern still has to work as a ceiling. Before you fall in love with a diagonal, framed field, alternating width, or contrast detail, make sure the room, the layout, the edges, and the work required to build it all agree.
Start With the Room, Not the Pattern
The room should narrow your choices before a photo online does.
Look at the shape of the space, the main doorway, the longest sightline, beams, windows, ceiling height, fans, lights, and the trim package. Those things tell you where a pattern can run cleanly and where it is likely to create awkward little problems at the edges.
A pattern that looks balanced in one room can feel busy or forced in another. I would rather use a simple pattern that fits the room than a complicated one that needs three explanations before it makes sense.
Straight Runs: The Clean Baseline
There is nothing wrong with straight-run tongue-and-groove. In a lot of rooms it is still the smartest choice.
Straight runs give you the simplest layout, the fewest angled cuts, and the easiest perimeter to read. They also give you a clean baseline for judging every more complicated pattern. If the room already has strong beams, trim, windows, or furniture, the ceiling may not need to compete with all of it.
Simple does not mean cheap-looking. Clean layout and consistent lines usually beat complexity that was not planned all the way through.
What a Diagonal Changes
A diagonal pattern changes the way your eye moves across the ceiling. It can add energy and make a plain field feel more deliberate, but it also makes the layout less forgiving.
Now every board is meeting the perimeter at an angle. You have more angled cuts, more short pieces, more opportunity for waste, and more chances for a small layout mistake to show up as an ugly border later. The first control lines matter more because a small error can keep growing as you move across the room.
Before cutting the first full run, work out where the pattern should die at the walls, beams, and other fixed features. If you wait until the last few boards to solve the border, you are solving the hardest part when you have the least room left to move.
Want the full tongue-and-groove install order in one place?
I put the layout checks, prep work, tool judgment, fastening sequence, and common mistake fixes into one practical PDF handbook so you are not guessing your way through the job.
Framed and Coffered Fields
Framed or coffered tongue-and-groove fields can look sharp when the room already has strong trim or beam language. The field becomes part of the larger trim package instead of a separate idea stuck on the ceiling.
The catch is that the framing has to be crisp. Uneven borders, soft corners, or inconsistent field sizes are much easier to see when the design itself is built around geometry.
Think through the field dimensions, the border width, the backing or support you actually have, and how the finished trim will close everything. Decorative work magnifies layout mistakes. It does not hide them.
Alternating Widths and Contrast
If you want more interest without turning the whole ceiling into a geometry exercise, alternating board widths can be a useful middle ground. The field still reads mostly straight, but the rhythm changes enough to add texture.
Contrast can do the same thing. Natural boards with painted beams, darker trim against lighter boards, or a controlled finish change can create definition without changing the board direction.
But contrast has a downside: it makes weak details louder. A crooked transition, an uneven seam, or a border that drifts may be easier to ignore when everything is one tone. Add contrast and the same defect can jump out from across the room.
Match Pattern Scale to Room Scale
There is no one pattern size that works in every room. The better move is to mock up the idea against the actual space.
A large open room may carry a stronger pattern without feeling crowded. A smaller room may look better with fewer competing lines. Long rooms can react differently to direction than square rooms. Ceiling height, windows, beams, and lighting all change what your eye notices.
Treat those as tendencies, not laws. The room in front of you is the final judge.
Solve the Edges and Fixtures Before You Cut
The middle of the field is usually the easy part. The last fifteen percent is where a good-looking pattern can turn into a headache.
Fans, can lights, beams, wrapped headers, transitions, perimeter trim, and access points all interrupt the pattern. If the design only looks good in the open field and falls apart where it touches the real room, it is not finished planning yet.
Sketch the border and fixture locations with the pattern, not after it. Think about how the trim closes the field and whether normal movement can be concealed where appropriate without unnecessarily pinning the boards or blocking something that may need future access.
Pattern Complexity Has a Material Cost
More complicated patterns usually mean more cuts, more short pieces, more layout checks, and more correction work if something goes wrong.
That does not mean every cutoff is waste. I keep usable tongue-and-groove cutoffs until the project is finished. A piece that is too short for one run may still become finished material somewhere else, a tapping block, a spacer, a protector, a setup piece, or another useful jobsite aid.
My grandfather’s rule was simple: the last six inches cost just as much as the first six.
That does not mean you should estimate the job assuming every cutoff will magically fit somewhere. Order the material honestly. Then manage the usable pieces intelligently while the job develops.
Layout Tools Keep the Design Honest
A fancy ceiling pattern is still built with ordinary layout discipline.
A tape measure, repeatable reference measurements, a chalk reel or other control-line method where it fits the job, a square for repeatable angle and border checks, and stable access are more important than adding another specialty gadget.
For ceiling layout, I do not treat a laser as the automatic default. A laser can be useful for certain checks, but snapped or repeatable control references often give you the field marks you need to keep a pattern consistent as you move across the room.
The tool role matters before the logo. The goal is repeatable layout, not an excuse to buy more stuff.
Mock It Up Before You Commit
Before you commit to the first irreversible sequence, mock up enough of the plan to prove it.
That can mean a sketch with real room dimensions, light snap lines, reference marks, or a small sample layout. Check the main doorway and seating/viewing angle. Check where the pattern meets the border. Check the fixtures. Check whether the trim is finishing the design or trying to hide it.
This is where you want to find the bad idea. Finding it after half the ceiling is installed turns a ten-minute planning problem into a rework problem.
Herb’s Rule of Thumb
Herb’s Rule of Thumb: Choose the simplest pattern that gives you the effect you want without creating hidden layout, cut, trim, fixture, access, or correction problems. If the pattern only looks good before you account for the real room, it is not the right pattern yet.
Free 10-Page Field Guide
Catch the Mistake While It Is Still a Decision
Get the free T&G Project Starter Guide for the planning, setup, installation, and hard-stop checks that are cheapest to fix before finished boards cover them up.
No purchase required. One practical T&G starting guide.
Related Ceiling-Planning Guides
If you are still deciding the overall look rather than the board arrangement, use How to Choose Tongue-and-Groove Ceiling Styles.
If the material itself is still undecided, use How to Choose the Right Wood for Tongue-and-Groove Ceilings before locking the pattern.
For the mistakes that show up once planning turns into installation, use Common Mistakes in Tongue-and-Groove Ceiling Installation.
Bottom Line
The best tongue-and-groove ceiling pattern is not the most complicated one. It is the one that looks intentional in the room and still lets you build the edges, fixtures, trim, and field cleanly.
Start with the room, prove the layout before you cut, and keep the pattern simple enough that the installation can support the design. If you want the full planning-to-finish sequence in one place, the handbook carries that process beyond the pattern decision.