
Top 5 Tools Every Tongue-and-Groove Installer Should Have
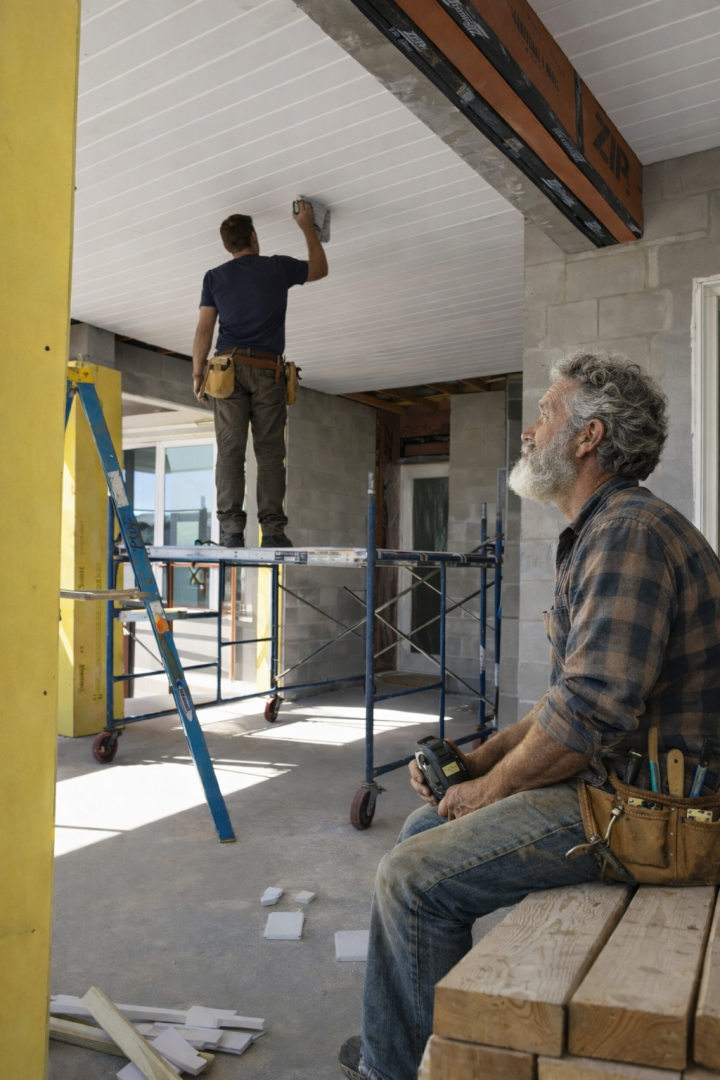
If you are building a tongue-and-groove install kit, do not start with specialty tools. Start with the five tool roles that control the job from layout through fastening.
What makes a tool a true must-have
A core tool has to earn its place. It should show up on most installs, prevent a repeatable failure, and solve more than one narrow problem. That is why this list starts with layout and control instead of brand names.
1. A dependable tape measure
A tape measure is first because bad measurements compound. Board lengths, obstacle cutouts, reveals, and room checks all depend on a number you can trust.
For solo work, a tape that is easy to read and holds itself reasonably well across a room can save frustration. The exact brand matters less than consistency, readability, and whether the tool fits the way you work.
2. A chalk line
A chalk line gives you a repeatable reference for the starter course and for checking drift as the field grows. On ceiling work, that matters because a small mistake at the beginning can become obvious across the whole room.
I use reference measurements and snapped control lines when they fit the job. A laser can help with checks, but it does not automatically replace a tape and chalk line.
3. A miter saw that cuts clean and repeats
A miter saw handles the repeated crosscuts that make up most of a T&G install. The important part is not owning the biggest saw. It is having a saw that is aligned, supported, and repeatable.
A good cutting station saves time because the board goes back into the room ready to fit instead of coming back for another correction.
Video credit: Home RenoVision DIY.
Want the full tongue-and-groove install order in one place?
I put the layout checks, prep work, tool judgment, fastening sequence, and common mistake fixes into one practical PDF handbook so you are not guessing your way through the job.
4. A drill/driver
A drill/driver earns its place because T&G work still needs pilot holes, backing, structure checks, trim support, and small adjustments.
An impact driver is useful, but a drill/driver is often the more controlled first choice when you are drilling wood, testing structure, or trying not to overdrive hardware.
5. A 15-gauge finish nailer
For real-wood T&G where stronger holding power is appropriate, I generally work in the 15-gauge finish-nailer lane. That is a field preference, not a universal rule.
Fastener gauge, length, coating, angle, board thickness, backing, environment, and the manufacturer’s instructions still have to fit the actual assembly. An 18-gauge brad nailer can make sense for lighter trim or other lower-demand work.
Access belongs in the tool system even if it is not one of the five
A platform, scaffold, plank, or properly selected ladder can matter more than another power tool when the work goes overhead. Stable access lets you hold the board, see the joint, and control the fastening tool without stretching past a good working position.
That is why access is the first honorable mention here. It may not be one of the five named hand or power tools, but it is part of the production system.
What did not make the top five
A table saw, oscillating multi-tool, jigsaw, mallet, pry bar, laser, and specialty router setup can all be useful. They become first-buy tools only when the job repeatedly asks for that capability.
A router bit set is a good example. It matters if you are milling or modifying profiles. It is not a first-buy requirement for most installers working with ready-made T&G boards.
Where the list changes for walls versus ceilings
The same five core roles still matter on walls, but ceiling work increases the importance of access, overhead tool weight, cord or hose management, and fastening control.
On walls, you can often work from a better body position and move tools around more easily. On ceilings, setup and fatigue become part of the tool decision.
What happens when you skip one of the five
- skip the tape and your measurements become guesswork
- skip the chalk line and layout drift becomes harder to catch
- skip the miter saw and repeat cuts become slower and less consistent
- skip the drill/driver and pilot work, backing, and small corrections get harder
- skip the appropriate finish nailer and you risk asking the wrong fastener to do the job
The point is not that these five tools are magical. The point is that each one covers a core job role that shows up again and again.
Verdict: buy capability before convenience
If I were building a T&G kit from scratch, I would buy layout, cutting, drilling, fastening, and safe access capability before chasing specialty upgrades.
Choose the tool role first. Then choose the brand, model, power source, and price point that fit your actual work. That keeps the kit lean and keeps the work moving.
Free 10-Page Field Guide
Catch the Mistake While It Is Still a Decision
Get the free T&G Project Starter Guide for the planning, setup, installation, and hard-stop checks that are cheapest to fix before finished boards cover them up.
No purchase required. One practical T&G starting guide.