
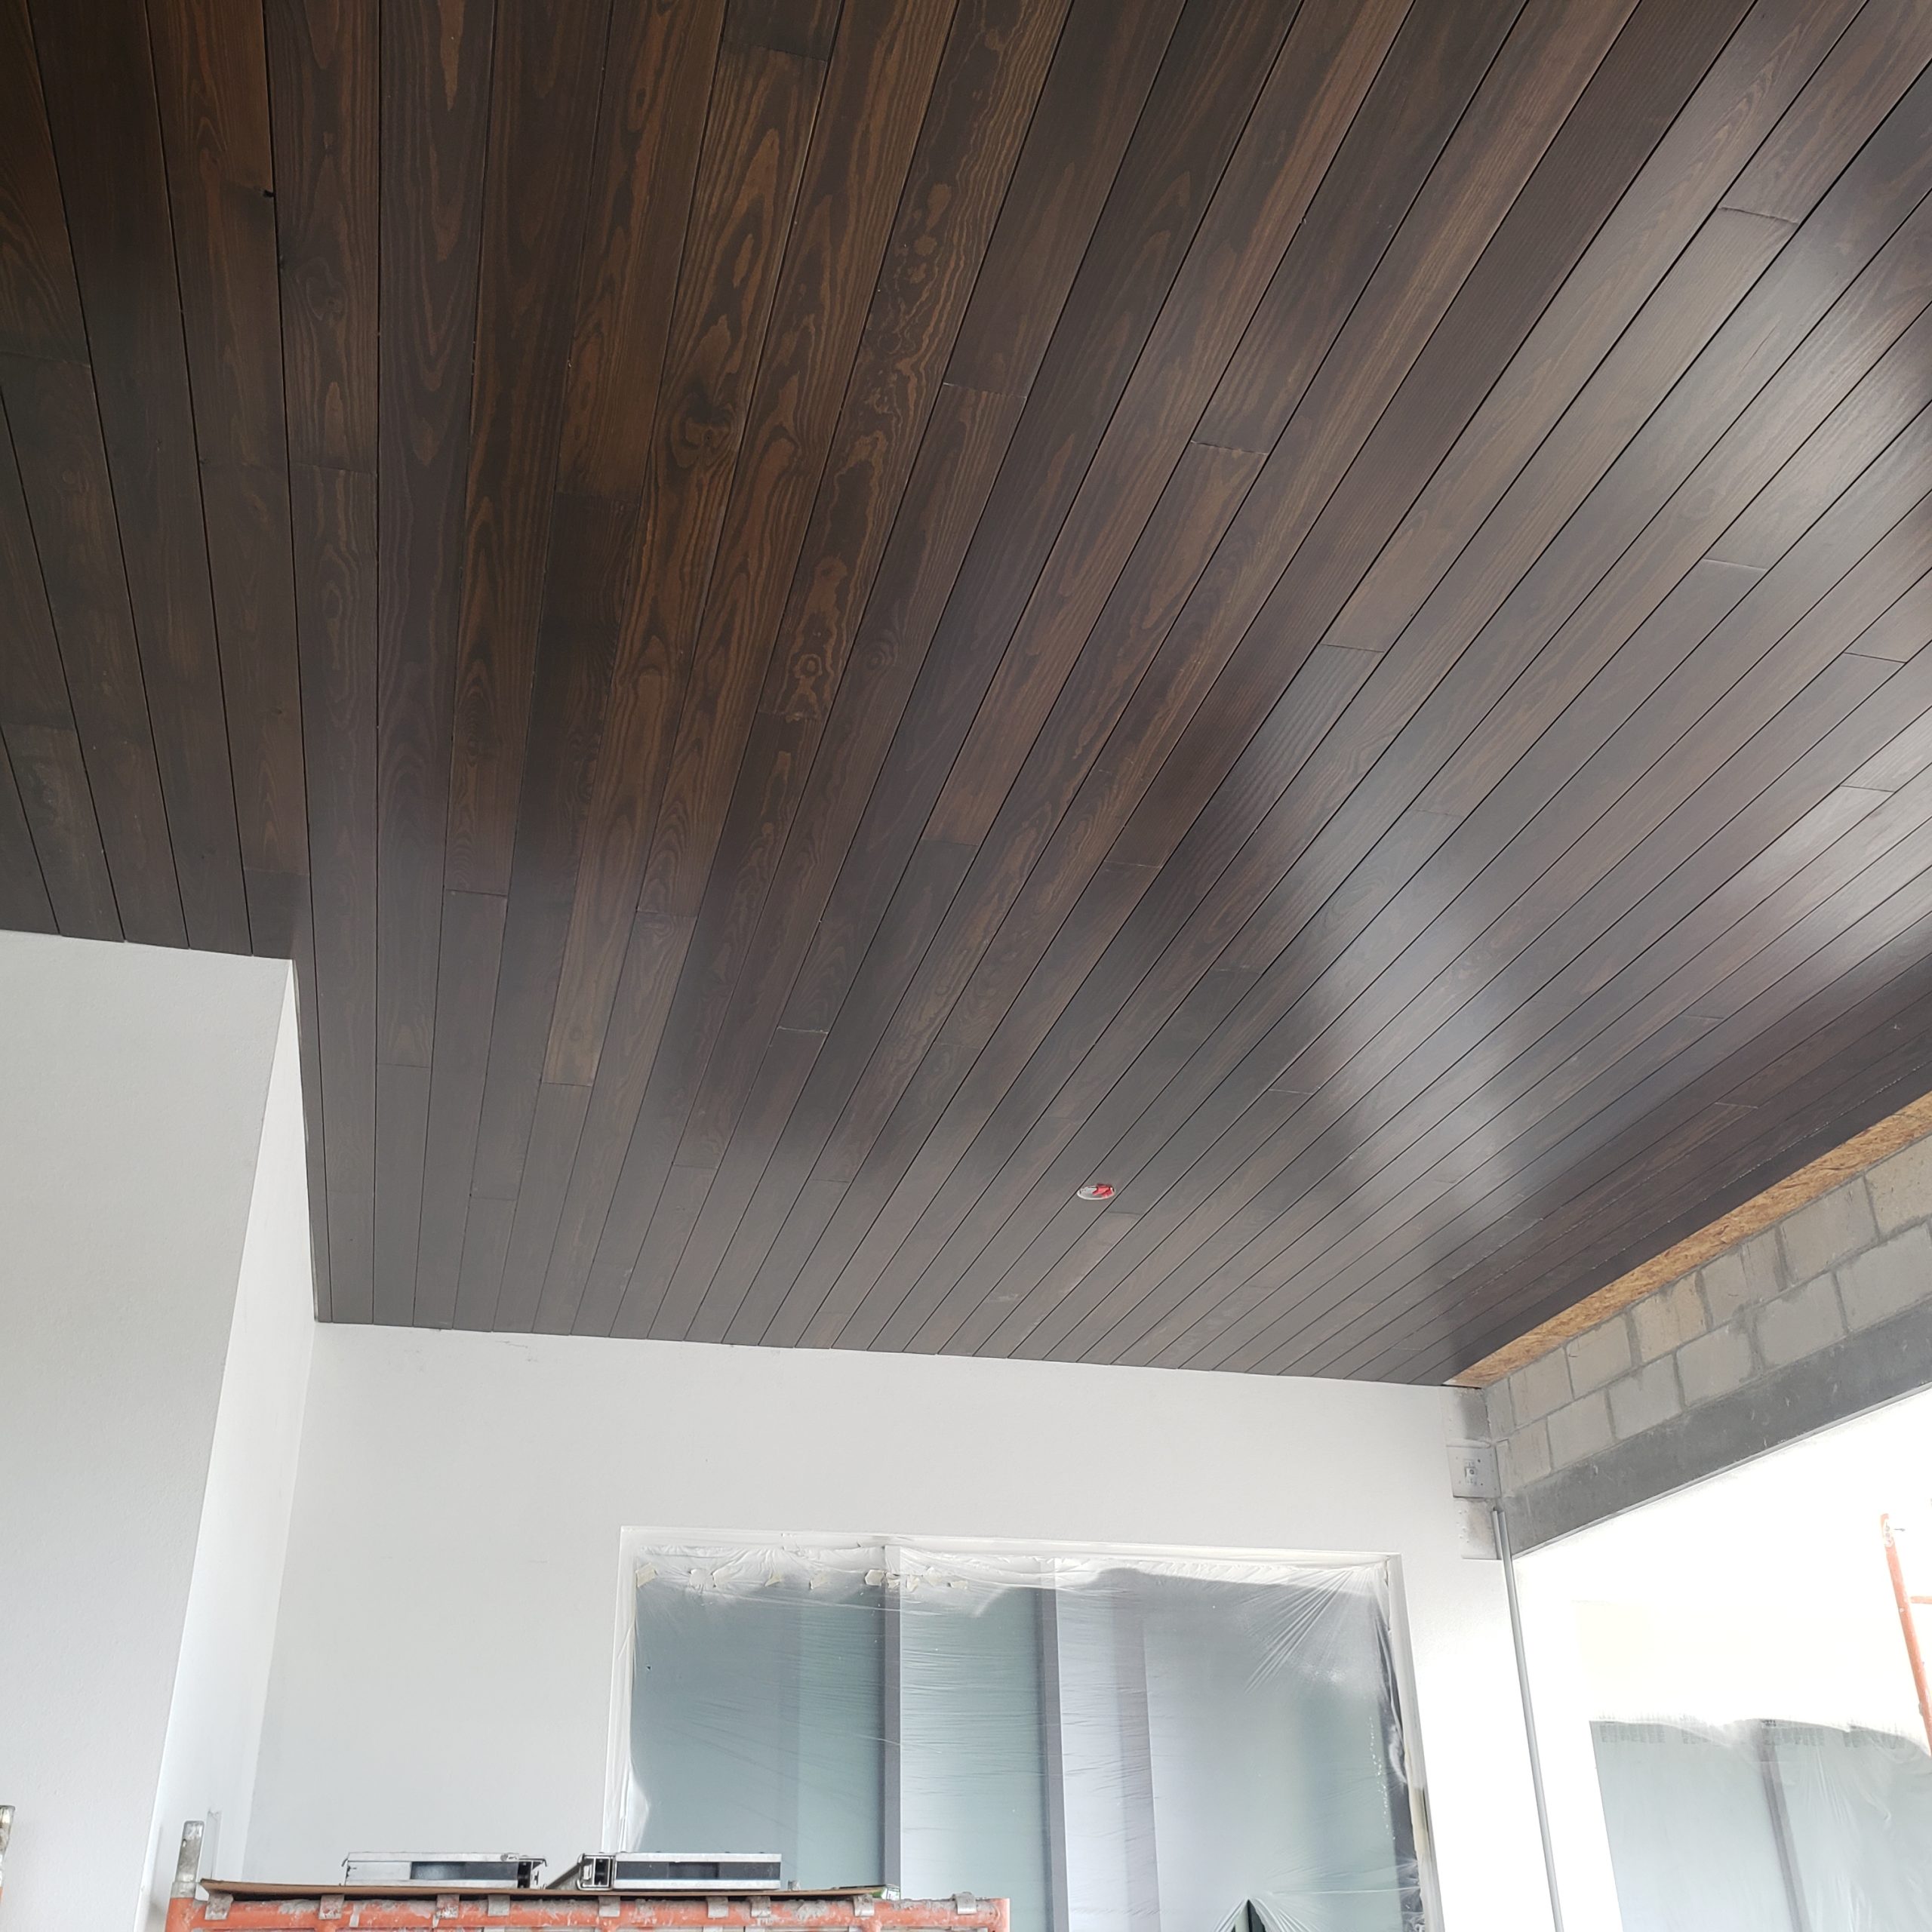
How to Calculate Tongue-and-Groove Ceiling Materials Without Coming Up Short
Length times width gets the takeoff started. It does not tell you what to put on the order.
Square footage gives you the ceiling area. The order also depends on how much face width the T&G actually covers, which way the boards run, how many courses that creates, how the available lengths fit those runs, and what the room does to your cutoffs.
Build the number in layers. Measure the room. Verify the exact board coverage. Lock the direction. Count the courses. Fit those courses to real stock lengths. Then deal with openings, cut waste, and the pieces you can actually reuse. Cross-check it before you spend the money.
Why Square Footage Is Only the Starting Point
Square footage is necessary, but it is not a material list.
The tongue and groove overlap, so nominal width may not equal installed coverage. Direction changes course count and run length. Stock lengths decide whether a run works cleanly or turns into extra joints and cutoffs.
The layout controls the order. One square-foot number cannot show all of that by itself.
For the broader planning sequence around layout, materials, access, finish, and waste, use the T&G Prep & Planning guide. This article stays focused on the material takeoff.
The Quick Estimating Method
- Measure the gross ceiling area.
- Verify the exact product’s installed coverage width, board dimensions, package quantity, and available stock lengths.
- Choose board direction.
- Calculate the course count.
- Build the runs from the stock lengths you can buy.
- Account for openings, obstacles, cuts, and realistic cutoff reuse.
- Add waste based on the way this job will actually cut up.
- Cross-check the takeoff.
- Keep a written record of the inputs and final quantity.
Miss a step and you can end up short, make a second material order, or buy boards you never needed.
Rule of Thumb: Square footage starts the takeoff, but installed coverage and stock-length fit decide the order. If those two inputs are not verified, the rest of the math is just a cleaner-looking guess.
Measure the Ceiling Before You Calculate Material
Measure length and width in more than one place. Do not assume both ends match just because the ceiling looks rectangular.
For an irregular ceiling, break the shape into simple sections and total them. Keep the original measurements, and do not round early just to make the math cleaner.
Those dimensions give you gross area and the run lengths you need when you compare board direction.
Verify the Board’s Installed Coverage
Do not guess this number.
The tongue and groove overlap when the field goes together. What controls course count is the installed coverage width, not an assumed board width.
Before course math, verify the exact product’s installed coverage, dimensions, package quantity if applicable, and the lengths or units actually offered. If you are still choosing the board itself, use the wood-selection guide for T&G ceilings before you lock the takeoff.
Do not borrow dimensions from a similar profile. Keep the takeoff tied to the product you plan to buy.
Planning the whole T&G job? The free 10-page T&G Project Starter Guide helps you check layout, material, tools, access, finish, and common-mistake decisions before the first board goes up.
Choose Board Direction Before Finalizing the Takeoff
Two layouts can cover the same ceiling and use material differently.
Change the direction and you change the number of courses, the length of every run, the end cuts, the possible end joints, and the chance that a cutoff lands somewhere useful.
Compare both room dimensions with the stock lengths available for the chosen product. If one direction gives you a poor length fit, it can create more cuts and waste without changing the ceiling area.
Lock direction before you lock quantity.
Want the full tongue-and-groove install order in one place?
I put the layout checks, prep work, tool judgment, fastening sequence, and common mistake fixes into one practical PDF handbook so you are not guessing your way through the job.
Calculate the Number of Courses
Use the verified installed coverage width:
Course count = ceiling width ÷ installed board coverage
If the answer includes a partial course, round up. That last course still takes material even if the final board is ripped narrower.
Write down the raw result and the rounded course count. That makes the estimate easy to check later.
Match the Layout to Stock Lengths
Course count gives you rows. Now turn those rows into boards.
If one board covers the full run, the piece count is simple. If it does not, plan the end joints and count enough pieces to complete every course.
Be realistic with cutoffs. A piece is reusable only if its length and the layout give it a real place to go.
Perfect reuse on paper can disappear fast once the cutting starts. For ideas on what leftover T&G can still be useful for, see creative uses for leftover tongue-and-groove wood.
Account for Openings, Obstacles, and Cut Waste
A large true opening may reduce material. A small cutout can create more cutting than savings.
Lights, fans, vents, beams, skylights, angled edges, and perimeter conditions may remove finished area while still costing usable board length.
Do not automatically subtract every opening from gross area. Follow the board through the interruption and decide whether the cut produces something useful or scrap.
Build a Waste Allowance From the Actual Job
There is no one waste percentage that belongs on every T&G ceiling.
Look at the waste drivers: room shape, stock-length fit, direction, obstacles, sorting or defects, planned joints, diagonal work if any, and difficult perimeter or final-course cuts.
A clean rectangular room with good length fit is not the same takeoff as a room full of interruptions and awkward runs.
If you use a percentage as an allowance later, it should come after that review. The job drives the allowance, not the other way around.
Cross-Check the Estimate Before Ordering
- Gross ceiling area
- Course count from verified installed coverage
- Stock-length planning for the actual runs
They measure different parts of the problem, but they should support the same order.
If one check is far away from the others, stop and find out why. Look for a missed section, bad coverage input, unrealistic cutoff reuse, or stock lengths that do not fit the layout well.
Finding that mistake on paper is cheaper than finding it with half the ceiling installed.
Keep a Final Order Record
- Room dimensions
- Gross ceiling area
- Exact T&G product
- Verified installed coverage width
- Board direction
- Number of courses
- Required run length
- Available stock lengths
- Openings and obstacles
- Waste drivers and allowance basis
- Final quantity to order
If the board changes before purchase, change the product-specific inputs and rerun the affected math. Do not trust memory.
Final Takeaway
Square footage starts the takeoff. Verified coverage, layout, and stock-length fit finish it.
Measure the room, verify the board you are actually buying, lock the direction, count the courses, fit the runs to available lengths, and be realistic about cuts and reuse. Build waste from the job, not from a blanket rule.
Then cross-check it before you order. That gives you a material estimate you can check before money and material are committed. When you are ready to move from the takeoff to the install, use the step-by-step T&G ceiling installation guide.