
Maintenance Tips for Tongue-and-Groove Ceiling Tools
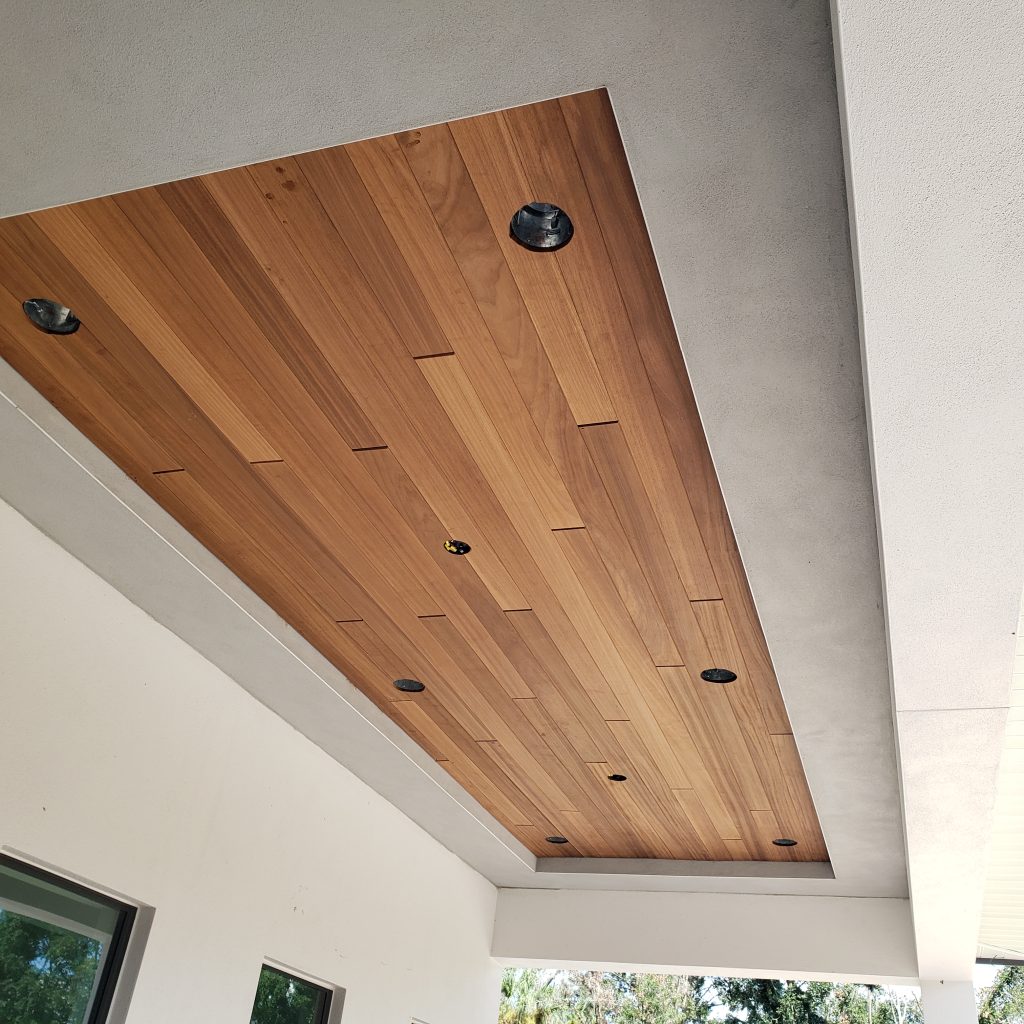
Tool maintenance is part of the install. If a saw starts tearing an edge, a nailer changes set depth, or a drill develops wobble, the finished ceiling is where the problem shows up. I would rather catch that on scrap than on a board that is already overhead.
Why maintenance matters on T&G ceiling work
T&G ceiling work is repetitive and often overhead, so small tool problems get expensive fast. A bad cut repeats. A depth problem repeats. A layout tool that cannot be trusted makes every measurement after it questionable.
The maintenance routine should be simple: inspect, clean, test, adjust, and stop if the tool is still inconsistent. Do that before finish stock gets involved.
Keep cutting tools clean and sharp
Start with the saws. Dust, pitch, and resin buildup can make a blade cut hotter and rougher. If the cut quality changes, do not automatically blame the board. Clean the tool, inspect the blade, and make a sample cut.
If you have to push harder than normal or the edge is starting to tear, the blade or saw setup needs attention. Replace or sharpen the blade when the cut tells you it is time. I would not use one universal sharpening schedule because blade type, material, use, and manufacturer guidance all matter.
Video credit: Acme Tools.
Want the full tongue-and-groove install order in one place?
I put the layout checks, prep work, tool judgment, fastening sequence, and common mistake fixes into one practical PDF handbook so you are not guessing your way through the job.
Check the saw before finish stock
A clean blade does not help if the saw is out of adjustment. Portable tools get moved, bumped, loaded, and unloaded. If crosscuts suddenly stop closing the way they did on the last job, check the saw before you start compensating with bad technique.
Confirm the fence and the saw’s square and bevel references with a repeatable check. Then make a scrap cut. If the tool still will not repeat, stop there and correct the problem before cutting finished material.
Keep the drill and driver under control
Drills and drivers collect dust in the vents, chucks, contacts, and bit holders. Bits wear out. Chucks loosen. None of that looks dramatic until the bit wobbles in a pilot hole or a worn driver starts damaging fasteners.
Wipe the tool down, keep the vents and contacts clean, and retire damaged bits. Before the job starts, spin the drill or driver briefly and pay attention to wobble, drag, or a bit that will not seat correctly.
Keep the finish nailer consistent
For real-wood T&G where stronger holding power is appropriate, I generally work in the 15-gauge finish-nailer lane. That is a field preference, not a universal rule. Fastener gauge, length, coating, angle, backing, board thickness, environment, and the manufacturer’s instructions still have to fit the assembly.
Maintenance is simpler than the fastening decision: keep the nose clean, check the depth setting, inspect how the driver is behaving, and test-fire on scrap before the first finished board. If set depth becomes inconsistent or the tool starts marking the work, stop and diagnose it instead of planning to hide the damage later.
Do not forget the layout tools
The tape and chalk line are cheap compared with a saw or nailer, but they control the layout. A damaged tape hook or a chalk line that is dirty and dragging can create trouble before the first board is cut.
- check the tape hook and blade for damage
- verify a suspicious measurement against a second reference
- keep the chalk line clean and rewinding correctly
- wipe dust off hand tools before they go back into storage
Storage, batteries, and transport are part of maintenance
A tool can leave the shop in good shape and still arrive at the next job out of adjustment. Keep tools dry, protect blades and chargers, keep cords from becoming a knot, and secure the equipment so it is not bouncing around during transport.
With cordless tools, keep usable charged batteries in the rotation and inspect the contacts while you are cleaning the tool. Do not invent one storage temperature or charging routine for every battery platform; use the battery manufacturer’s instructions for product-specific limits.
What tool neglect looks like on the ceiling
Maintenance problems show themselves in the work. A dull or dirty blade can leave torn edges. A saw that is out of adjustment can make repeated cuts that do not close. A nailer with inconsistent depth can leave proud fasteners or unnecessary marks. A damaged tape can make measurements disagree.
Those symptoms do not prove the tool is always the cause, but they are enough reason to stop and check the tool before blaming the material or forcing the installation.
A five-minute pre-job check
- make one clean sample cut before loading finish stock
- test-fire the nailer on scrap and confirm the set depth
- check a tape measurement against a second reference if the hook looks suspect
- spin the drill or driver and listen or feel for wobble, drag, or bad bit fit
- confirm the batteries, chargers, cords, and access equipment are ready before setup
When to stop and fix the tool
Stop using the tool when it cannot repeat the result you need, when a safety guard or critical part is damaged, when the cut or fastening result changes without a clear reason, or when the tool is making you compensate with unsafe pressure or body position. Product-specific service and repair instructions come from the manufacturer.
Verdict: maintenance is quality control
You do not need a complicated maintenance program. Keep the tool clean, inspect the parts that control the work, test it before finish stock, and store it so today’s pack-out does not create tomorrow’s problem.
The point is not to baby the tools. The point is to keep a tool problem from becoming a ceiling problem.
Free 10-Page Field Guide
Catch the Mistake While It Is Still a Decision
Get the free T&G Project Starter Guide for the planning, setup, installation, and hard-stop checks that are cheapest to fix before finished boards cover them up.
No purchase required. One practical T&G starting guide.