
Unlocking the Secrets of Wood Finishing Techniques
Wood finishing techniques get confusing when the conversation starts with brands and cans. I start with the surface.
If the wood is scratched, dusty, carrying glue, or poorly sanded, the finish is going to advertise it. A good finish cannot rescue bad prep. The real system is inspection, surface prep, dust control, good light, testing, application sequence, drying or cure time, and knowing when to leave the work alone.
If finishing is only one decision inside a larger tongue-and-groove job, the T&G Prep & Planning guide keeps material, layout, access, finish, and waste decisions in the same sequence.
Choose the finish system by the job
Before I pick a finish, I decide what the job actually needs. Do I want the grain to stay natural? Do I want to change the color? Does the surface need stronger protection? How hard will it be to repair later? How much maintenance am I willing to accept?
| Finish lane | Main job | What to think about |
|---|---|---|
| Stain or color stage | Change or even out color while leaving grain visible | Absorption, test color, compatibility with the protective finish |
| Clear film finish | Build protection on the surface | Sheen, application control, repair difficulty, cure requirements |
| Penetrating finish | Keep a more natural look and feel | Protection level, maintenance, repairability, product-specific behavior |
There is no useful universal winner. The wood, the room, the use, the look, and the product instructions decide which lane makes sense.
If the wood itself is still undecided, settle that first. Species, profile, movement, and appearance can change what a finish will show and how the finished room reads. Start with the wood-selection guide before choosing the finish system.
Inspect the surface before you sand or coat anything
I want to know exactly what I am working with. Raw wood, factory primer, an old clear finish, glue residue, scratches, dents, dust, and previous repairs all change the next move.
Skip that inspection and the rest of the process becomes guesswork. You can spend good money on finish and still end up staring at the same sanding scratch every time the light comes across the wall.
Prep so the finish has a chance
Prep is where the finish gets its ceiling. Sand the defects that are actually there, use a sensible progression for the wood and finish system, remove glue and contamination, and keep the dust from settling right back onto the surface.
Then get good light across the work. Side light is merciless in a useful way. It shows swirl marks, scratches, glue, uneven sanding, and little surface defects before the finish makes them harder to ignore.
If the color or finish system is new to you, use scrap or a sample board. That test tells you more than a pile of opinions because it uses the same wood, the same prep, and the same product combination you are about to put on the job.
Random-orbit sanders and dust extraction can make prep faster and cleaner, but the tool does not replace inspection. A fast sander can also make a bad scratch faster if you are not paying attention. Check the surface under good light before you decide it is ready for finish.
Planning the whole T&G job? The free 10-page T&G Project Starter Guide helps you settle material, layout, tools, access, finish, and common-mistake decisions before the first board goes up.
Use stain for color, not as a universal protection answer
Stain is mainly a color decision. Different species, grain, sanding, and product chemistry can all change how the color lands.
I do not assume one conditioner, one sanding schedule, or one application method belongs on every project. Test the color, follow the product instructions, and prove the result before you put it on the face you have to live with.
Choose between a surface coating and a penetrating finish
A surface coating, such as polyurethane or varnish, builds a thin protective layer over the surface of the wood. In finishing terms, that is called a film finish because the finish cures into a film over the wood rather than simply soaking into it.
That film can provide more protection from wear, moisture, dirt, and handling. The tradeoff is that when the coating gets scratched, worn, or damaged, repairing it can require more surface preparation to blend the repair with the surrounding finish.
A penetrating finish, such as an oil finish, works differently. It soaks into the wood fibers instead of building the same kind of protective film on top. That generally leaves more of the natural look and feel of the wood and can make future touch-ups easier, but it may provide less surface protection depending on the product and application.
For tongue-and-groove, do not choose one just because somebody says one type is better. Consider where the wood is being installed, how much moisture and wear it will see, the appearance you want, and how you expect to maintain it later.
Video reference: This overview from Rag ‘n’ Bone Brown walks through several common wood-finish categories. Use it as a visual overview; the product instructions still control the actual system.
Want the full tongue-and-groove install order in one place?
I put the layout checks, prep work, tool judgment, fastening sequence, and common mistake fixes into one practical PDF handbook so you are not guessing your way through the job.
Keep the application sequence controlled
The sequence stays simple even when the products change: prep, clean, test, add color if needed, let that stage dry as required, apply the protective finish, make any between-coat correction the system calls for, then let the final finish cure before normal use.
The hard part is often leaving it alone. Wet finish invites people to touch it, fix it, or add more product too soon. That is how a small miss becomes a bigger one. Sometimes the better correction is tomorrow.
Watch what finish buildup does to T&G and trim
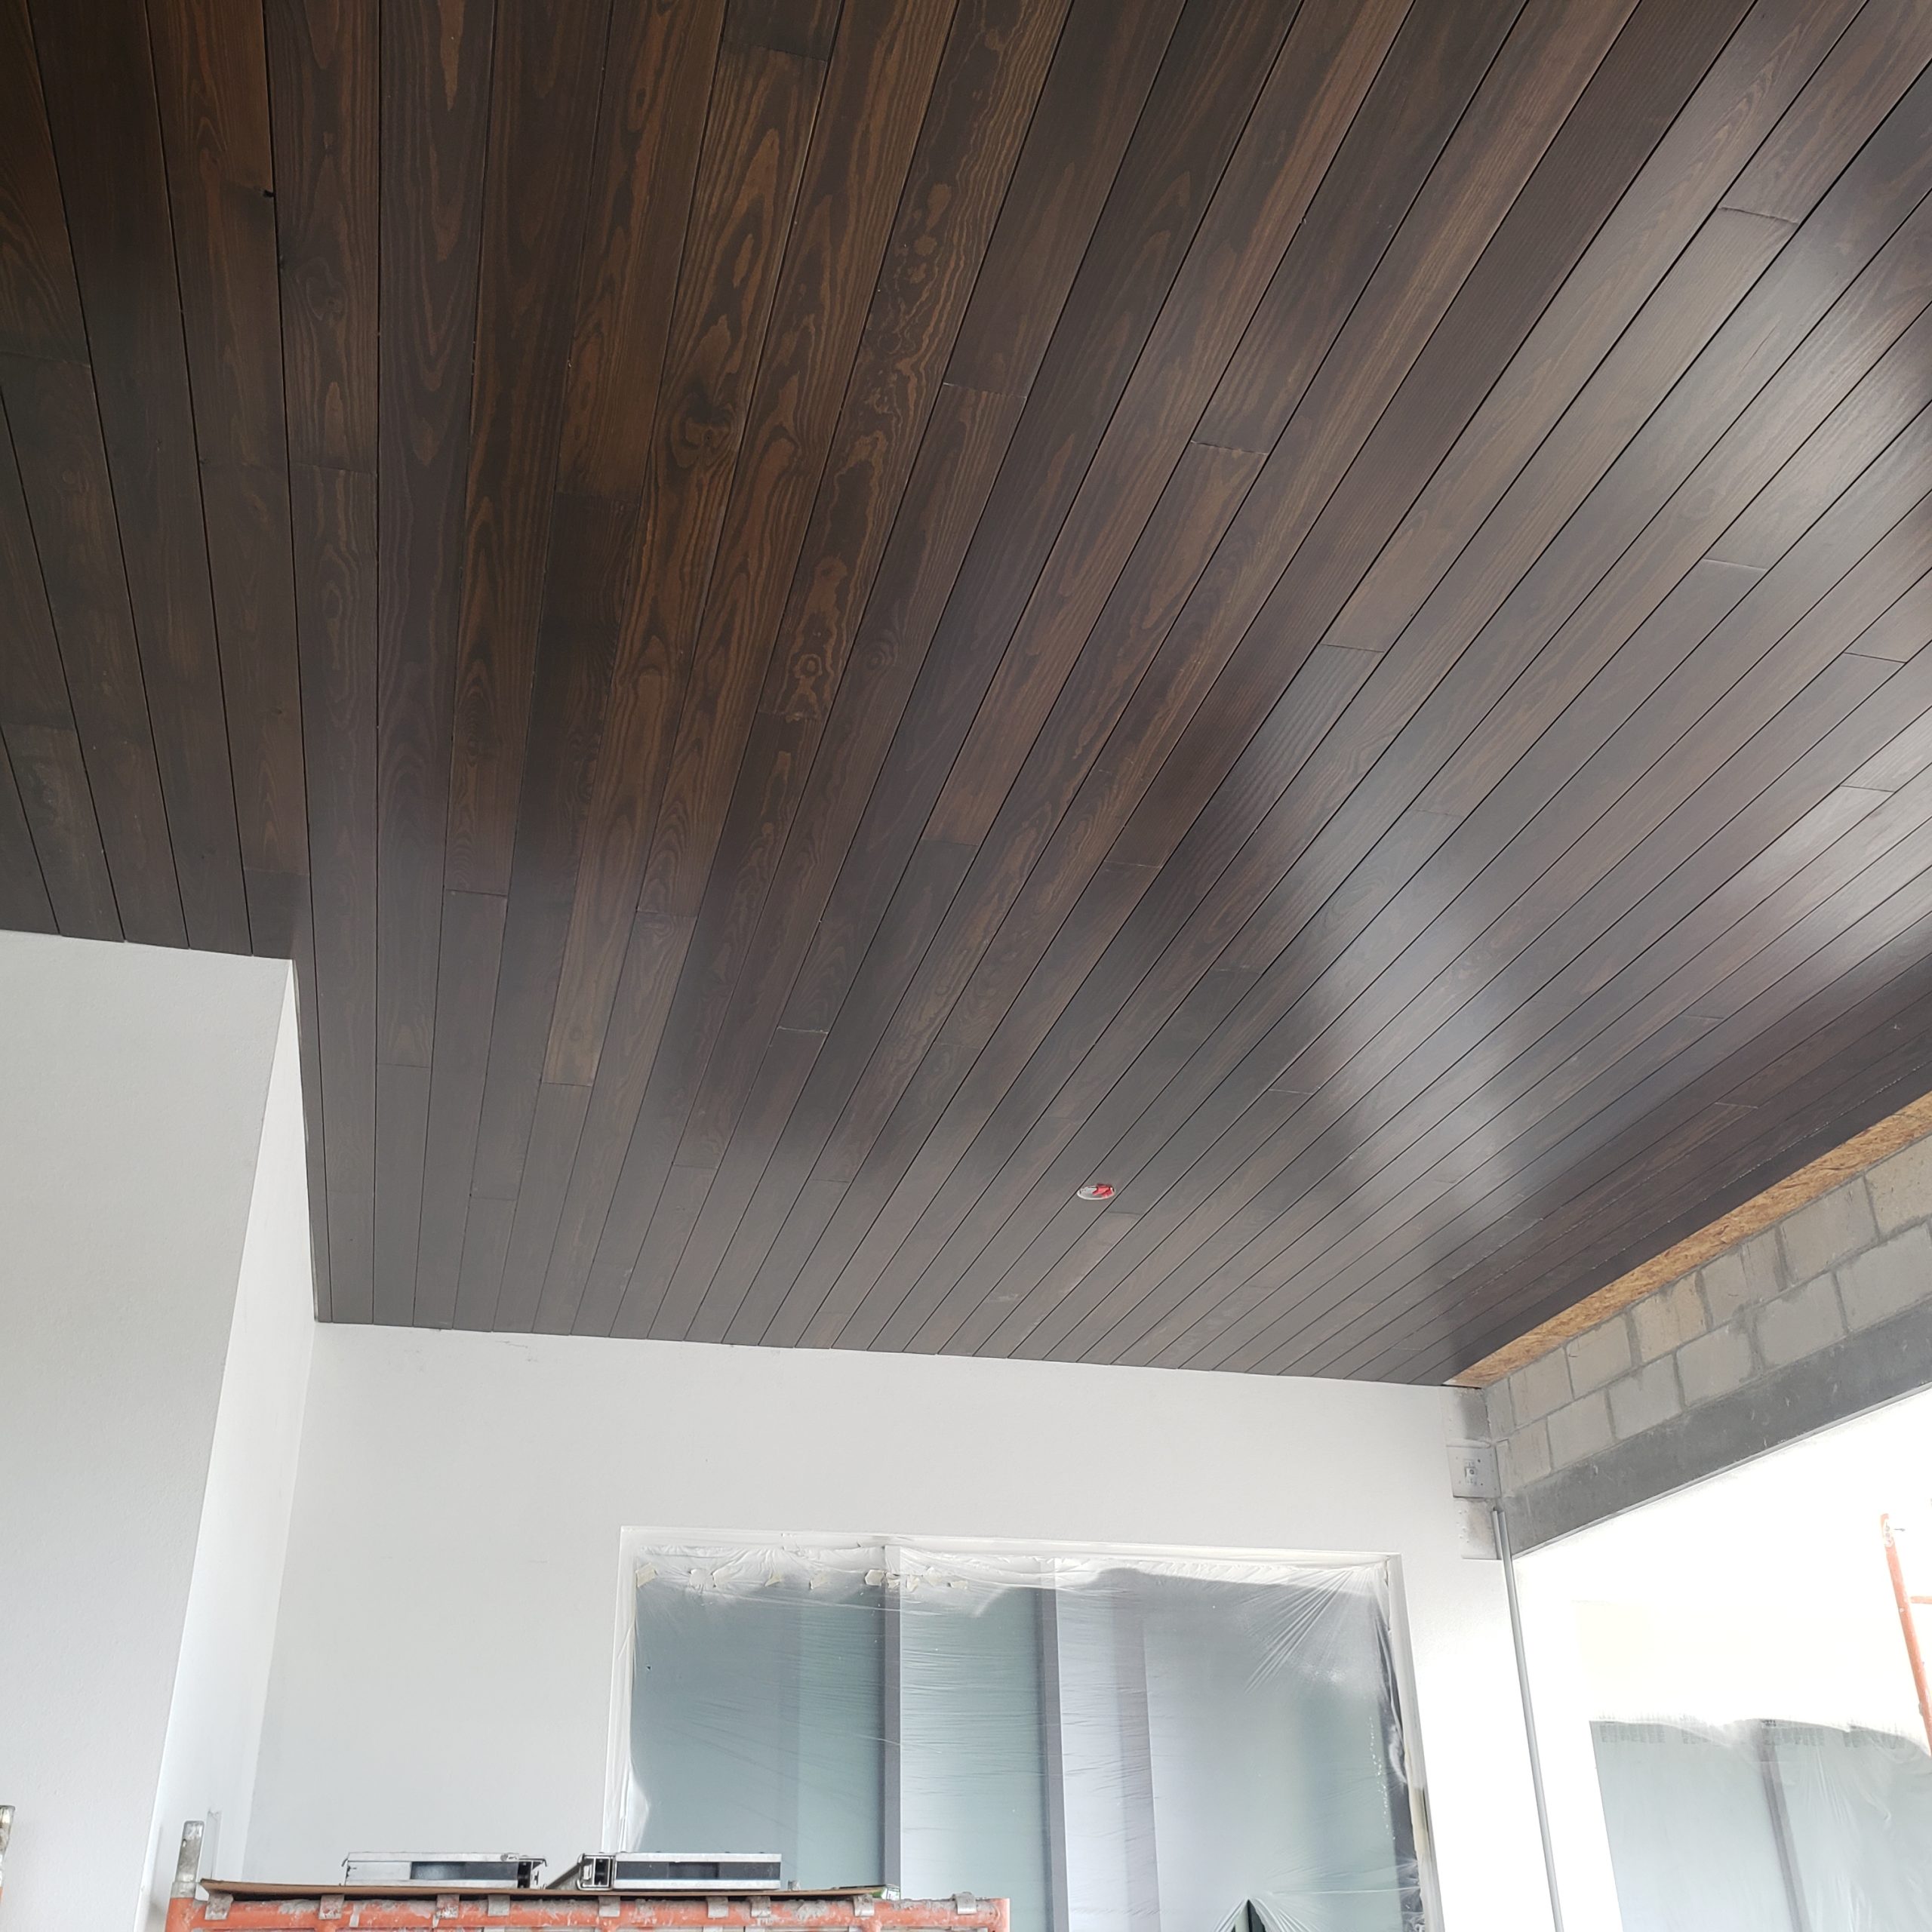
Finish buildup can change how trim and tongue-and-groove fit. Primer, paint, or clear finish can tighten a joint. Heavy coating can soften a nickel-gap detail. A sanding scratch on a broad T&G face can catch light all the way across the room. Touch-up also gets harder once boards are installed tight to trim, beams, windows, and corners.
Prefinishing gives you better access to the material. Finishing in place gives you continuity across the installed work. Either way, you are choosing where the labor and the risk show up.
Keep maintenance simple
Once the finish is cured, keep maintenance simple. Clean gently, avoid needless abrasion, and remember that wood still responds to its environment.
Small damage may be a local repair. A failed film, a broad color mismatch, or damage that crosses several boards may need a wider repair so the fix blends instead of flashing at you every time the light changes.
When the problem is already in an installed ceiling, finish repair becomes part of a larger diagnosis. The T&G ceiling repair guide covers when to monitor, open up, reset, replace, and blend the repair instead of simply hiding the symptom.
Diagnose the cause before adding more finish
Do not treat every defect with another coat. Blotchy color can point back to absorption or prep. Sanding scratches point back to the surface. Dust nibs point to contamination. Runs and lap marks point to application. Poor adhesion can point to what happened underneath or to a compatibility problem.
Find the cause first. Otherwise the next coat can bury the evidence without fixing the reason it happened.
Choose the system from the actual job
My recommendation is simple: choose the finish system from the actual wood, how the surface will be used, the look you want, and the maintenance burden you can live with. Better prep, better light, cleaner work, and better timing usually matter more than buying the most expensive can on the shelf.
If the finish is going onto tongue-and-groove, decide the visual direction before the coating schedule. The guide on painting or staining a T&G ceiling helps frame that decision.
Herb’s Rule of Thumb
Surface work punishes impatience. Rush the prep or the sequence, and the finish will remind you every time the light hits it.