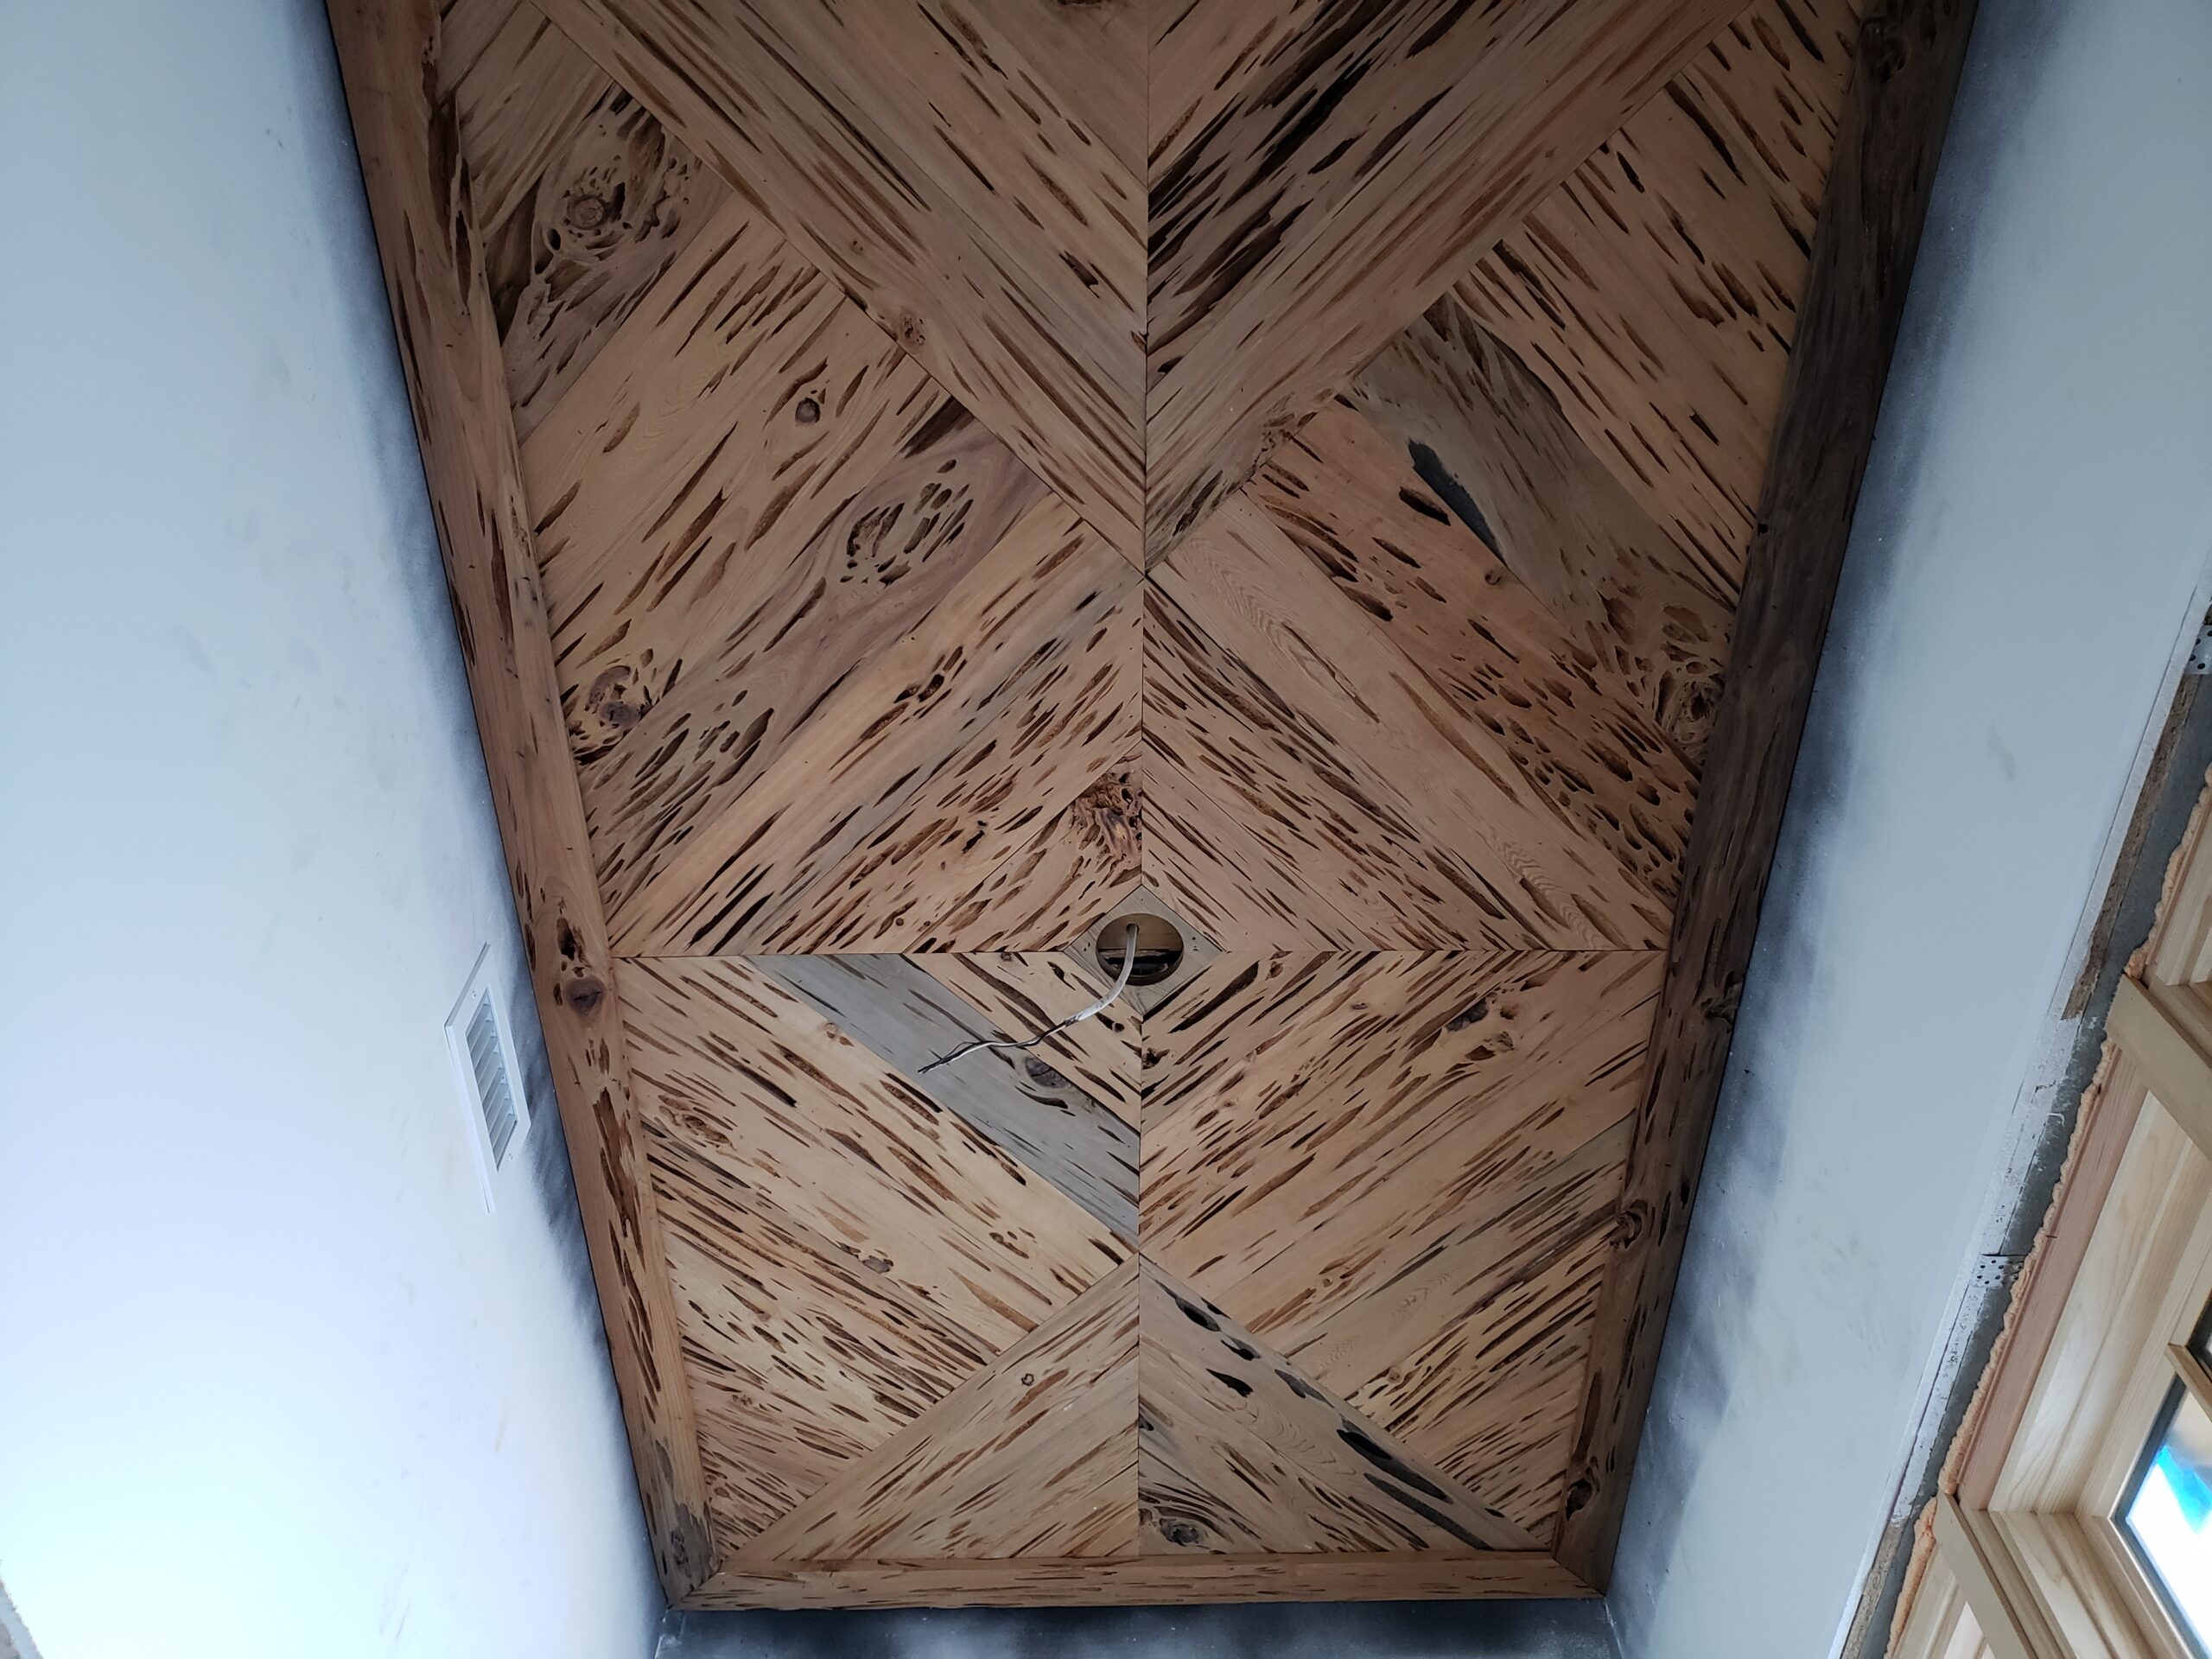
Tongue and groove ceilings have a timeless appeal that instantly adds character and charm to any space. Whether you’re renovating your home or building a new one, installing a tongue and groove ceiling can elevate the look of any room. However, as with any home improvement project, proper planning and execution are key to achieving the best results. In this guide, we’ll walk you through essential tips for mastering your tongue and groove ceiling installation.
Planning and Preparation
Before you dive into the installation process, it’s crucial to start with thorough planning and preparation. Measure the dimensions of the ceiling accurately to determine how much material you’ll need. Order a bit extra to account for any mistakes or miscalculations.
Next, assess the condition of the ceiling surface. Ensure it’s clean, dry, and flat before you begin the installation. Any bumps or irregularities can affect the final look of your tongue and groove ceiling. Make any necessary repairs or modifications to create a smooth and even surface to work with.
Choosing the Right Materials
Selecting the right materials is essential for a successful tongue and groove ceiling installation. Opt for high-quality wood panels that are durable and well-suited for your space. The type of wood you choose can impact the overall aesthetics of the ceiling, so consider the style and look you want to achieve.
Additionally, decide whether you want to go with a pre-finished or unfinished wood surface. Pre-finished panels can save you time and effort in staining or painting, while unfinished ones offer more flexibility for customization. Make sure the panels are properly treated for moisture resistance, especially in areas like kitchens or bathrooms.
Tools and Equipment
Having the right tools and equipment on hand can make the installation process much smoother. Here are some essential tools you’ll need for installing a tongue and groove ceiling:
- Tape measure: For accurate measurements and dimensions.
- Circular saw or miter saw: For cutting the panels to size.
- Pneumatic nail gun: For securely fastening the panels to the ceiling.
- Level: To ensure the panels are installed straight and even.
- Construction adhesive: To provide additional support and stability.
Having these tools readily available will help you work efficiently and effectively during the installation.
Installation Techniques
The key to a flawless tongue and groove ceiling lies in the installation techniques you use. Here’s a step-by-step guide to help you navigate the process:
- Start at one corner: Begin by placing the first panel in one corner of the ceiling. Make sure it’s aligned properly before securing it in place.
- Use a nail gun: Secure the panels in place using a pneumatic nail gun. Position the nails at an angle to conceal them within the groove.
- Stagger the panels: Stagger the end joints of the panels to create a seamless look and enhance structural strength.
- Cut panels to size: Use a circular saw or miter saw to cut panels to fit at the edges and corners of the ceiling.
- Apply construction adhesive: For additional support, apply construction adhesive to the back of each panel before securing it in place.
- Continue the process: Repeat the process until the entire ceiling is covered with tongue and groove panels.
Finishing Touches
Once you’ve installed all the panels, it’s time to add the finishing touches to complete the look of your tongue and groove ceiling. Consider the following finishing options:
- Stain or paint: Apply a stain or paint finish to enhance the natural beauty of the wood and complement your existing decor.
- Trim and moldings: Install trim and moldings along the edges of the ceiling for a polished and sophisticated look.
- Sealant: Seal the ceiling with a clear coat or sealant to protect the wood from moisture and extend its lifespan.
By paying attention to these finishing touches, you can elevate the overall aesthetics of your tongue and groove ceiling and create a stunning focal point in your home.
The Bottom Line
Mastering your tongue and groove ceiling installation requires careful planning, attention to detail, and the right tools and techniques. By following the essential tips outlined in this guide, you can confidently tackle this home improvement project and achieve a professional-looking finish. Remember to take your time, stay organized, and enjoy the process of transforming your space with a beautiful tongue and groove ceiling.


