Transform Your Space: A Comprehensive Guide to Tongue and Groove Ceiling Installation
Transform Your Space: A Comprehensive Guide to Tongue and Groove Ceiling Installation
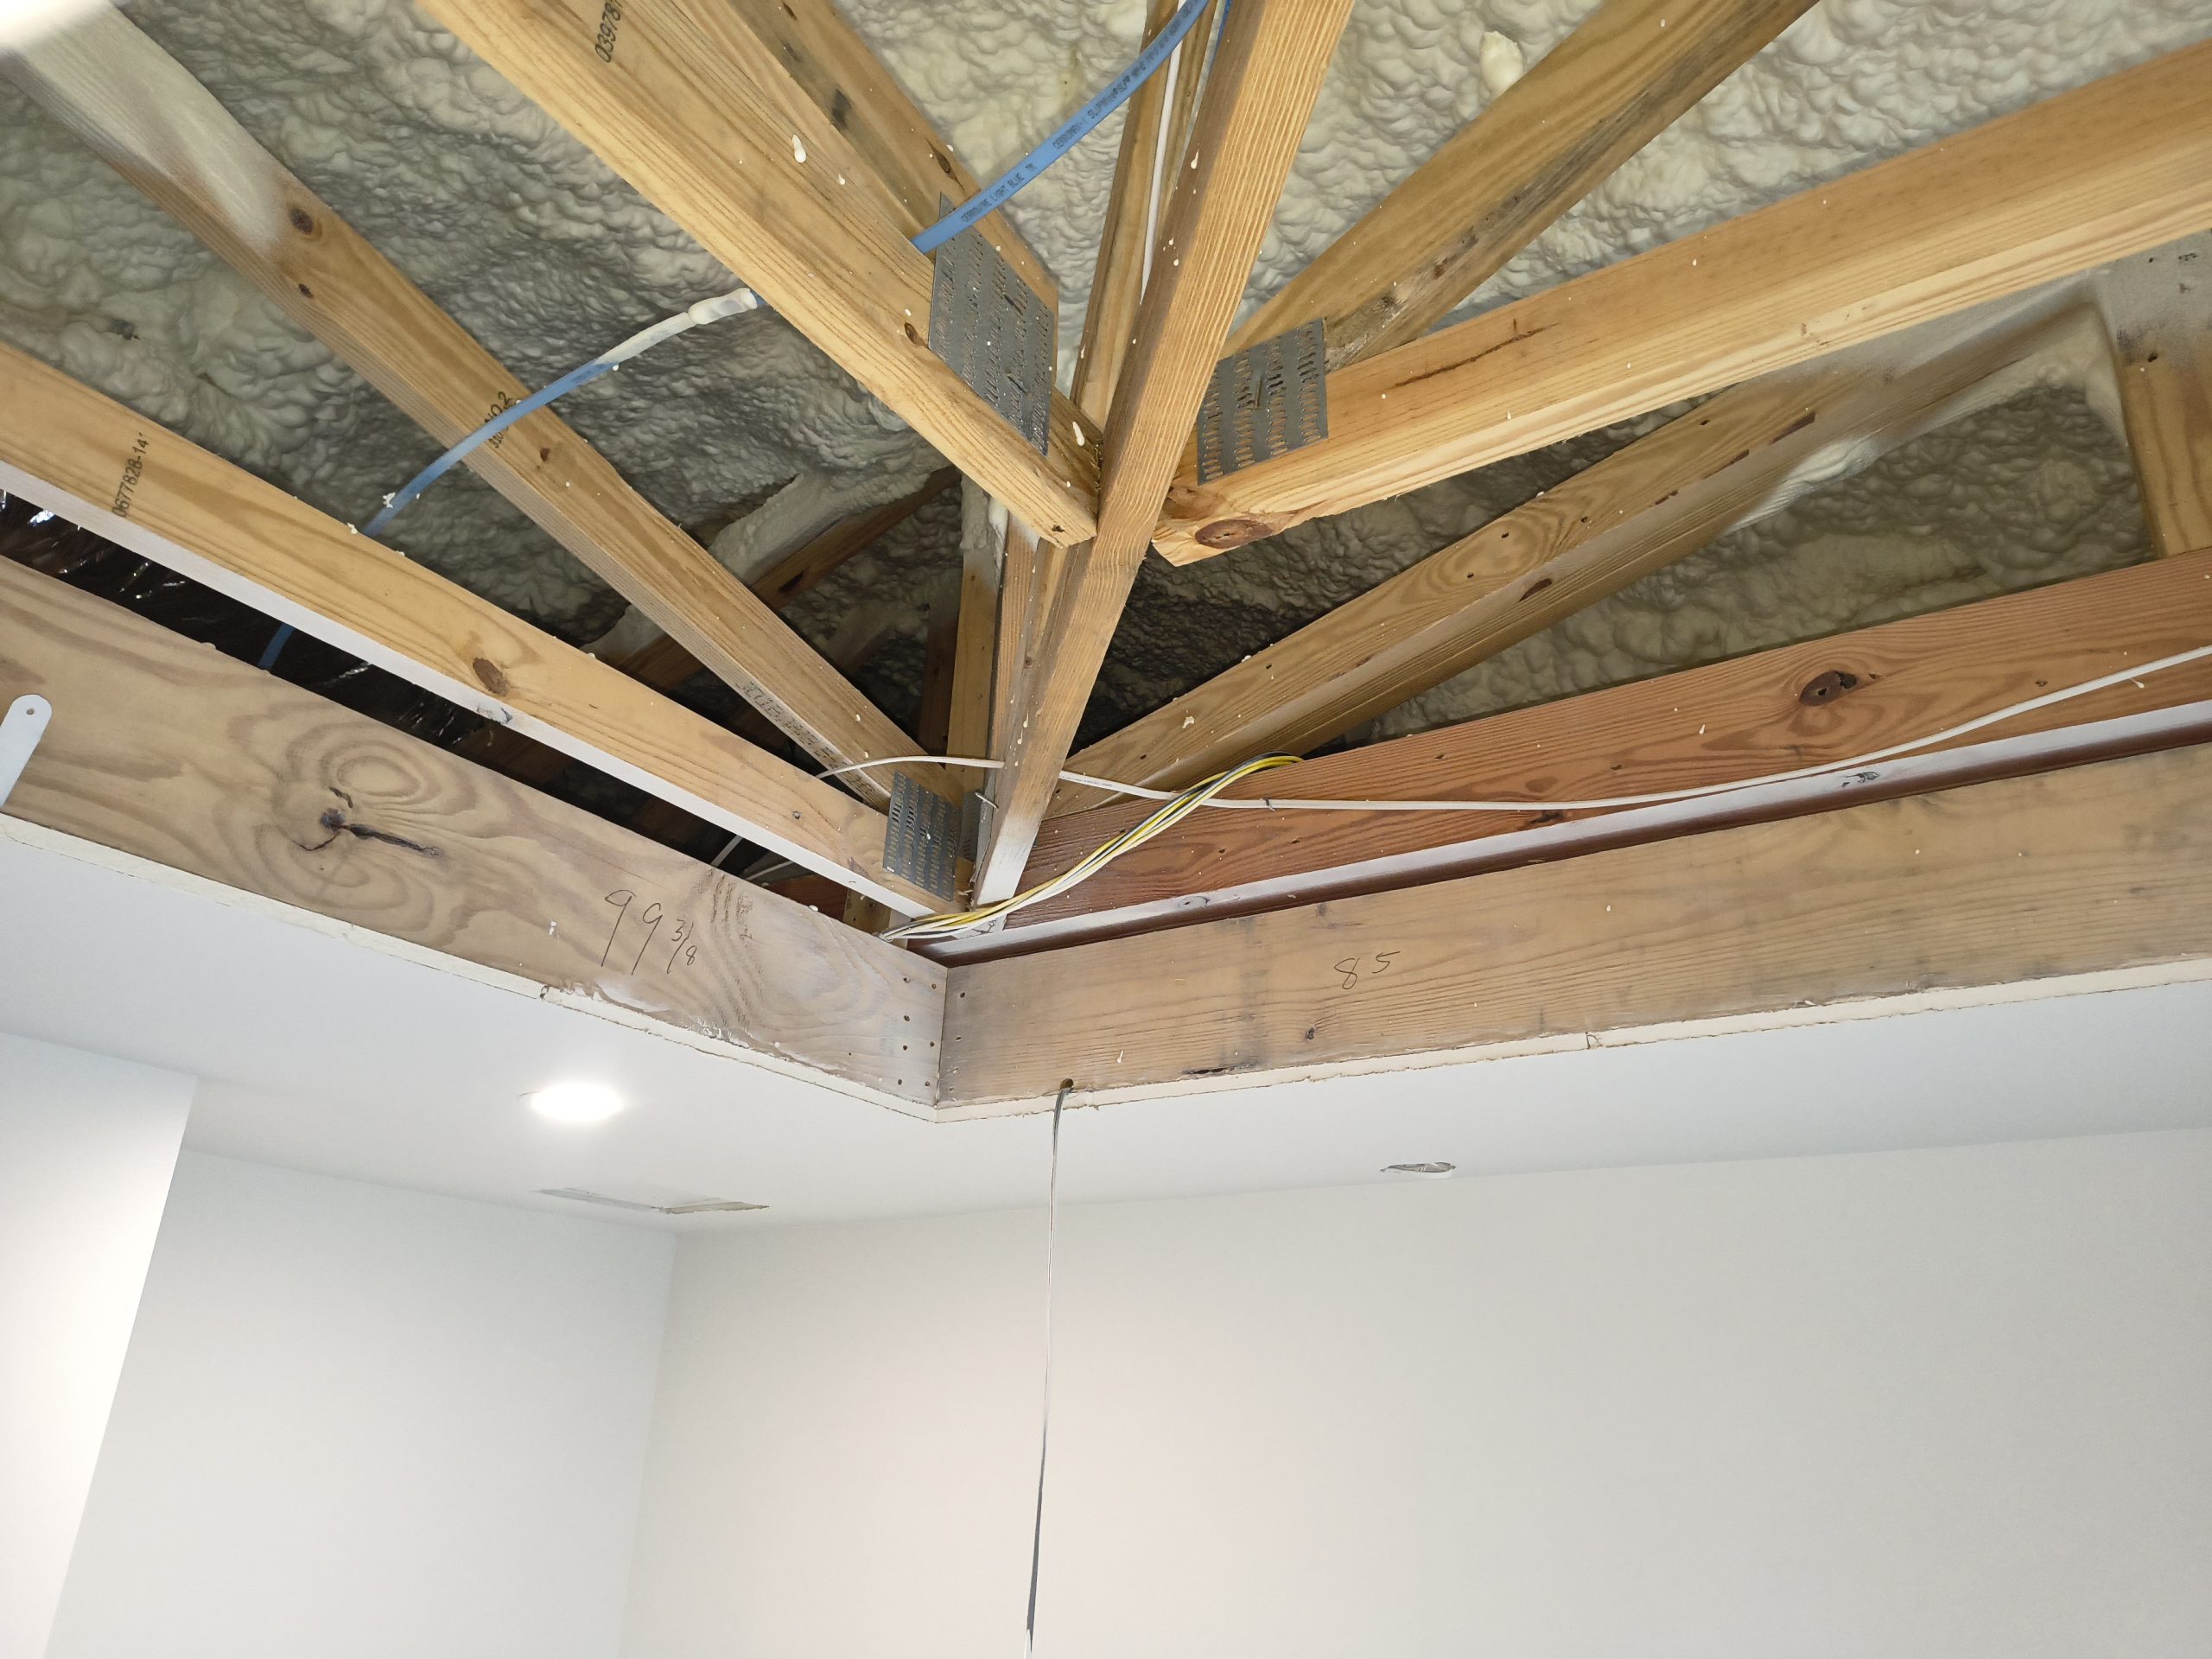
A tongue-and-groove ceiling changes a room because it changes how the eye reads the whole space. The problem is that the install only feels simple from a distance. Up close, it is a sequence job. Planning, staging, cutting, fastening, trim, and finish all feed the next step.
If you need another angle on this part of the job, read Tongue and Groove Ceiling Installation Tools: A Comprehensive Guide.
This guide walks through the process the way the room actually unfolds, not the way a generic shopping post pretends it unfolds.
If you can picture the room and the order of operations, the project becomes much less intimidating. That is what this walkthrough is trying to do.
Gage’s Rule of Thumb: On tongue-and-groove ceiling work, I trust the layout and access setup before I trust any fast fix. If the starter line is honest and your footing stays stable, the whole ceiling usually gets easier to control.
Phase one: plan the room before material starts flying
For a related comparison, see Tongue and Groove Ceiling Installation Made Easy: A Step-by-Step Guide.
Measure the room, confirm the framing story, decide the board direction, and think through the ugly areas before buying into a perfect-world plan. A Milwaukee tape, Johnson square, and chalk line are not exciting, but they are what let you see the room honestly. If the starter row and final row are going to be awkward, find that out now.
This phase is also where you decide how lights, vents, and trim transitions are going to be handled. The more of that planning you do while the room is still calm, the less likely the installation becomes a scramble.
Phase two: set up the cutting and fastening workflow
A Makita miter saw handles repeated clean crosscuts. A Makita jigsaw handles fixtures and notches. A Ridgid 15-gauge nailer handles the strong overhead bite. The point is not to admire the tools. The point is to let each tool solve the task it is actually built for so the room does not turn into a patchwork of workaround cuts.
Good installs usually look efficient because the cutting and fastening rhythm is clear. The wrong tool mix creates hesitation, and hesitation usually shows up later as rough fit or rework.
Phase three: keep access, finish, and cleanup under control
A step ladder is useful for quick tasks, but the broader lesson is stable access. The more stable the access, the more likely the cuts, face inspection, and corrections will be deliberate instead of rushed. Gloves and hearing protection are not decoration either. They let you stay consistent through the repetitive parts of the job.
Finish work starts before the last board. It starts when you decide to protect faces, keep edges clean, and avoid asking caulk to hide what should have been corrected earlier.
The tools by phase
- Milwaukee Stud 25ft Tape Measure: A real tape measure earns its place because every bad number compounds on tongue-and-groove work.
- Johnson 7in Rafter Square: A rafter square helps turn technique into repeatability because it gives you a fast, simple way to verify marks and line up cuts.
- Stanley 47-140 FatMax Chalk Line Reel: A chalk line is what turns scattered pencil marks into one readable control line across the room.
- Makita LS1219L: A good miter saw handles the bulk of your crosscuts and trim work without chewing up finished faces.
- Makita XVJ03Z: A jigsaw works best when the technique is slow, supported, and deliberate around cutouts.
- Ridgid R250AF: A 15-gauge finish nailer works best when you keep the angle clean and avoid blasting fasteners where movement or splits start.
- Werner Fiberglass Step Ladder: A step ladder has a place, but best practice still means using it for the right tasks instead of living on the top step.
- Newborn 250: A caulk gun belongs late in the process when trim and transitions need a finished look without turning the install sloppy.
- General Utility Work Gloves: Gloves are not for every spinny tool task, but they matter for handling material, rough stock, and cleanup.
- 3M Peltor Ear Muffs: Loud saws and nailers stack up on your hearing faster than most DIYers think.
The install sequence that matters most
- Measure and plan the board direction, visible rows, and transition points.
- Snap control lines and dry-think the starter row before committing to visible material.
- Cut and install with the saws doing the clean work and the nailer only fastening seated boards.
- Handle cutouts calmly and support the board during jigsaw work.
- Finish with trim, caulk, cleanup, and final inspection rather than pretending the last board ends the project.
When people say a room transformed nicely, what they are usually seeing is the result of this sequence being respected. The transformation is a byproduct of good process.
Where most rooms go sideways
Rooms go sideways when people treat every phase like the same phase. Layout gets rushed. Access gets sketchy. Cutouts get treated like afterthoughts. Then the finish stage gets asked to rescue mistakes it cannot really hide. A comprehensive installation guide has to show that each phase has its own pace and its own tools for a reason.
That is also why the post keeps the tool list tied to the phases. A walkthrough guide should help the reader understand timing, not just ownership.
Bottom line
Transforming a room with tongue and groove is absolutely doable, but the job becomes cleaner when the reader understands the install as a sequence instead of a pile of tasks. Good tools help. Good sequencing is what makes those tools look smart.
Practical buying and staging note
The biggest reason transform your space: a comprehensive guide to tongue and groove ceiling installation goes sideways is not usually a lack of effort. It is that the reader buys or stages tools in the wrong order. For this title, the first money should go toward Milwaukee Stud 25ft Tape Measure, Johnson 7in Rafter Square, and Stanley 47-140 FatMax Chalk Line Reel because those tools govern whether the room stays readable. Once the lines and layout checks are under control, the cutting and fastening tools start paying you back instead of exposing the plan.
There is also a staging lesson hidden in almost every clean install. Boards need a place to rest. Cutoffs need a place to go. Fasteners need to stay where they can be reached without turning every board into an interruption. The more orderly the setup, the calmer the work. That is true for a one-room DIY job and it is true for a trim carpenter trying to keep overhead work from getting sloppy.
What a reader should expect on a real job
Real rooms rarely reward fantasy workflow. The room may be out. A cutout may be uglier than the plan suggested. The last row may need more thinking than the first five rows combined. The reason a practical guide stays useful is that it keeps showing the reader where the slow moments belong and where the tools are supposed to help, not show off.
That is also why the tool list stays tied to actual tasks. Makita LS1219L is not just a name on a list. It matters because there is a moment in the job when clean, predictable cutting changes the whole tone of the work. Makita XVJ03Z matters because rooms eventually ask for an odd shape, a correction, or a detail the straight-cut tool cannot solve. 3M Peltor Ear Muffs matters because the final ten percent of a project often decides whether the room looks finished or merely completed.
Quick FAQ
- Do I need every tool on the list before I begin? No, but the layout tools and the core cutting/fastening path should be settled before visible material starts going up.
- Can I substitute a similar tool I already own? Usually yes, if it does the same job cleanly and keeps the sequence intact.
- What causes the ugliest ceiling or trim results? Rushed layout, weak staging, and trying to correct late problems with finish materials instead of earlier checks.
Related reads
- Top 10 Tongue and Groove Nail Guns for DIY Enthusiasts
- Tongue and Groove Ceiling: The Complete Guide for Homeowners
That’s it for today, folks. Hope this helps you with your projects. Enjoy the day. I’ll see you on the next one.