
Tongue and Groove Ceiling Insulation Tips: A Comprehensive Guide for Effective Installation
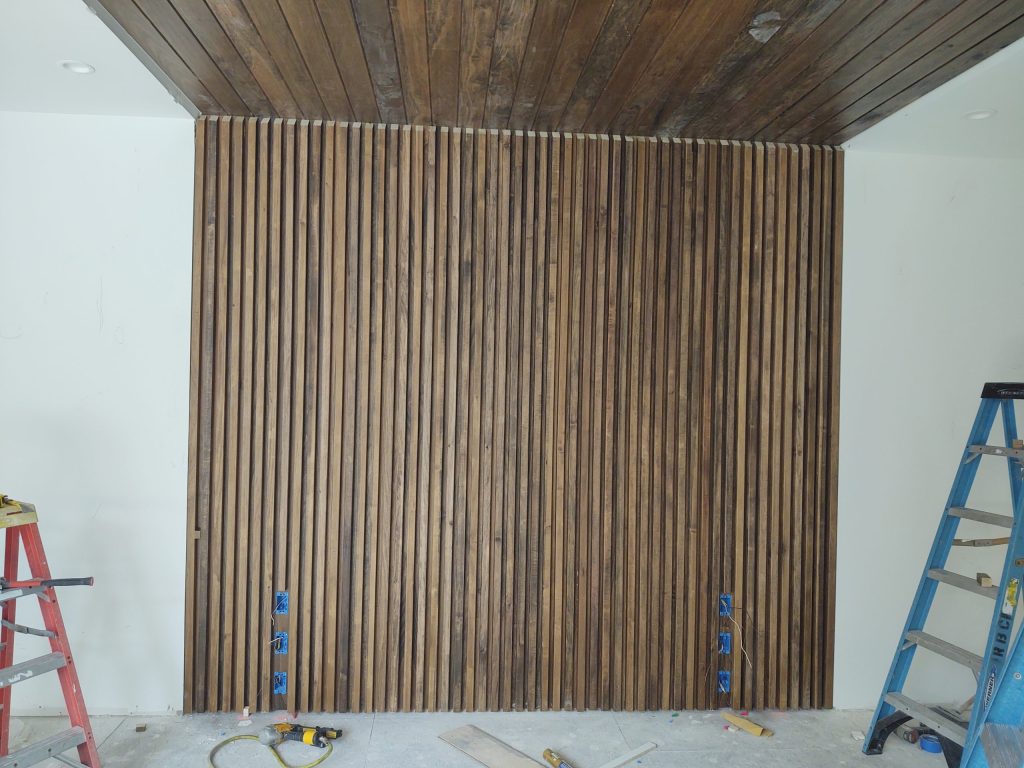
Insulating for a tongue-and-groove ceiling is one of those steps people talk about too late. They get focused on the finished boards, the species, the stain, and the look of the room. Then they remember the insulation after the ceiling assembly is already taking shape. That is backwards.
If you want the broader setup around this, read Transform Your Space: A Comprehensive Guide to Tongue and Groove Ceiling Installation.
If the insulation plan is weak, the ceiling system has to pay for it later. You can end up fighting moisture, poor sound control, odd cavity conditions, blocked ventilation paths, or a ceiling build-up that makes the install harder than it had to be.
Start with the structure, not the insulation bag
Before you pick insulation, you need to understand what is above the ceiling and what the tongue-and-groove boards are fastening to. Are you going over drywall? Are you stripping down to framing? Is there attic access? Are there rooflines, cathedral slopes, or low cavities? Do lights, vents, or wiring runs change the build-up?
Rule of Thumb: Insulation decisions get expensive when they happen after the finish plan is already locked. On a tongue-and-groove ceiling, you need to know the cavity, the fastening plan, and the ventilation story before you start pretending any insulation is the right insulation.
Need the full tongue-and-groove install sequence?
I put the planning, setup, layout, fastening, trim, mistakes, and checklists together in one PDF handbook so you are not piecing the job together one tip at a time.
don’t block the roof from breathing
For the adjacent angle on this work, check Tongue and Groove Ceiling Installation Tools: A Comprehensive Guide.
This is one of the biggest traps. On sloped or roof-adjacent ceilings, people stuff insulation tight and forget that the roof assembly still needs to breathe if the design calls for ventilation. If you kill the air path, you can create moisture trouble that does not show up until after the ceiling is finished and you are too invested to enjoy the answer.
The solution is not guessing. it’s understanding whether the assembly is vented or unvented and then building the ceiling system accordingly. If baffles or a defined air channel belong there, they are part of the job, not optional extras.
Match the insulation type to the real cavity
Batt insulation can be fine when the cavities are regular and accessible. Rigid foam can make sense where space is tight or you are building a layered system. Spray foam can solve certain problems, but it changes cost, serviceability, and the way the whole assembly behaves. There is no universal winner.
What matters is fit. Gaps, compression, and sloppy edge conditions weaken the result. Insulation only performs like the label claims when it is installed the way it was meant to be installed.
Plan fastening support before the finish boards show up
If you are installing tongue-and-groove over drywall or over an added layer that changes depth, fastening support has to be planned up front. Furring, blocking, or nailer strategy may need to change. That is why insulation can’t be treated as a stand-alone decision. It changes the full ceiling build sequence.
A tape, a laser distance measurer, and a chalk line all help here because layout and cavity verification prevent bad assumptions. You need to know where support exists, where you need more, and what that means for the finished board direction.
Lighting, wiring, and penetrations matter more than people think
Ceiling fans, can lights, boxes, speaker wire, and vents all compete with insulation. If you leave those decisions late, somebody ends up cutting back insulation badly, crowding a box, or creating weak spots that become comfort complaints later. The right time to map those interruptions is before the finish boards start taking over your attention.
Insulation prep is dusty work—dress like it
Insulation work is where respiratory protection earns its keep. A utility knife, light, and measuring tools matter, but so does protecting your lungs and eyes while you are cutting and fitting material. That is not a side note. If the prep stage is miserable, people rush it, and rushed prep turns into hidden callbacks.
- Measure cavity depth and room spans before buying material.
- Verify whether the roof assembly needs a vent path.
- Map electrical boxes, lights, vents, and access points early.
- Plan furring or fastening support before finish boards arrive.
- Cut insulation to fit; do not crush it and call it good.
Do not use insulation to hide a bad framing story
Insulation is not a patch for crooked framing or a weak fastening plan. If the framing needs correction, address that first. If the cavity is inconsistent, understand why. If moisture is already present, fix the cause before you start burying the problem behind finished ceiling boards.
New construction and retrofit are not the same job
A new build gives you more freedom to design the whole assembly. A retrofit usually asks you to work around existing drywall, wiring, trim transitions, and limited access. That changes how aggressive you can be with insulation choices and whether the ceiling stack-up still makes sense without opening more than you planned.
In retrofits, discipline matters even more. It is easy to create a nice-looking wood ceiling that quietly traps a bad decision above it.
Bottom line
Tongue-and-groove ceiling insulation is not about cramming material into a cavity and hoping for the best. It is about understanding the assembly, preserving ventilation where it belongs, planning fastening support, and installing the insulation so it actually performs. Get that right and the finished ceiling has a much better chance of staying beautiful and trouble-free.
Moisture content still matters before the boards go up
Insulation planning and board prep belong in the same conversation because the ceiling boards are still wood. If the boards are wet, rushed, or poorly acclimated, you can build a technically insulated ceiling that still punishes you later with movement and gaps. The insulation story does not erase the wood-movement story.
That is why I keep coming back to sequence. The cavity, the vent path, the board moisture, the fastening plan, and the trim allowance for movement all affect one another.
Do not let trim trap a ceiling that needs to move
A beautiful tongue-and-groove ceiling can still get boxed in by trim that leaves no room for seasonal movement. When you are planning insulation and finish details together, remember that the trim at the perimeter should hide the edge cleanly without pinning the whole field in a way that turns normal movement into visible stress.
That edge thinking feels small until you see a room where every decision was good except the last inch around the perimeter.
Milwaukee 48-22-0225 Tape Measure — Still the first tool because insulation planning starts with spans, depth, and actual room dimensions, not guesses.
Bosch GLM20 Laser Distance Measurer — Useful for quick checks across larger rooms where repeated span verification saves ladder trips.
Related reads
- Discover the Top Tools for Installing Ceiling Tongue and Groove: A Comprehensive Guide
- Top 10 Tongue and Groove Nail Guns for DIY Enthusiasts
That’s it for today, folks. Hope this helps you with your projects. Enjoy the day. I’ll see you on the next one.