
Tools Needed for Installing a Tongue and Groove Ceiling
The minimum kit is smaller than most people think
If you are installing a tongue-and-groove ceiling, you need a dependable way to measure and mark the room, make clean repeated crosscuts, handle the first and last course, cut around fixtures, fasten the boards for the actual product and ceiling assembly, support long stock, and work safely overhead. That is the real tool list. Everything beyond that should solve a problem your room actually has.
A practical minimum kit looks like this:
| Job need | Minimum tool role | What it prevents |
|---|---|---|
| Layout and control | Tape measure, pencils, square, chalk line or another verified reference method | Drift, bad reveals, ugly last-course corrections |
| Main cutting | Miter saw or another controlled crosscut setup with solid stock support | Inconsistent repeated cuts and wasted movement |
| Rip cuts | Safe controlled rip method when the starter or last course needs width adjustment | Freehand width corrections and poor final-course fit |
| Detail cuts | Jigsaw or oscillating multi-tool when the room requires it | Rough fixture openings and slow correction work |
| Fastening and prep | Product-compatible fastening tool plus drill/driver | Wrong-tool forcing, weak backing prep, avoidable screw work |
| Fit and handling | Tapping block or sacrificial offcut, rubber mallet, stable staging surface | Damaged profiles and awkward board handling |
| Access and protection | Stable ladder/platform/scaffold plus appropriate eye, hearing and dust protection | Bad body position, rushed work and unnecessary exposure |
That list is enough to start making sane decisions. It also gives you a way to separate “needed for this ceiling” from “nice to own someday.”
Planning the job before you buy more tools? The free 10-page T&G Project Starter Guide gives you the planning and hard-stop checks worth settling before finished boards hide the decisions.
Start with layout and one dependable cutting station
Layout tools are cheap compared with correcting a ceiling that wandered. A tape measure, pencil, square, and dependable reference line belong on almost every job because they keep the first course and the last-course math connected to the actual room.
A laser can be useful, but it is not automatically required. If your tape, square, and chalk line give you reliable references, keep using them. Buy the laser because it solves a recurring layout problem, not because a tool list made it sound mandatory.
For repeated crosscuts, the main need is one stable cutting station. A miter saw is common because tongue-and-groove ceilings create a lot of repeated end cuts, but the important part is controlled support, a suitable blade, and a repeatable measuring routine. The board should not be hanging in space while you try to make a finish cut.
Fastening is product- and assembly-specific
Do not turn one nail-gauge preference into a universal rule. Fastener gauge, length, location, angle, spacing, substrate, and exposure conditions depend on the tongue-and-groove product and the ceiling assembly in front of you. Follow the board manufacturer and the requirements of the actual installation.
On many real-wood ceiling jobs, a finish nailer is the working lane, but the tool only helps if the board is seated and the fastener is actually reaching the intended backing or framing. A stronger gun does not fix bad support or a damaged tongue.
Keep a drill/driver in the kit even when the field is mostly nailed. Backing, fixture prep, pilot holes, trim support, and ordinary screw work do not disappear just because a nailer is nearby.
Support and fit tools are not filler
Sawhorses or a stable work surface make measuring, marking, sorting, and cutting calmer. A tapping block or sacrificial offcut and a rubber mallet help seat joints without beating directly on the finished edge.
These are not glamorous tools, but they reduce the number of times you are trying to correct a fit while standing overhead. That matters more than owning another specialty saw.
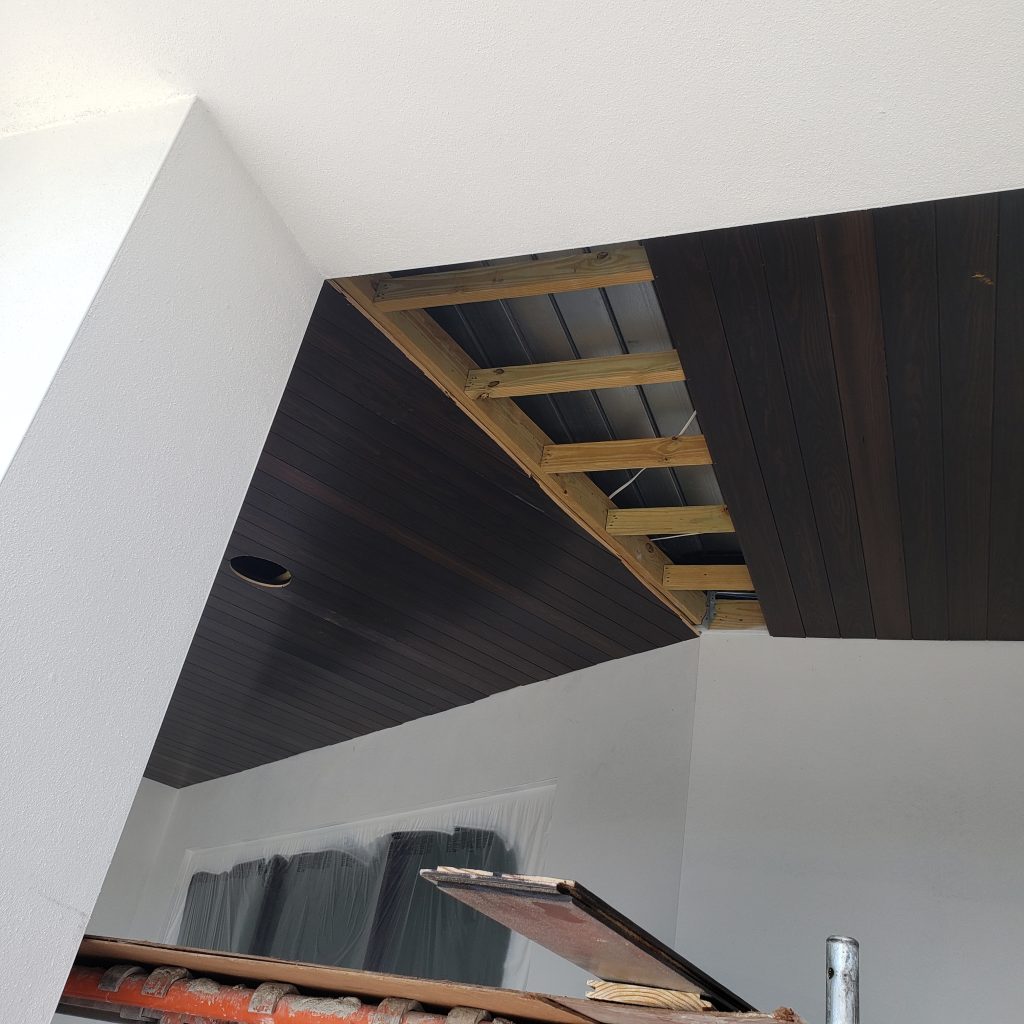
Add detail-cutting and rip tools only when the room earns them
A jigsaw or oscillating multi-tool becomes useful when the ceiling stops being a rectangle. Lights, vents, beams, speakers, odd corners, and small corrections create cuts the main station is not designed to make.
You may not need both. If a jigsaw cleanly handles your openings, use it. If the room has tight plunge cuts or small trim corrections where an oscillating tool is easier to control, that tool earns its place.
Rip cuts are similar. Some ceilings need the first course adjusted, the last course ripped, or boards narrowed around a border. That does not automatically mean you need to buy a table saw. A circular saw with a straight guide, a track saw, a table saw, or another safe controlled setup can solve the same job in different shops.
The question is not “Which saw belongs on a serious tool list?” The question is “Which method lets me make the cut I actually need, safely and accurately, with the setup I have?”
See the saw roles side by side
Video: Don’t know which saw to buy? by YouCanMakeThisToo. Use it to compare saw roles; use the requirements of your actual ceiling and material to decide what belongs on your job.
Power and access can change the right answer
Cordless tools are useful overhead because there is less cord or hose to manage around ladders and scaffold. That does not make every corded or pneumatic tool obsolete. At a fixed cutting station, a cord may be harmless. A compressor and hose may be perfectly workable if they stay out of the travel path.
Access deserves the same judgment. A small low room may be manageable from stable ladders. A larger or higher ceiling may be faster, safer, and easier to control from platforms or scaffold. If your feet are constantly in the wrong place, the tool in your hands is not the only problem.
Plan access before the boards are in the way. Long stock, fixtures, wall transitions, and the place you intend to cut all affect how much room you need to work.
Buy, borrow, or rent by how often the problem repeats
- Use what you already own when it makes the cut or fastening operation cleanly, safely, and without a ridiculous setup.
- Borrow or rent when the tool solves a real problem but the problem is rare. Scaffold, a specialty saw, or a larger-capacity tool may be worth having for the weekend without becoming permanent shop inventory.
- Buy when the same operation keeps costing you accuracy, setup time, material, or control. That is when ownership starts paying you back.
- Upgrade when you already own the correct tool family but the work has outgrown its capacity, mobility, dust control, repeatability, or ergonomics.
Rule of Thumb: An essential tool is the one that keeps the board straight, the cut clean, or the fastening honest. Everything else is baggage.
The safety gear belongs on the list too
Eye and hearing protection, dust control, stable access, and a clean cut path are part of the tool system. Do not let a short “essential tools” article quietly turn safety into an optional category.
The same goes for the ceiling assembly itself. If you do not know what you are fastening into, stop and verify it before choosing a fastener or driving the first course. Tool selection comes after the structure and product requirements, not before them.
Want the full installation reference beside you?
Master Tongue & Groove — Without Regret takes the same planning-first approach through layout, cutting, fastening, troubleshooting, and the full installation sequence.
Bottom line: build the lean kit first
For a straightforward tongue-and-groove ceiling, start with layout tools, one dependable crosscut setup, a product-compatible fastening system, a drill/driver, stable stock support, basic fit-up tools, safe access, and the protection the work requires. Add detail-cutting and ripping capability when the room actually calls for them.
If you want the broader ceiling-tool system — including access, power, logistics, upgrades, and where different tool roles overlap — use Tongue and Groove Ceiling Installation Tools: A Comprehensive Guide.
If you are ready to move from the tool list into the complete installation sequence, use Tongue and Groove Ceiling Installation Made Easy: A Step-by-Step Guide.
The lean kit is not about owning less for the sake of it. It is about knowing exactly why each tool is on the job.