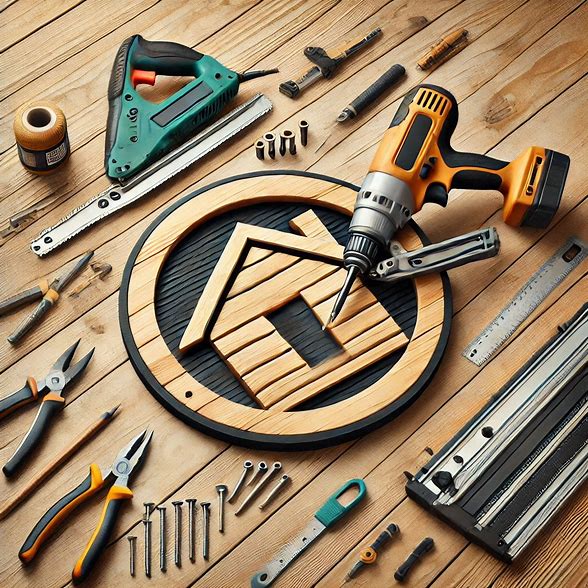
If you’re considering adding some character and style to your space, tongue and groove panels can be a fantastic choice. These panels are popular for their seamless look and ease of installation. However, to ensure a smooth and efficient installation process, you’ll need the right tools at your disposal. In this guide, we’ll explore the top tools that can make installing tongue and groove panels a breeze.
1. Miter Saw
A miter saw is an essential tool for cutting precise angles on your tongue and groove panels. Whether you’re cutting the panels to size or creating angled cuts for corners, a miter saw will help you achieve clean and accurate cuts with ease. Make sure to use a fine-tooth blade for the best results.
2. Brad Nailer
A brad nailer is perfect for securing tongue and groove panels to your walls or ceilings quickly and efficiently. With its ability to drive small nails with precision, a brad nailer will help you attach the panels securely without the risk of splitting the wood. It’s a time-saving tool that can streamline the installation process.
3. Level
To ensure that your tongue and groove panels are installed straight and level, a good quality level is essential. A level will help you avoid crooked installations and achieve a professional finish. Make sure to check the levelness of the panels regularly as you install them to maintain a uniform look.
4. Construction Adhesive
Using construction adhesive in conjunction with nails can provide additional stability to your tongue and groove panels. The adhesive creates a strong bond between the panels and the wall, making the installation more durable and long-lasting. Be sure to choose a high-quality construction adhesive for the best results.
5. Caulk Gun
A caulk gun is handy for sealing any gaps between tongue and groove panels and trim pieces. By applying a bead of caulk along the edges, you can achieve a seamless look and prevent any moisture or drafts from seeping through. Choose a paintable caulk to ensure that the finished look matches your aesthetic.
6. Rubber Mallet
A rubber mallet is useful for gently tapping the tongue and groove panels into place without damaging the wood. It can help ensure a snug fit between the panels and create a seamless appearance. Avoid using a regular hammer, as it may cause dents or marks on the surface of the panels.
7. Safety Gear
Last but not least, don’t forget about your safety gear. When working with tools and materials, it’s essential to prioritize safety. Wear protective eyewear, gloves, and a dust mask to safeguard yourself from any potential hazards during the installation process. Safety should always come first.
In conclusion, by equipping yourself with the right tools, installing tongue and groove panels can be a straightforward and enjoyable project. With the tools mentioned above, you’ll be well-prepared to tackle the installation with confidence and precision. Whether you’re a seasoned DIY enthusiast or a beginner looking to spruce up your space, these tools will undoubtedly make the process smoother and more efficient.
