
Essential Woodworking Safety Equipment for a Secure Workshop
A safer woodworking shop is not built by buying five pieces of safety gear and throwing them on a shelf. It comes from setting up the room so the hazards are easier to control before a cut, sanding pass, finish job, or cleanup starts.
That means looking at the whole system: what you wear, how dust leaves the work area, whether guards and push aids are ready, where cords and offcuts end up, how clearly you can see the work, and what happens if something goes wrong. If you are planning a tongue-and-groove project as part of a larger room or shop setup, the T&G Prep & Planning guide is the broader starting point.
Think in layers instead of one safety checklist
| Safety layer | What it controls | What to check |
|---|---|---|
| Workspace | Trips, clutter, poor access, bad lighting | Clear floor, clear exits, stable work area, enough light |
| Machine setup | Contact, kickback, moving parts | Guards, fences, push aids, condition, correct setup |
| Dust and air | Airborne wood dust and dust buildup | Source collection, cleanup method, ventilation, respiratory protection when needed |
| PPE | Eyes, hearing, respiratory and task-specific exposure | Right protection for the actual hazard, fitted and ready |
| Emergency readiness | Small incidents becoming larger ones | Appropriate fire response, stocked first aid, clear access |
OSHA’s woodworking guidance separates hazards into immediate safety hazards and longer-term health hazards. The list includes machine contact, kickback and flying material, but also noise, wood dust, chemical exposure, electrical hazards, and fire. That is the useful way to think about a workshop: not one danger, but several layers that have to work together.
Start with the room before you start with the gear
A cluttered floor can defeat expensive safety equipment. Offcuts in a walkway, cords where your feet need to go, poor lighting, or a pile of dust beside a machine all make the next task harder than it needs to be. OSHA’s woodworking machine guidance specifically calls out housekeeping, clear floors and aisles, and using a brush or stick rather than your hands to clear material from a machine.
Put the equipment where the work happens. Eye and hearing protection should not be buried in a cabinet. Push sticks should be within reach of the saw. Cleanup tools should have a home. If you need to walk across the shop and dig through a drawer every time you want the safer option, the layout is working against you.
Herb’s Rule of Thumb
If the safer tool or piece of gear is hard to reach, your shop is teaching you to skip it. Put safety equipment where the decision gets made.
PPE is one layer, not the whole system
Eye, hearing, and respiratory protection matter, but this article is not going to duplicate a product-by-product PPE guide. The right protection depends on the actual task and hazard. For T&G-specific gear choices, use the Top Safety Gear for Tongue and Groove Installation guide.
What matters here is the system rule: PPE supplements the controls around the work. A respirator does not make poor dust collection good. Safety glasses do not make a missing machine guard acceptable. Hearing protection does not fix a damaged machine making abnormal noise. Use the protection that fits the hazard, and follow the equipment manufacturer’s instructions for fit, filters, cartridges, replacement, and limitations.
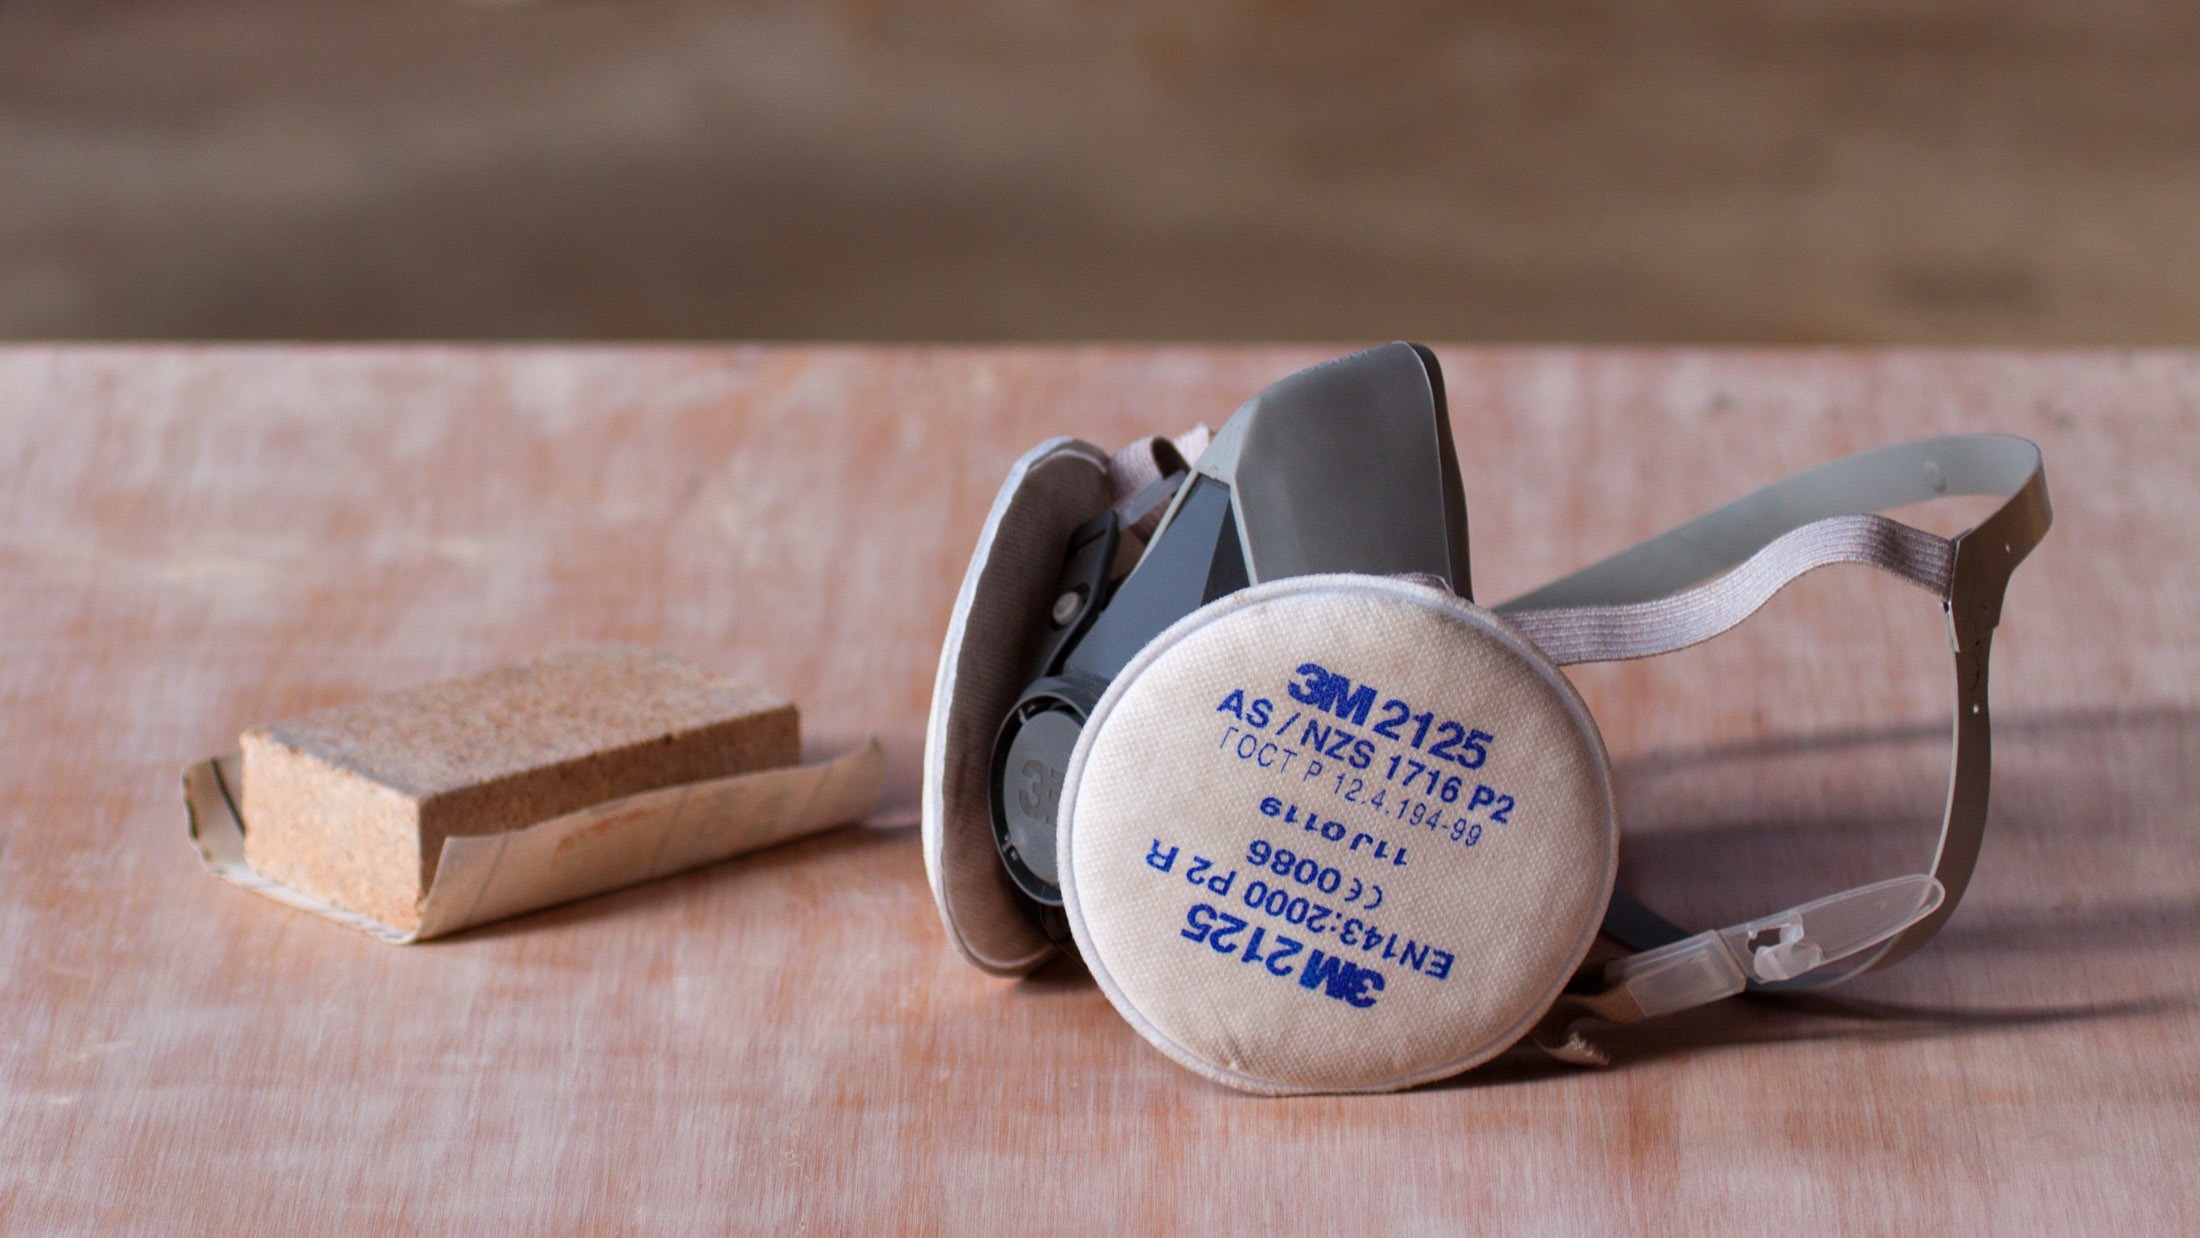
Control wood dust as close to the source as you can
Wood dust is a shop-wide problem because the finest material does not stay where the cut or sanding pass happened. OSHA identifies local exhaust ventilation as the primary engineering control for wood dust and recommends collecting dust at or near the source when feasible. That is a stronger strategy than waiting for dust to settle everywhere and then trying to clean the room afterward.
Use the dust port and collection setup your machine was designed for. Keep hoses and collectors maintained. Do not assume a shop vacuum or room air cleaner makes respiratory protection unnecessary for every task. The material being cut or sanded, the amount of dust, the work location, and the rest of the control setup all matter.
Planning the whole T&G job? The free 10-page T&G Project Starter Guide helps you check layout, material, tools, access, finish, and common-mistake decisions before the first board goes up.
The Woodsmith video below is useful because it treats dust control as part of shop safety rather than just housekeeping. It focuses on airborne dust and a mobile air-cleaner setup while also discussing source control.
Want the full tongue-and-groove install order in one place?
I put the layout checks, prep work, tool judgment, fastening sequence, and common mistake fixes into one practical PDF handbook so you are not guessing your way through the job.
Machine guards and push aids should already be part of the setup
Machine safety is not something you add after the cut starts. Guards, fences, push sticks, featherboards, and other manufacturer-provided safety devices need to be part of setup. OSHA’s woodworking guidance is direct about using guards in working order and using push sticks or other hand tools when they help keep hands away from the point of operation.
Do not use this article as the operating manual for a saw, router, planer, nailer, or other machine. Read the actual manual for the equipment in front of you and use the safety devices intended for that machine. The wood-cutting tools guide can help separate the roles of the cutting tools themselves; this article stays focused on the workshop system around them.
Separate workshop safety from T&G tool technique
A secure shop gives you the baseline: clear access, working guards, dust control, useful lighting, PPE within reach, and emergency supplies. Once the work moves into an actual ceiling installation, another layer appears—ladders, overhead board handling, nailer control, cords and hoses, and the way tools are passed or staged above shoulder height.
That procedure belongs in the T&G installation-tool safety guide. Keeping those two jobs separate matters: HN78 is about building a safer shop; HN68 is about using T&G tools safely during the installation.
Fire response and first aid should be ready before they are needed
Woodworking shops can contain sawdust, wood stock, finishes, adhesives, chargers, cords, motors, and other potential fuel or ignition sources. OSHA specifically identifies fire and explosion as woodworking hazards and emphasizes controlling dust buildup and separating combustible or flammable materials from ignition sources.
Keep fire-response equipment appropriate to the hazards in your shop, installed and maintained according to the manufacturer, local requirements, and the conditions of the space. Do not rely on a one-size-fits-all extinguisher recommendation from a general article. The same rule applies to first aid: keep supplies visible, stocked, and accessible, and replace what gets used.
Use a short shop audit before the first machine starts
- Is the floor clear enough to move material without stepping over cords or offcuts?
- Is the work area bright enough to see the cut line, fence, guard, and controls clearly?
- Are machine guards, fences, push aids, and dust connections in place and working?
- Is the PPE needed for this task within reach and in usable condition?
- Are fire-response and first-aid supplies accessible rather than buried behind material?
- When the job ends, will dust, scraps, cords, and tools be put back under control?
That is the practical definition of a secure workshop. It is not a room with the most safety products. It is a room where the safer action is already built into the workflow, the equipment is ready to use, and obvious hazards are dealt with before they become the next problem.