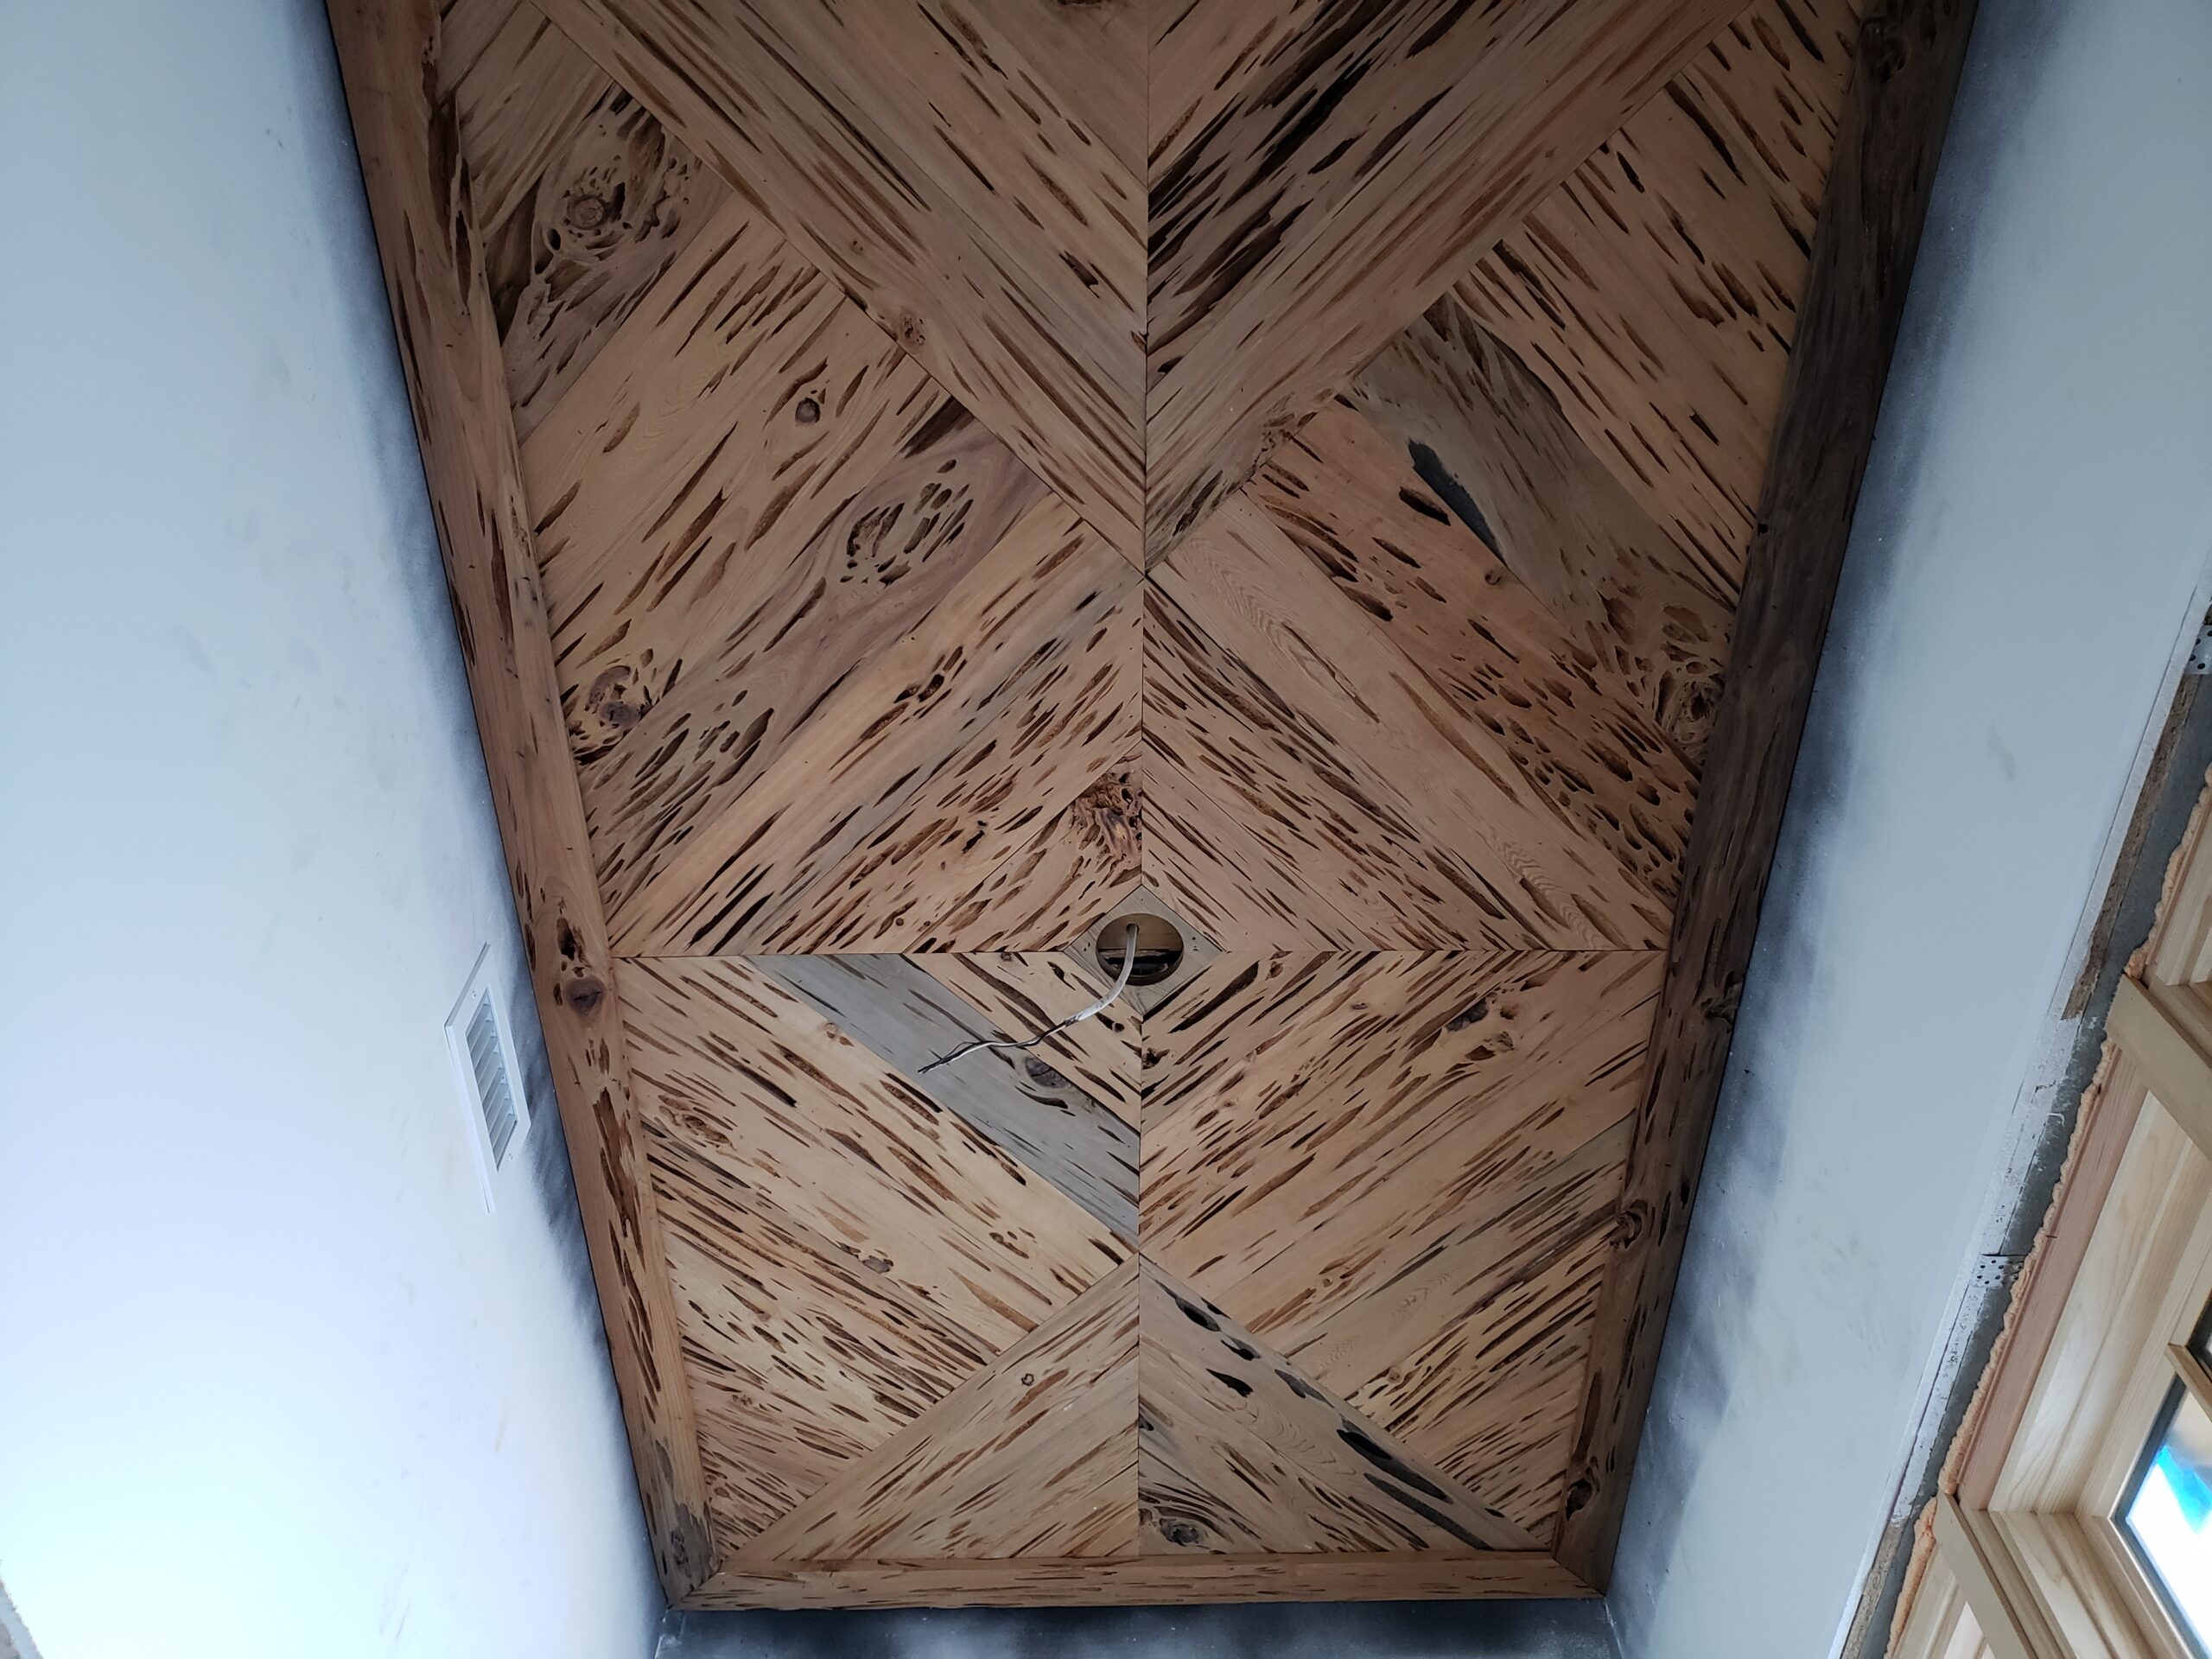
Are you considering installing a tongue and groove ceiling in your home? This popular design choice not only adds a touch of sophistication and charm to any room but also provides a durable and visually appealing ceiling solution. However, achieving a flawless tongue and groove ceiling installation requires the right tools and techniques, and attention to detail. In this comprehensive guide, we will explore everything you need to know to successfully install a perfect tongue and groove ceiling in your space.
Planning and Preparation
Before diving into the installation process, proper planning and preparation are essential to ensure a smooth and seamless outcome. Start by measuring the dimensions of your ceiling to determine how much material you will need. Additionally, consider the direction in which you want the tongue and groove boards to run as this can significantly impact the overall look of the ceiling.
Once you have gathered all the necessary materials, make sure you have the essential tools on hand. Some of the essential tools for a tongue and groove ceiling installation include a saw, hammer, nail gun, level, tape measure, and safety gear such as goggles and gloves. Investing in high-quality tools will not only make the installation process easier but also guarantee a professional finish.
Choosing the Right Materials
When it comes to selecting tongue and groove boards for your ceiling, you have a variety of options to choose from. From traditional wood to modern composite materials, the key is to pick a material that suits your aesthetic preferences and budget. Keep in mind that different materials may require specific installation techniques, so be sure to verify the manufacturer’s guidelines before starting the project.
If you opt for natural wood boards, consider the type of wood and finish that will best complement your space. Pine, cedar, and oak are popular choices for tongue and groove ceilings due to their durability and visual appeal. Alternatively, composite materials offer a low-maintenance option that mimics the look of real wood without the upkeep.
Installation Steps
Step 1: Prepare the Ceiling
Before installing the tongue and groove boards, ensure that the ceiling surface is clean, smooth, and free of any debris. Use a stud finder to locate ceiling joists, as this will guide the placement of your boards. If the existing ceiling is uneven, consider installing furring strips to create a level surface for the tongue and groove boards.
Step 2: Start Panel Installation
Begin by installing the first panel along one edge of the ceiling, ensuring that the grooved edge faces the wall. Use a level to ensure the panel is straight, then secure it in place using nails or a nail gun. Continue adding panels in a staggered pattern, inserting the tongue of each new panel into the groove of the previous one.
Step 3: Cut Panels to Size
As you reach the edges of the ceiling or around fixtures, you may need to cut panels to fit. Measure each cut carefully and use a saw to trim the panels to the required size. Remember to leave a small gap between the panels and the wall to accommodate for expansion and contraction.
Finishing Touches
Once all the tongue and groove panels are installed, the final step is to add finishing touches to enhance the overall appearance of the ceiling. Fill any nail holes with wood filler and sand the surface to create a seamless finish. Depending on your preference, you can leave the ceiling natural for a rustic look or apply a coat of paint or stain for a more polished finish.
Maintenance Tips
To keep your tongue and groove ceiling looking its best, regular maintenance is key. Dusting the ceiling with a soft brush or cloth periodically will help prevent the buildup of dirt and debris. Additionally, inspect the ceiling for any signs of damage, such as cracks or warping, and address them promptly to avoid more extensive repairs in the future.
The Bottom Line
Achieving a picture-perfect tongue and groove ceiling installation requires the right tools, techniques, and attention to detail. By following the steps outlined in this guide and incorporating proper planning, material selection, and finishing touches, you can create a stunning focal point in any room of your home. Whether you prefer the natural beauty of wood or the low-maintenance benefits of composite materials, a well-executed tongue and groove ceiling will undoubtedly elevate the aesthetic appeal of your space.


Hi Herb,
This article on best practice tools for tongue-and-groove ceilings is spot on! From my experience, having the right tools makes all the difference in achieving a professional finish. One tool I’ve found invaluable is a pneumatic nailer—it saves so much time and effort compared to manual nailing. Additionally, using a good quality saw to ensure precise cuts can really enhance the final look. Thanks for sharing these tips—it’s always great to see fellow professionals providing such helpful advice!
Ali
Thank you
The one tool that was a real game changer for me was getting the scaffolding. When you set it up right you can install a lot of rows without having to get down and reposition stepladders.
Hey there! I just finished reading your article on the best practice tools for tongue-and-groove ceilings, and I must say, it was incredibly helpful! Your breakdown of essential tools and the step-by-step guidance truly boosted my confidence about tackling this project. I do have a couple of questions, though: Could you share some tips on selecting the right type of wood for tongue-and-groove ceilings? I’d love to understand how factors like wood species, grain patterns, and moisture resistance can affect the final appearance and durability. Also, what do you recommend for maintaining a tongue-and-groove ceiling in great condition over time? Are there specific cleaning methods or products I should use (or avoid) to keep the wood looking its best? I can’t wait to hear your thoughts!
Hey Kevin I’m happy I was able to boost your confidence on tackling a T&G ceiling. Picking a wood species really depends on if you’re going stain the boards and see the grains which will never be one consistent color, which is what makes real wood ceilings beautiful. You also have to look at the type of wood is in that space and paint colors. I like yellow pine t&g, because it takes different stain colors really good. For moisture protection put a clear coat on the back side and after staining the front side clear coat it., that will keep the appearance you want for along time. As far as cleaning, damp cloth should be all you need ( I use a swift so I can stay on the ground)
Hope I was able to answer your questions and let me know how the ceiling came out