
Discover the Best Tools for Tongue and Groove Ceilings
The best tools for tongue and groove ceilings aren’t always the most expensive ones. What matters is whether the tool fixes the part of the job that’s actually giving you trouble.
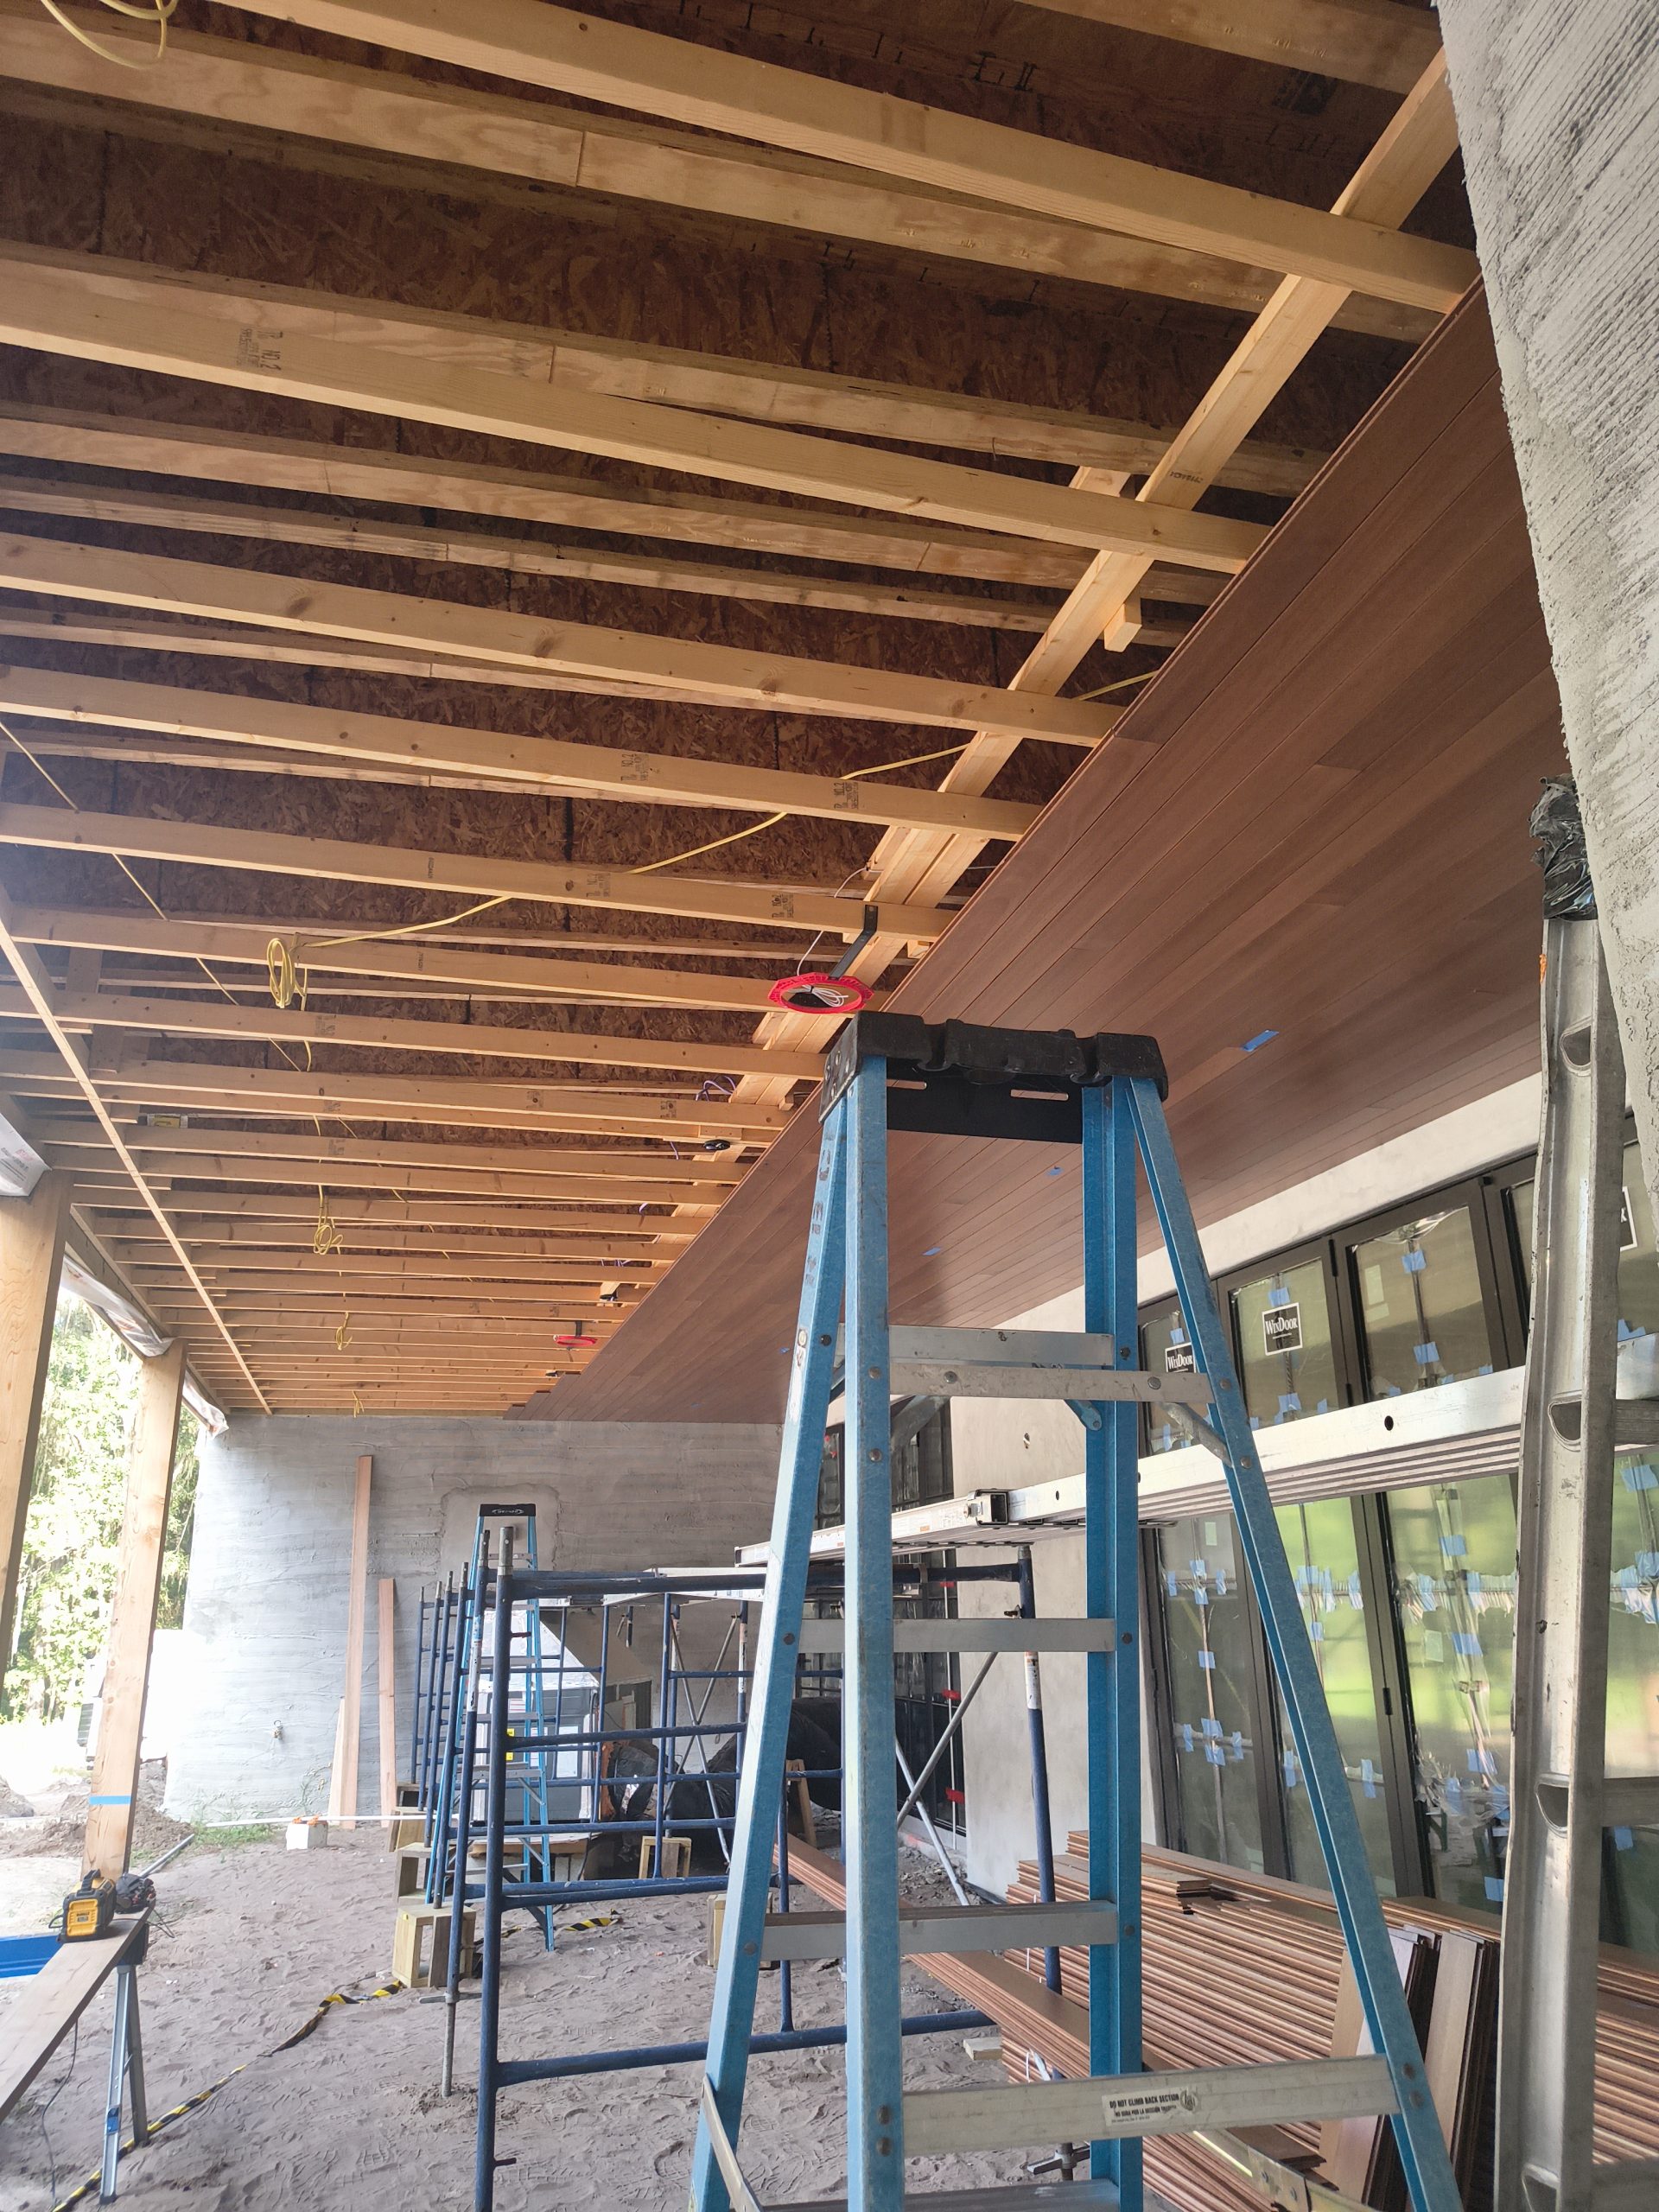
Ceiling work will show you pretty quick when your setup isn’t working. You’re measuring overhead, moving boards around, making the same cuts over and over, working around lights and vents, and trying not to beat up finished material when something has to come back apart.
Start with what’s giving you trouble
Before you buy anything, take a look at where you’re losing time or where the finished work is suffering.
Bad repeat cuts point you toward the cutting setup. Rough cuts around boxes, vents, or beams call for something different. And if the finish nailer you already have works with the board and what you’re fastening into, leave it alone.
The tool you use to rip the last board isn’t the tool you need to cut around a vent. Better lighting won’t fix bad layout. And a more expensive miter saw won’t fix a bad measurement.
Rule of Thumb
Don’t buy another tool until you know what the one you already have isn’t doing for you.
Want the full tongue-and-groove install order in one place?
I put the layout checks, prep work, tool judgment, fastening sequence, and common mistake fixes into one practical PDF handbook so you are not guessing your way through the job.
Quick picks by what the tool is doing
- Measuring and checking the room: a tape that’s easy to read and long enough for the work.
- Repeated crosscuts and bevels: a miter saw that stays consistent and handles the material you’re cutting.
- Cuts around vents, boxes, posts, or beams: a jigsaw you can control.
- Ripping starter or finish boards: a table saw or ripping setup that gives you a straight, clean cut.
- Finish fastening: a nailer that works with the board, fastener, what you’re fastening into, and the job conditions.
- Taking a board back down without wrecking it: a thin trim pry bar.
- Finish prep and touchups: a sander you can control without making another mess.
- Finding problems before the job is done: good jobsite lighting.
They’re different tools because they’re doing different jobs. Comparing them only makes sense when you know what you need each one to do.
What makes a ceiling tool worth the money
A tool can look great online and still disappoint you once it’s on the job.
For me, the question is what it changes once I start working with it. Maybe it gives me more consistent cuts. Maybe I can control it better around finished material. Maybe it makes a correction easier instead of turning one mistake into two.
That’s more important than a long feature list.
Measuring and cutting: the ceiling will show your mistakes
A good tape measure is where it starts. Something like the Komelon 35ft Tape gives you plenty of reach for checking a room and keeping your measurements straight. If your measurements and reference lines are off, it doesn’t matter how good the rest of your tools are. You’re starting wrong.
For repeated crosscuts and bevels, the Festool Kapex KS 120 REB is a high-end miter saw that can handle that kind of work. It’s also a lot of saw if you’re buying it just to put up one T&G ceiling. If you’re going to use it project after project for tongue and groove and other finish work, spending that kind of money starts making more sense. Otherwise, there are less expensive miter saws that may do everything you need.
When you get to vents, electrical boxes, speakers, beams, and other odd cuts, you need a jigsaw you can control. The Bosch JS470E can handle that kind of work, but it’s not the only jigsaw that can. Find one that cuts clean, feels good in your hand, and fits what you want to spend.
Then there’s the table saw. The SKIL TS6307-00 can handle the ripping work you may run into on starter boards, finish boards, or a course that has to be cut down to width. What matters here is having a straight, controlled rip. If you already have a table saw that does that well, use it. If you’re buying one, also think about where you’re going to set it up and how much you’re going to move it. A saw that’s fine sitting in the garage can become a pain when you’re hauling it through a finished house.
Video: Ceiling plank installation
Video: Armstrong Ceilings — “Armstrong Country Classic Plank Ceiling.”
Before you buy another nailer, make sure you need one
For regular real-wood T&G work, I generally lean toward a 15-gauge finish nailer when the job calls for the stronger hold.
That doesn’t make 15 gauge the answer for every ceiling. You still have to look at the board, nail length, where the nail is going, what you’re fastening into, the board profile, the conditions, and what the manufacturer calls for.
The Metabo HPT NT65MA4 is a pneumatic 15-gauge option in that group. I’m not calling that exact model my personal pick. The point is the type of nailer and whether it fits the material and the job.
If you already have a good 16-gauge nailer and it works for the board and fastening requirements, use it. There isn’t much sense buying a 15-gauge nailer just to complete somebody else’s tool list.
That’s another tool to buy, carry, feed, and maintain, and it may not make the ceiling one bit better.
The tool that gets a board back down can save the day
A Vaughan Trim Pry or another thin trim pry bar does a completely different job.
Sometimes the important thing isn’t putting another board up. It’s getting one back down without wrecking the face, the trim, or the board next to it.
If you can get a board loose while the problem is still easy to fix, that little pry bar can save the board, save the trim, and keep you from tearing apart more work than you need to.
It’s not the tool anybody is bragging about. It may still be the one that saves your afternoon.
Finish prep and lighting catch the stuff you missed
The Festool ETS EC 125 is a high-end sander that can fit finish prep, edge cleanup, filler touchups, and similar work. The main thing with a sander is control. Going faster doesn’t help if you leave a worse scratch pattern and create more work for yourself. If you already own a sander that gives you that control, you may not need to replace it.
The Milwaukee 2361-20 is one jobsite light that can help you see the work better while you’re doing it. A joint can look fine under bad temporary lighting and look completely different when the finished lights come on.
Better lighting can show uneven edges, marks, missed fasteners, bad transitions, or surface problems while there’s still time to fix them. That’s part of checking your work before you call it finished.
A good tool can still be a pain on the wrong job
Every tool comes with something else: a stand, a cord, a hose, batteries, a case, dust collection, more floor space, or another trip back to the truck.
On a ceiling job you may already have boards, ladders or scaffold, trim, fasteners, and a cut station taking up space.
If a saw stays in one place all day, its weight may not matter much. Carry that same saw through three rooms and set it up over and over and you’ll probably feel different about it by lunchtime.
Look at the room and how you’re actually going to work before you decide whether a particular setup makes sense. And if the product instructions or job requirements differ from normal field practice, follow those requirements.
When paying more actually makes sense
There’s nothing wrong with buying a better tool when you’re going to get something back for the extra money.
A saw that gives you cleaner repeat cuts all day can save rework. Better lighting can catch a bad joint before you’re finished. A good correction tool can save a board that otherwise would have ended up in the scrap pile.
That’s where spending more can make sense.
But if the tool you already own does the work cleanly and reliably, a more expensive name on the side doesn’t automatically make it an upgrade.
What I would spend money on first
I wouldn’t give everybody the same buying order.
One carpenter may be fighting his cut station. Somebody else may already have the cutting side figured out but keeps damaging boards when something has to come back down. Another person may have perfectly good tools and simply can’t see the finished work well enough under temporary lighting.
That’s why a must-have list can only take you so far.
If you need the complete setup, use the broader ceiling-tool guide. If you’re trying to decide between nailers, use the finish-nailer comparison. If you need the entire installation process, use the full ceiling-installation guide.
Bottom line
The best tools for tongue and groove ceilings aren’t about having the biggest pile of tools or buying the most expensive model.
Know where the job is giving you trouble. Make sure the tool you’re considering actually helps with that part of the work, and make sure it fits the material and the job.
Then spend the money.
Free 10-Page Field Guide
Catch the Mistake While It Is Still a Decision
Get the free T&G Project Starter Guide for the planning, setup, installation, and hard-stop checks that are cheapest to fix before finished boards cover them up.
No purchase required. One practical T&G starting guide.