Budget-Friendly Tools for Installing Tongue-and-Groove Ceilings
A budget-friendly tool kit for tongue-and-groove ceilings should not mean a junk pile. It should mean spending money where the job actually demands it and refusing to burn cash on fancy badges that don’t move the work forward. Layout, repeatable cuts, fastening, and stable access still matter. You’re only trying to cover those jobs without paying for showroom bragging rights.
That is where a lot of cheap-tool advice goes wrong. It chases the lowest price instead of the lowest price that still keeps the install under control. Cheap and useful is one thing. Cheap and sloppy is another.
If you are still figuring out the wider starter kit around this budget version, read Essential Tools for Trim Carpentry and Tongue-and-Groove Installation first.
What a budget ceiling kit still has to do
- measure the room and board lengths without lying to you
- establish a starter line that stays true across the ceiling
- cut stock clean enough that every joint does not need an excuse
- drive fasteners with enough bite to hold overhead work
- give you access that does not turn accuracy into a circus
Herb’s Rule of Thumb: Buy the least expensive tool that still lets you do the job twice without cursing it. The cheapest option on the shelf is not a bargain if it burns time, ruins boards, or pushes you into rework before the room is even trimmed out.
1. Komelon 35-foot tape measure
A long tape is a smart budget buy because it covers room checks, board lengths, and obstacle layouts without forcing you into goofy two-step measurements. You do not need a collector-grade tape for tongue-and-groove work. You do need one that reads clean, locks well, and stays honest on longer spans.
The cost is low. The impact on layout accuracy is high. That is the exact kind of spending I like in a budget kit.
2. Stanley 47-099 metal chalk line
You can waste a lot of money trying to correct a crooked start. A chalk line is still one of the cheapest tools in the whole setup, and it does more to protect the install than most ‘premium’ add-ons. Snap the first line right, and you stop a lot of trouble before it starts.
For interior ceilings, use blue chalk. You are trying to control the field, not tattoo the room.
3. Ridgid R4251 sliding miter saw
A miter saw is the one bigger-ticket item I would not cheap out into uselessness. This is the machine that handles repeatable crosscuts, trim pieces, and the rhythm of the whole install. If it cuts clean and stays square, it pays you back on every board.
The budget move is not buying the cheapest saw on the shelf. The budget move is buying a saw that is good enough to prevent re-cutting half your pile.
4. Ryobi P215K drill driver
A solid budget drill driver gives you pilot holes, framing confirmation, and the small boring jobs that keep the install clean. Tongue-and-groove work does not demand a flagship drill to get done. It demands a drill that runs true, holds a bit, and does not bog down the first time you ask it to do real work.
For a budget-conscious batch, this is the kind of pick that makes sense: enough control, enough torque, and enough usefulness beyond one single ceiling job.
5. Ryobi P330 cordless 15-gauge finish nailer
I still want a 15-gauge finish nailer in a budget-friendly tongue-and-groove kit because weak overhead fastening is where false economy starts hurting. A 15-gauge gun covers more of the real work than an 18-gauge brad nailer when the boards need bite and the trim still has to look right.
If fastening is where the budget decision gets muddy, the breakdown in Best Tongue-and-Groove Nail Guns for DIY will keep you from buying the wrong gun category.
You are saving money by buying the right category once, not by buying the wrong category and pretending filler will solve it later.
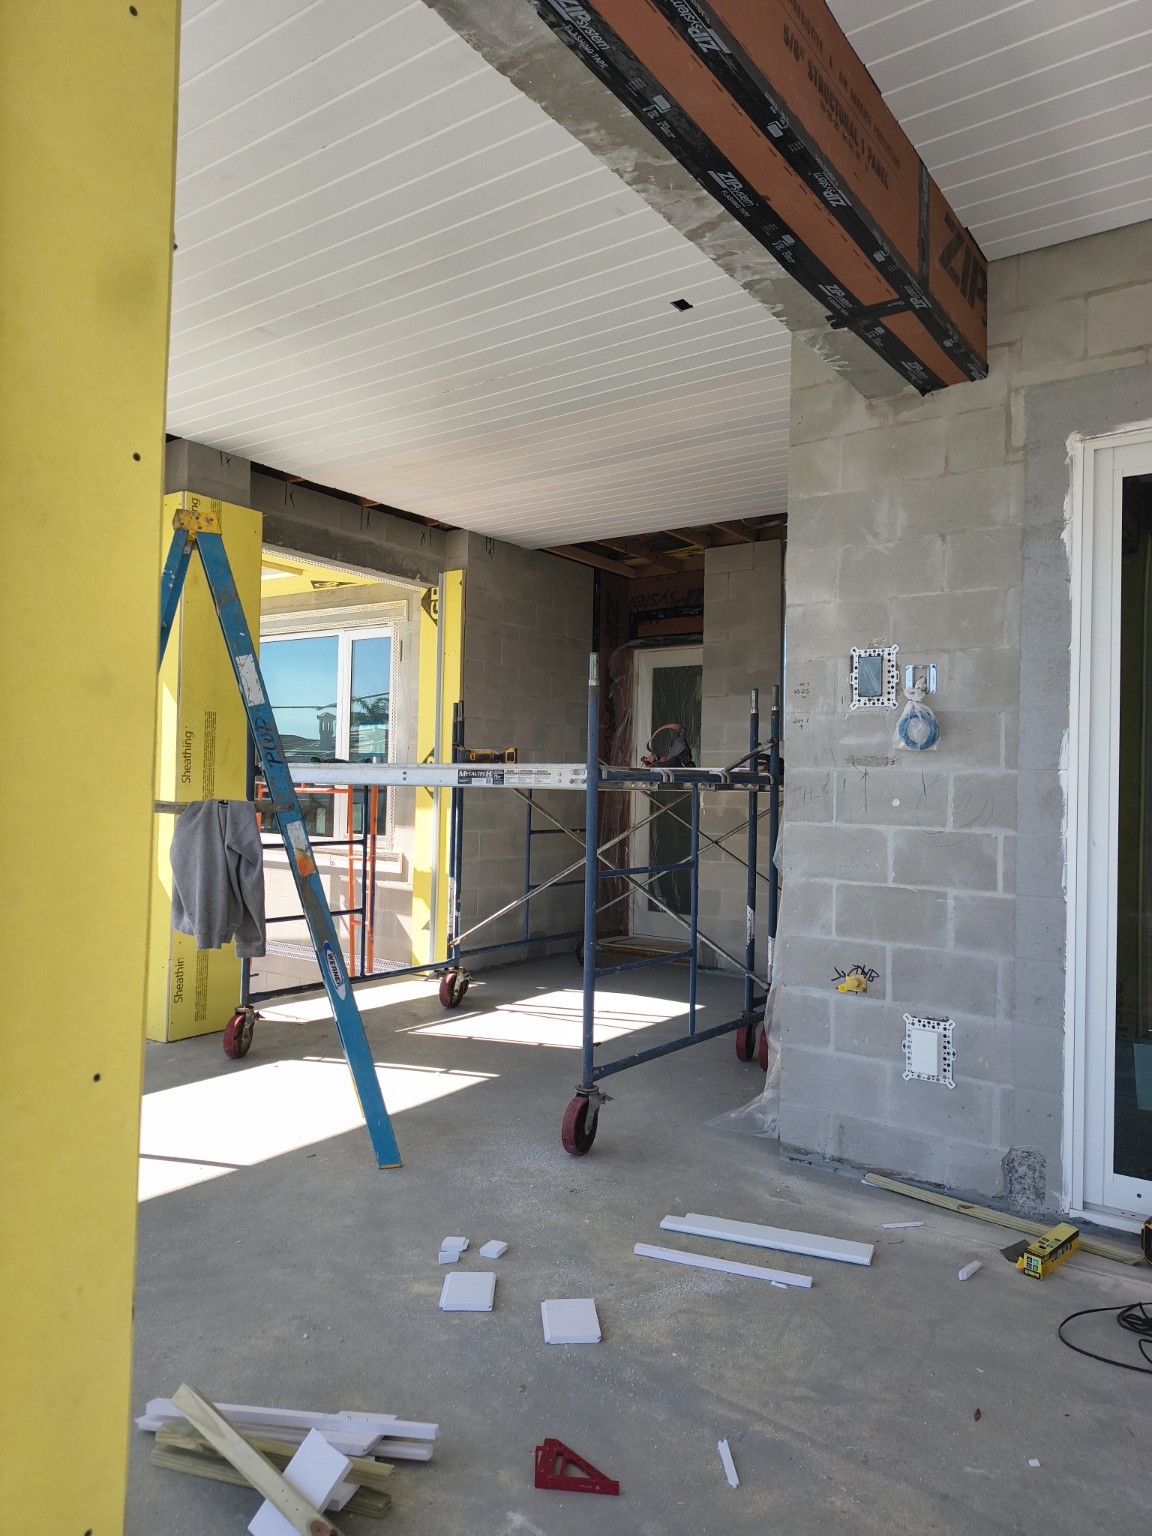
6. Platform or scaffold
This is the place where some budget lists go fully stupid. They will save a few dollars on access, then ask you to ladder-hop with boards over your head and act surprised when the quality falls apart. Stable access is part of the install, not a luxury add-on.
If you have to choose between a sexy accessory and safe access, buy safe access. Every time.
What you can postpone
- premium laser gadgets that do a chalk line’s job worse on this task
- specialty trim accessories you will not touch on most installs
- extra power tools that overlap jobs your saw and drill already cover
Best buy order for the budget batch
- tape measure
- chalk line
- miter saw
- drill driver
- 15-gauge finish nailer
- platform or scaffold
A budget-friendly tongue-and-groove ceiling kit should still feel deliberate, not compromised. Spend on the tools that protect layout, cuts, and fastening. Save money everywhere else.
What a bad budget decision costs later
The worst budget tools are the ones that quietly multiply rework. A cheap saw that wanders, a weak fastener choice, or bad access that slows every board can eat the savings before lunch. That is why I would rather save money on badge prestige than on the parts of the kit that directly control the quality of the ceiling.
If the tool makes you redo cuts, fight fastening, or burn half a day correcting layout drift, it was not a budget buy. It was an expensive detour.
When renting makes more sense than buying
For some homeowners, the best budget move is buying the small daily-use tools and renting the larger cutting tool if the project is one-and-done. Renting a decent miter saw for a focused project can be smarter than owning a machine you do not trust. The point is still the same: keep the job under control for the least money that works.
Used tools are fine if you inspect them honestly
There is nothing wrong with used tools if you know what you are looking at. Check the saw for square and slop. Check the drill for wobble. Check the nailer for consistency and obvious abuse. Used is not the problem. Unchecked is the problem.
Budget-friendly is not a license to buy blind. It is a license to spend on the pieces that keep the room honest and skip the vanity purchases that do not.
Related reads
- Top 5 Tools Every Tongue-and-Groove Installer Should Have
- Common Mistakes in Tongue-and-Groove Ceiling Installation
- Maintenance Tips for Tongue-and-Groove Ceiling Tools
That’s it for today, folks. Hope this helps you with your projects. Enjoy the day. I’ll see you on the next one.