
Mastering Hardwood Joints for Perfect Woodworking
Hardwood joinery gets unforgiving fast. A slightly sloppy fit that might disappear in softer stock can show up in hardwood as a bruised edge, a gap, or an assembly that needs far too much persuasion.
The answer is not more force. It is better stock prep, an honest layout, the right joint for the load, and a dry fit that tells you where the trouble is before the glue bottle is open.
That is the approach here: make the joint fit the work, keep the geometry honest, and fix problems while they are still small.
If you want to see how those decisions carry into a full build, read Furniture Making: Mastering the Art of Crafting Timeless Pieces.
Rule of Thumb: A joint only looks clean at the end if the stock is flat, the layout is honest, and the fit does not need brute force to come together.
Choose the joint for the load and the grain
A butt joint with reinforcement, a lap joint, dado, mortise-and-tenon, miter, or box joint all solve different problems. Hardwood projects reward the worker who asks what the joint needs to do before choosing the shape. Does it carry racking force? Does it need alignment help? Will the end grain show?
That question matters because hardwood is often chosen for visible work. The joint has to perform, but it also has to look intentional.
For another practical comparison, see Mastering Wood Joints Techniques for Perfect Joinery.
Stock prep matters more than people want to admit
A hardwood joint is hard to fit cleanly if the stock is not flat, square, and consistently dimensioned. When the worker tries to correct that during assembly, the whole project starts feeling stubborn.
That is why careful stock prep pays off. It reduces the number of variables you are fighting when the real joinery work begins.
Tools that help without overcomplicating the job
- SKIL TS6307-00: A table saw helps keep hardwood shoulder cuts and straight rips consistent enough for repeatable joinery.
- DeWalt DWS520K: A track saw is a clean option for breaking down hardwood panels before precision fitting begins.
- Johnson 7in Rafter Square: A square keeps reference lines honest and helps stop small layout errors from multiplying across a joint set.
- Milwaukee 2648-20: A sander supports finish prep and light easing, but it also reminds the reader that sanding cannot rescue bad geometry.
- Milwaukee 2804-20: A drill/driver helps with jigs, hardware, and controlled assembly steps that support hardwood builds.
Dry fit before glue and stop forcing the fit
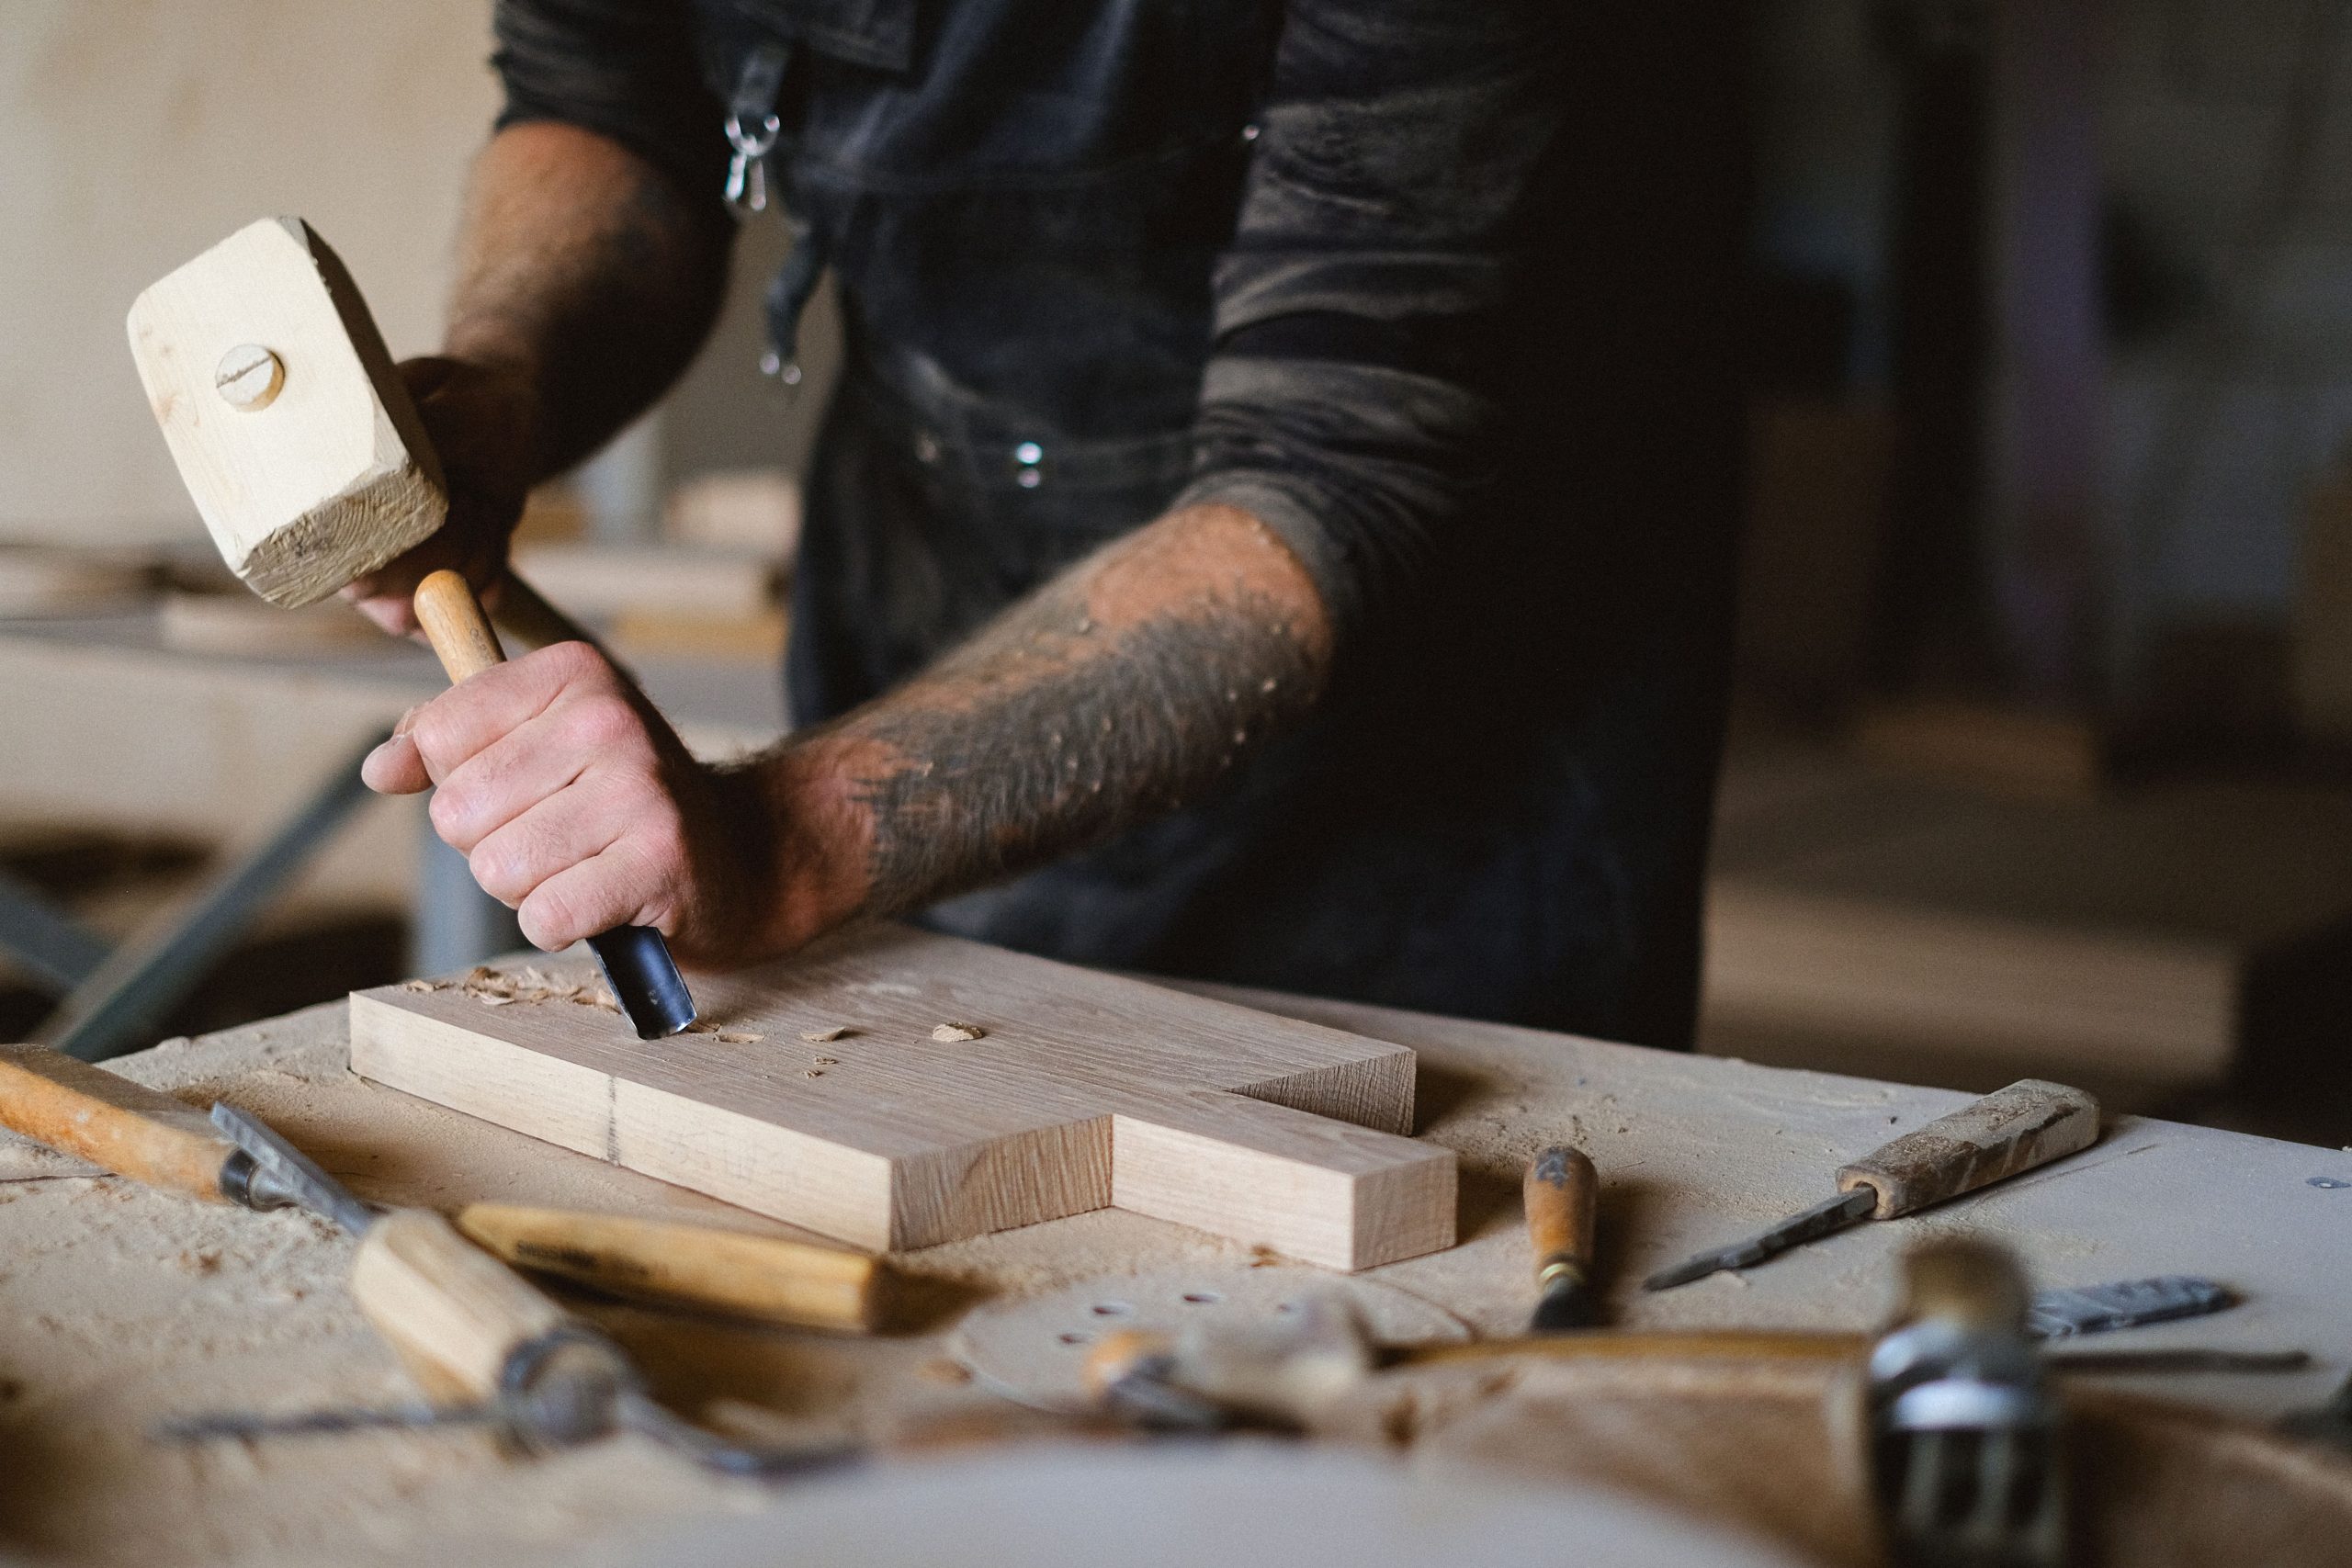
A dry fit tells you whether the shoulders are honest, whether the cheeks are too proud, and whether the assembly wants to rack. If something feels wrong during the dry fit, more force is not the answer. Better diagnosis is.
That is especially true in hardwood. Extra force can bruise edges, crush fibers, and leave a joint that closes badly and still looks wrong after the clamps come off.
Planning a tongue-and-groove project too? The free 10-page T&G Project Starter Guide gives you a practical checkpoint for materials, tools, sequencing, and mistakes before they get expensive.
Remember seasonal movement
Hardwood movement is not academic. It changes how panels behave, how frame parts want to expand and contract, and how much pressure a joint can tolerate before it starts telegraphing problems later.
Readers who understand movement make better decisions about glue surfaces, panel capture, and where rigidity actually belongs in the design.
Visual check: Bryce Comer Woodworks has a useful joinery-accuracy walkthrough here because it reinforces the same point: straight stock, reliable reference faces, and clean layout make the fitting stage easier.
Want the full tongue-and-groove install order in one place?
I put the layout checks, prep work, tool judgment, fastening sequence, and common mistake fixes into one practical PDF handbook so you are not guessing your way through the job.
Fitting pressure should stay calm and controlled
A hardwood joint should close under controlled pressure. If you are reaching for a bigger hammer or leaning hard on the clamps just to make the shoulders meet, stop and find the interference first.
Fixing the geometry takes longer for a few minutes. Forcing the joint can cost you the edge, the alignment, or the whole glue-up.
Glue strategy matters more in hardwood than many readers expect
Hardwood surfaces can be dense and unforgiving, which means glue coverage needs to be sensible and the clamping plan needs to be thought through. Too little glue weakens the joint. Too much can create unnecessary squeeze-out and cleanup trouble without improving strength.
A good glue strategy also respects movement. Some surfaces should lock hard. Others need to allow the panel or frame to behave over time without splitting or telegraphing stress.
Better hardwood joints usually come from simpler decisions
It is tempting to reach for the most decorative joint in the book, but many hardwood builds improve when the worker chooses a simpler joint and executes it cleanly. Strong shoulders, straight cuts, and patient fitting often matter more than complexity.
That is a useful discipline for hardwood furniture and cabinet work. Make the joint solve the problem well, then let the wood and the proportions carry the beauty.
What matters most
Mastering hardwood joints is less about showing off and more about respecting the material. Good stock prep, the right joint choice, careful fitting, and a calm glue-up do more for hardwood woodworking than any amount of force ever will.
Quick FAQ
What is the biggest hardwood-joint mistake? Forcing a bad fit.
Why does stock prep matter so much? Because the joint cannot be better than the parts it starts from.
Does seasonal movement really matter in small projects? Yes. It still affects fit and long-term stability.
Hardwood joints reward patience during cleanup
Cleanup around a hardwood joint needs a lighter hand than many readers expect. Aggressive sanding or scraping can quickly soften an edge that should stay crisp or create surface waves that show up under finish. Small corrections done carefully usually work better than large corrections done fast.
That is another reason the dry fit matters. The closer the geometry is before glue, the less cleanup you need afterward, and the more of the joint’s character stays intact.
Why simpler clamping plans work better
Hardwood assemblies often improve when the clamping plan is simple and well aimed. A few clamps in the right places, backed by a good dry fit, usually outperform a chaotic stack of clamps applied in panic. Too much pressure in the wrong direction can distort the joint or bruise the work.
Thinking through clamping before glue is opened turns the assembly into a controlled step instead of a scramble. That is a quiet but important part of mastering hardwood joints.
Use the joint to complement the design
A hardwood joint should not only hold well, it should suit the look of the piece. On furniture and visible cabinet work, the joint can either support the design quietly or fight it by drawing attention in the wrong places. Clean execution matters because the eye reads that discipline immediately.
That is another reason to choose the joint for the job instead of for the bragging rights. When the joint fits the design and the material, the project feels more resolved from every angle.
Bottom line
Hardwood does not need fancy joinery for its own sake. It needs accurate stock, a joint that suits the load and grain, a calm dry fit, and a clamping plan that closes the assembly without distorting it.
Related reads
- The Ultimate Guide to Mastering Dovetail Joints
- Mortise and Tenon Joints: A Comprehensive Guide to Traditional Wood Joinery
Good hardwood joinery is mostly disciplined setup: flat stock, clear reference faces, a joint chosen for the load, a dry fit before glue, and enough patience to fix the fit instead of forcing it.